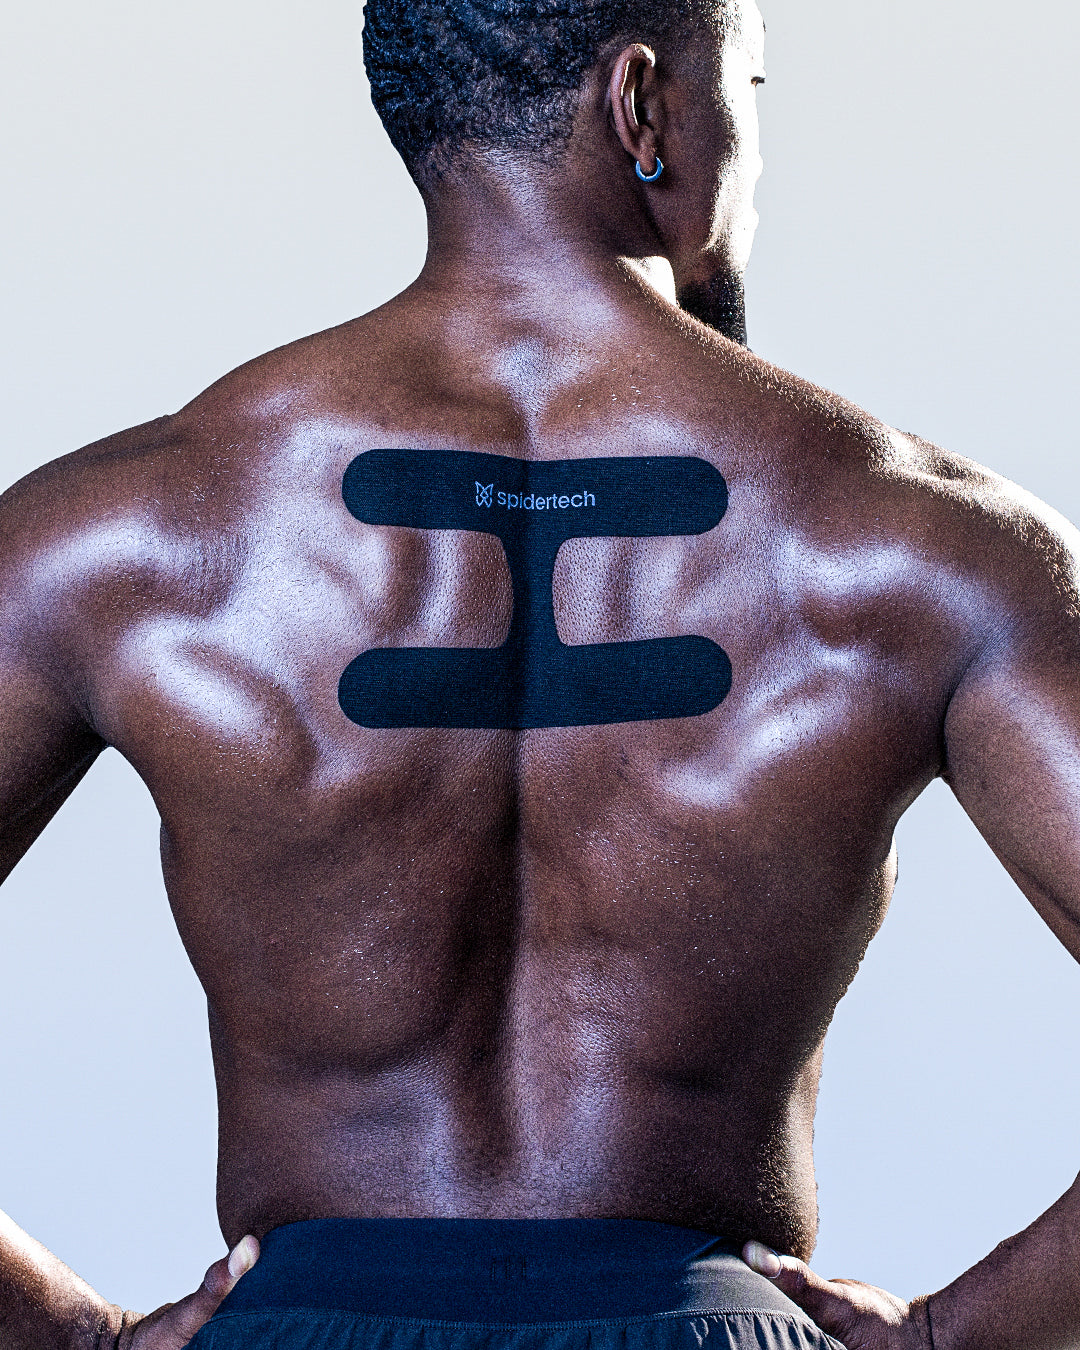
À quoi s’attendre avec Shoulder Pro-Cut
Heure d'apparition
Les premiers effets se font sentir dans les 30 minutes suivant l'application. Lorsqu'il est appliqué correctement, il dure entre 5 et 7 jours et peut être porté pendant l'activité physique, la douche et le sommeil.
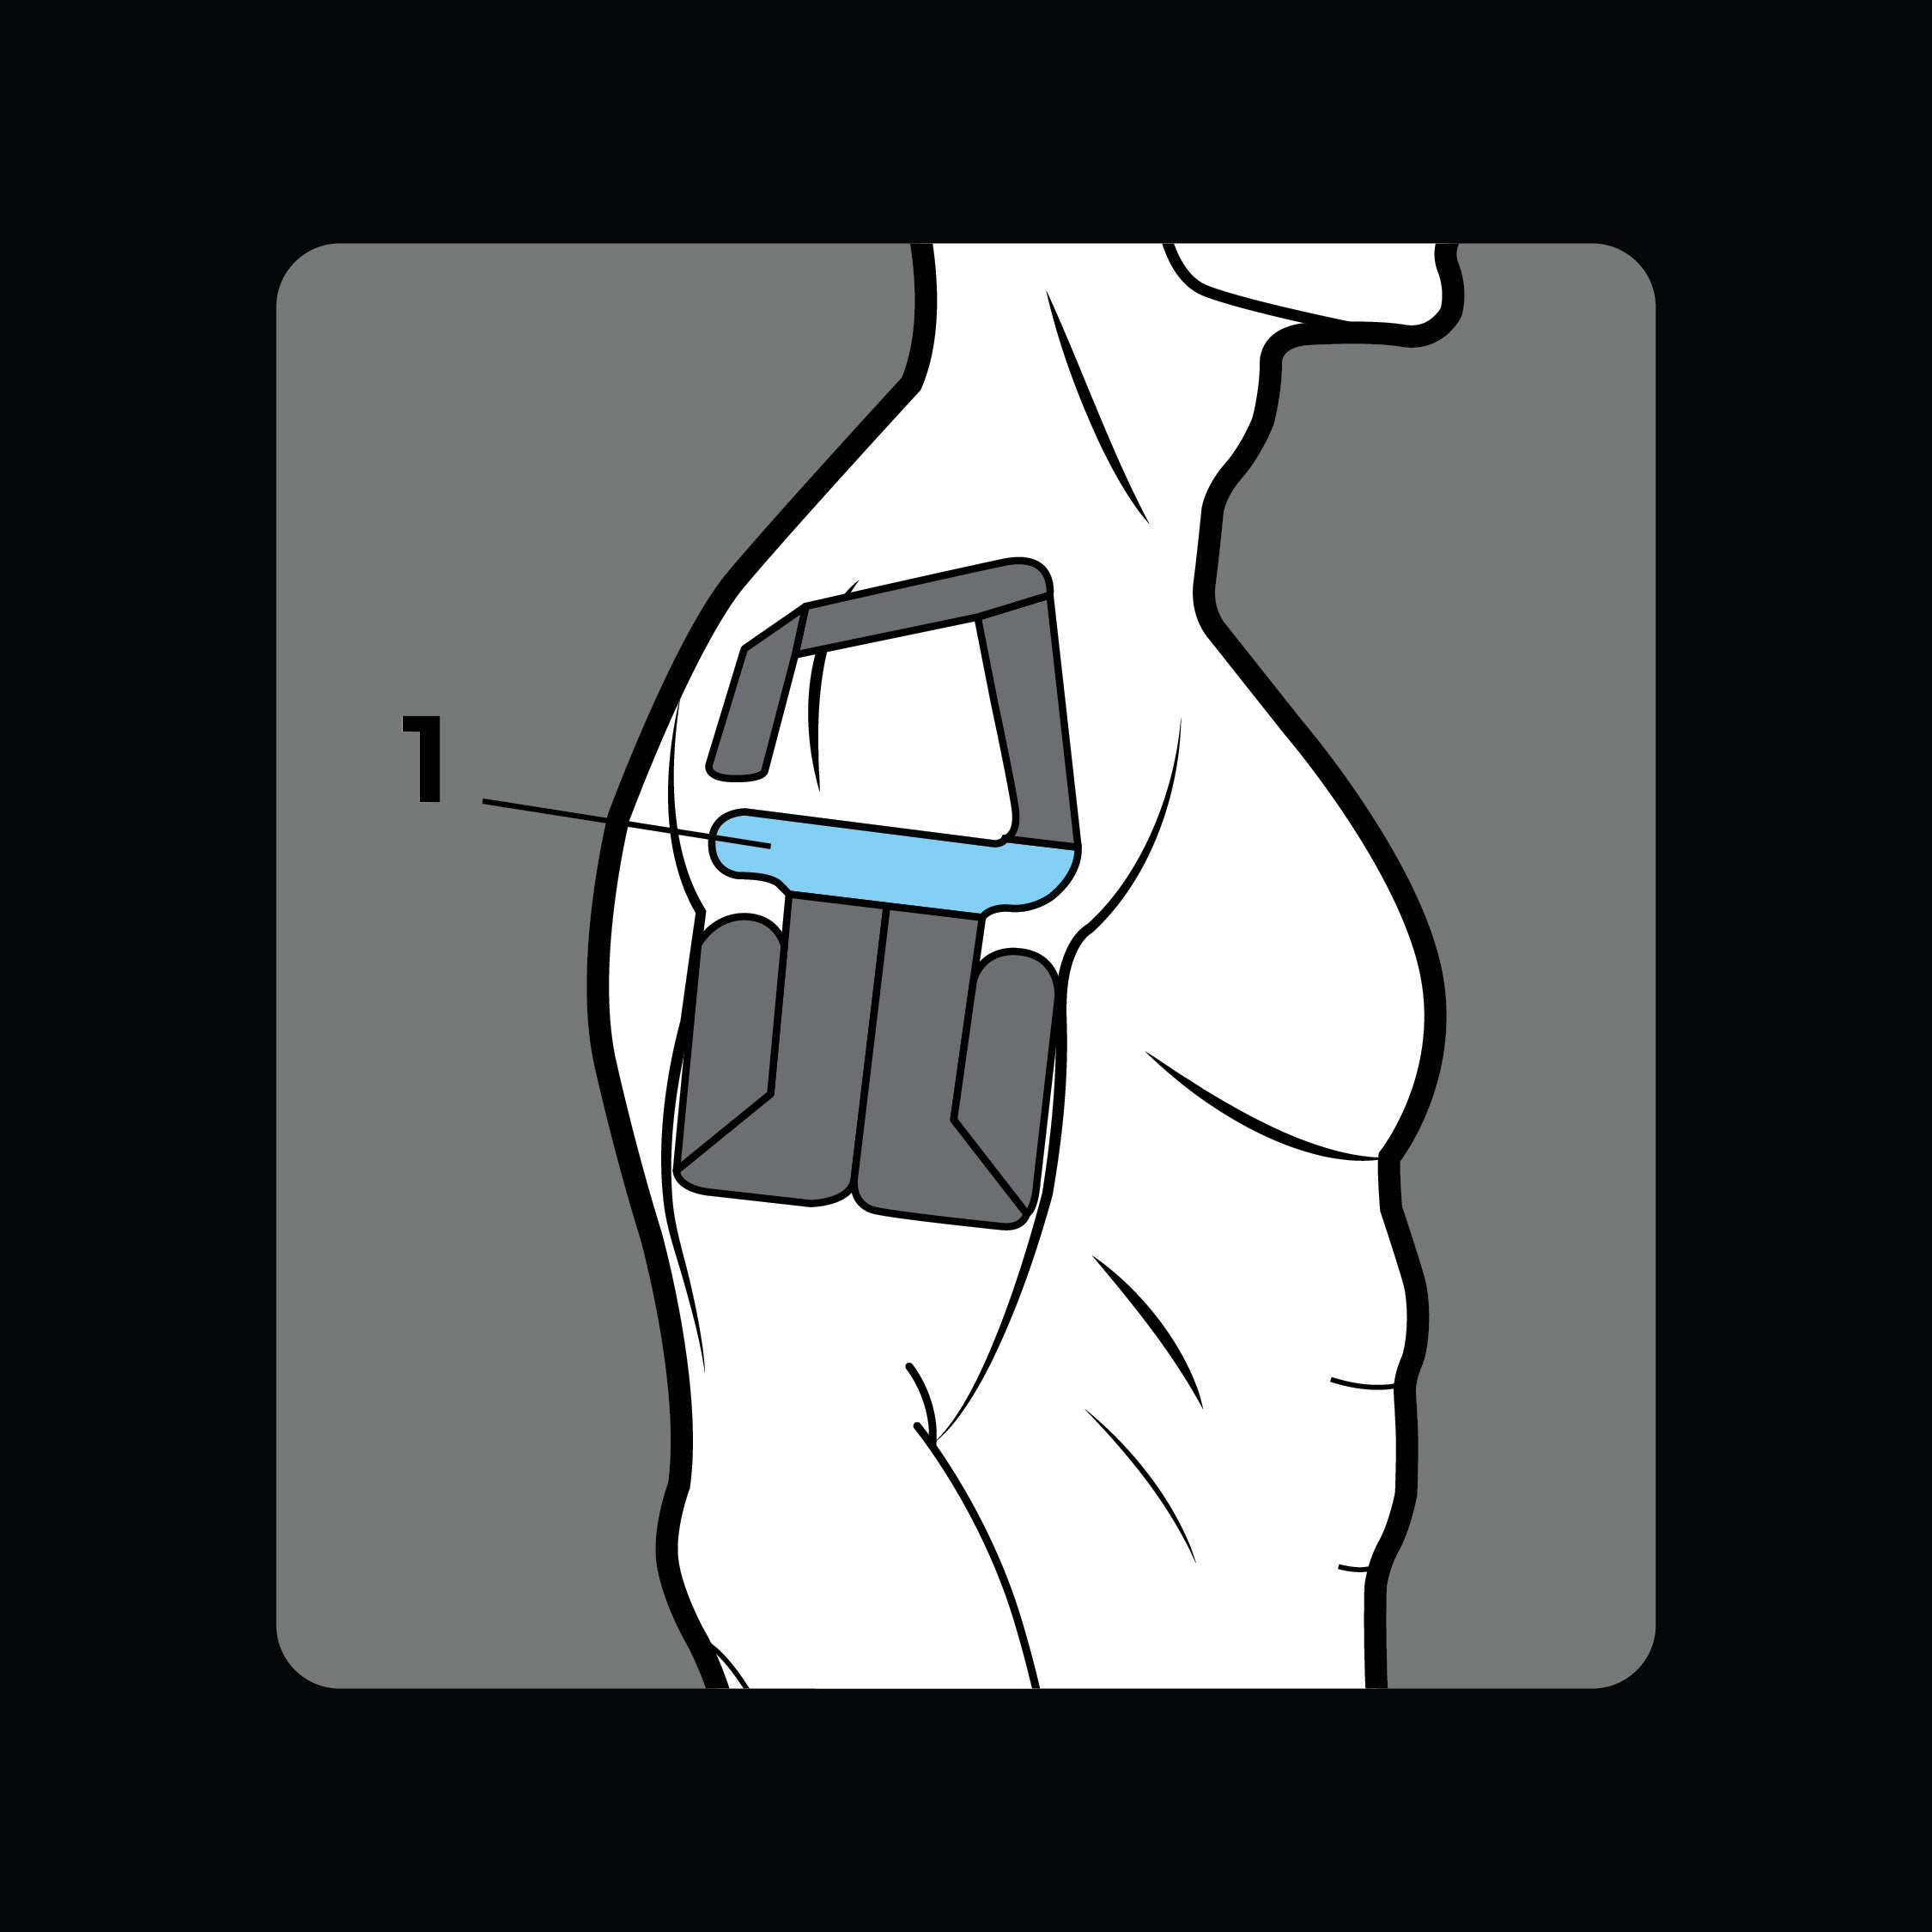
Guide de candidature - étape par étape
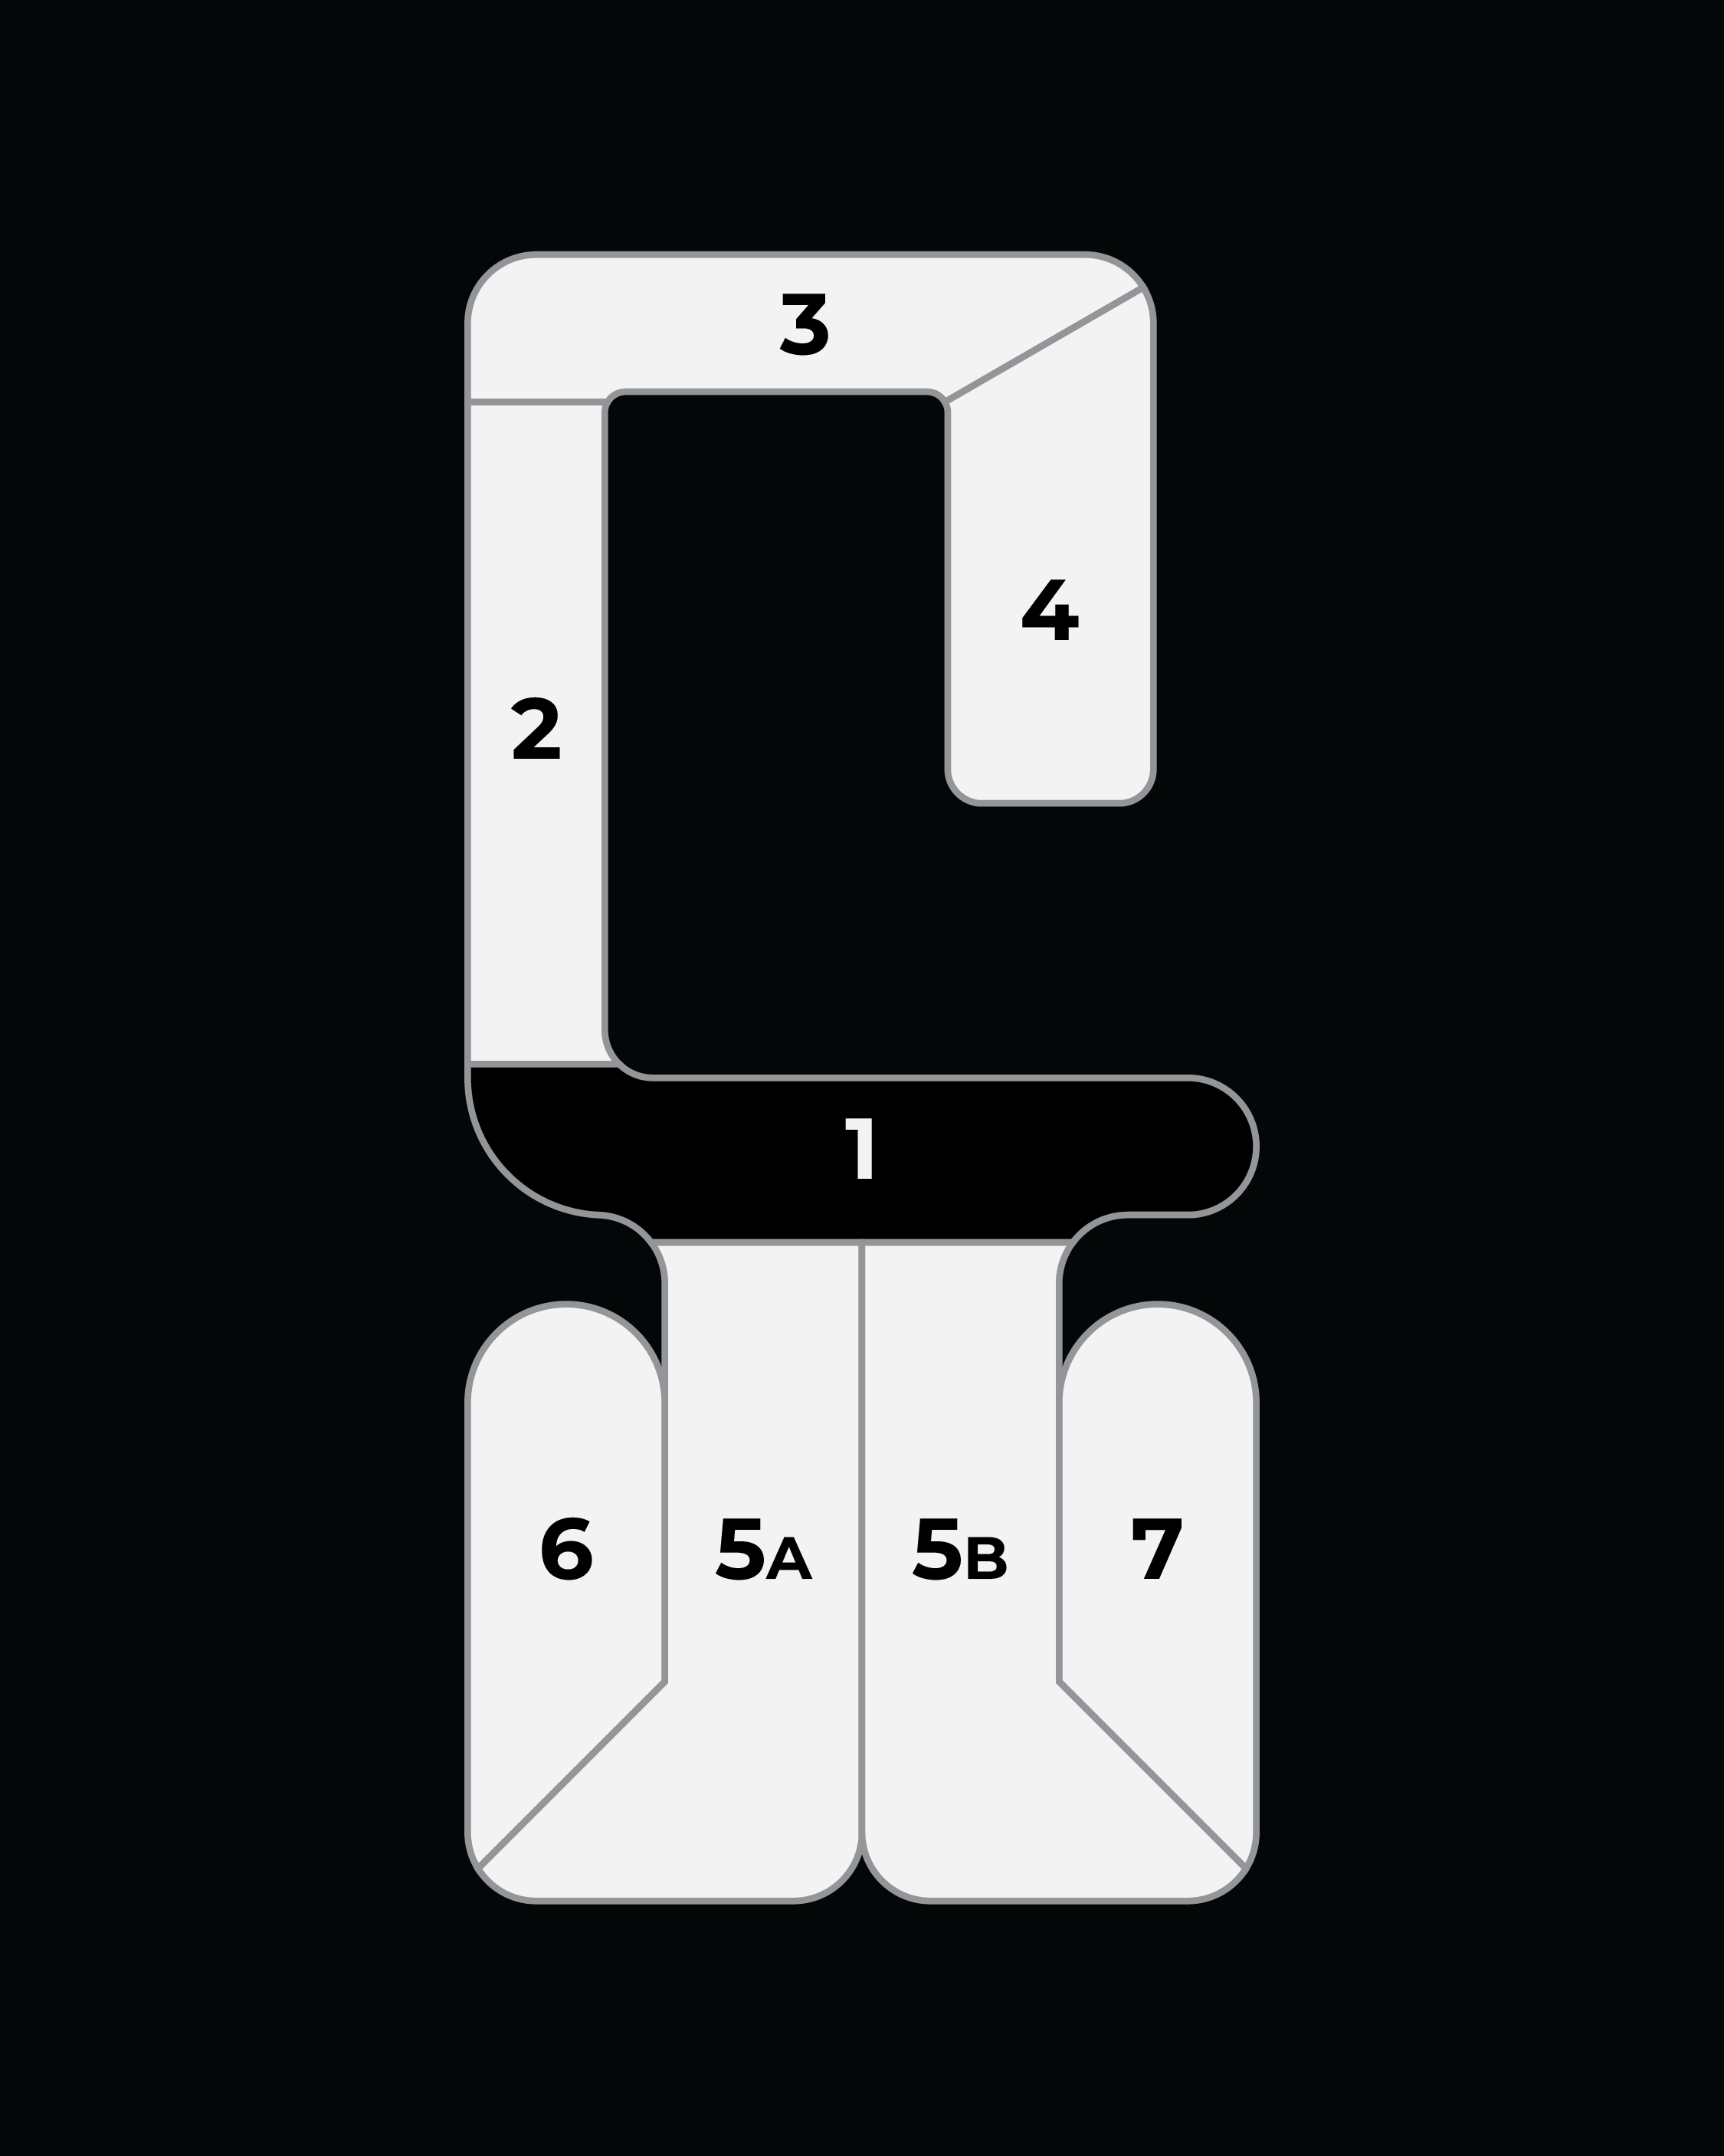
Avant que tu commences
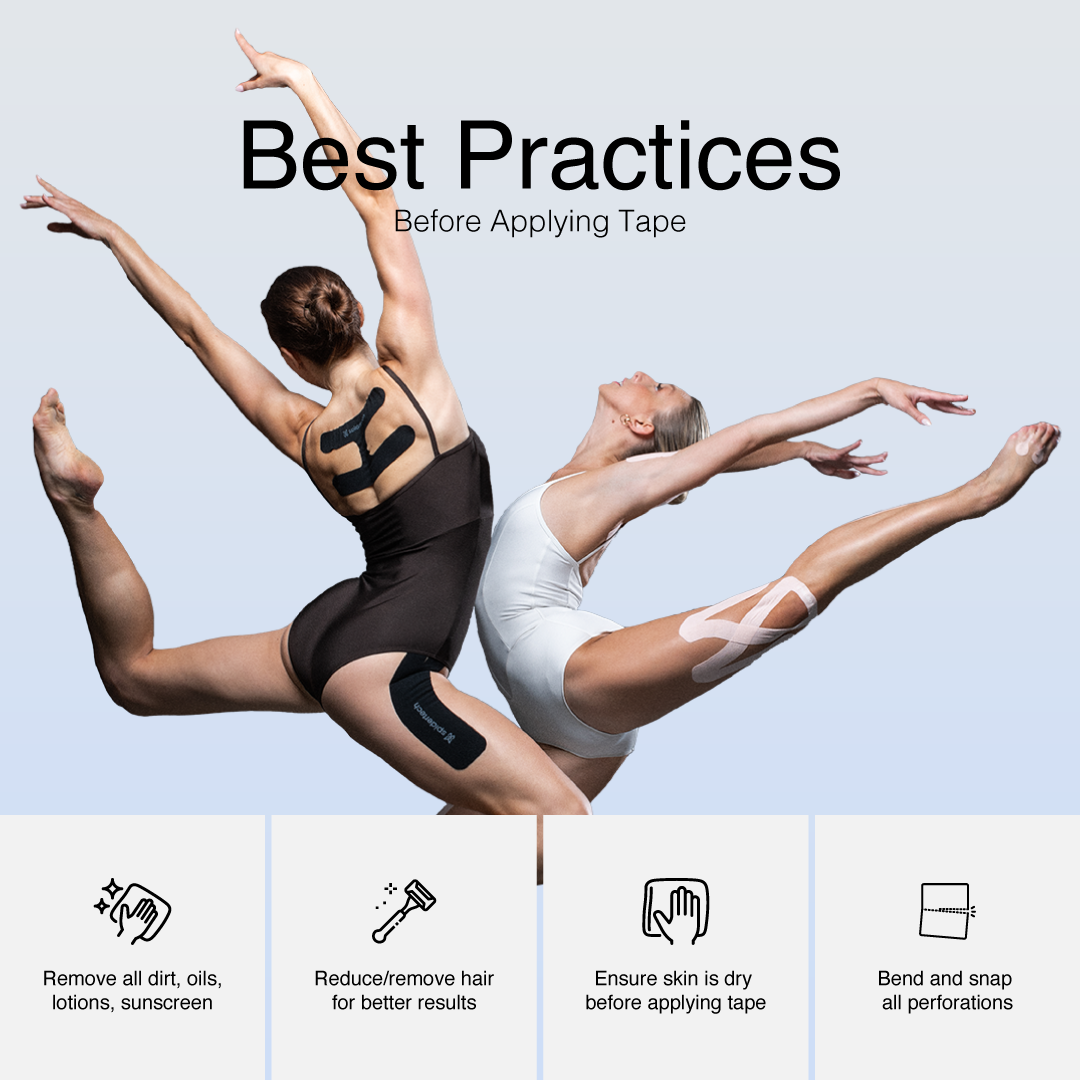
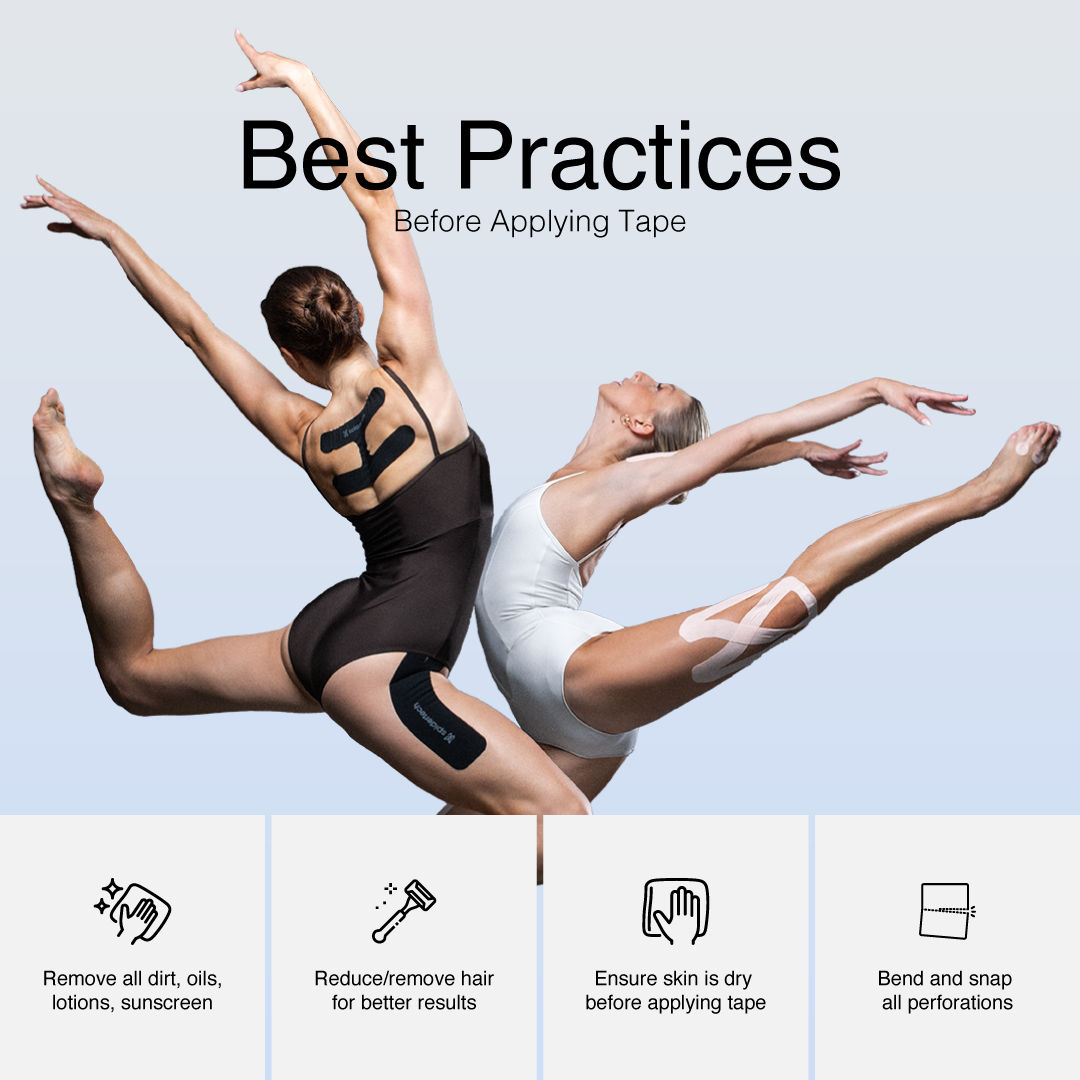
Pour garantir les meilleurs résultats :
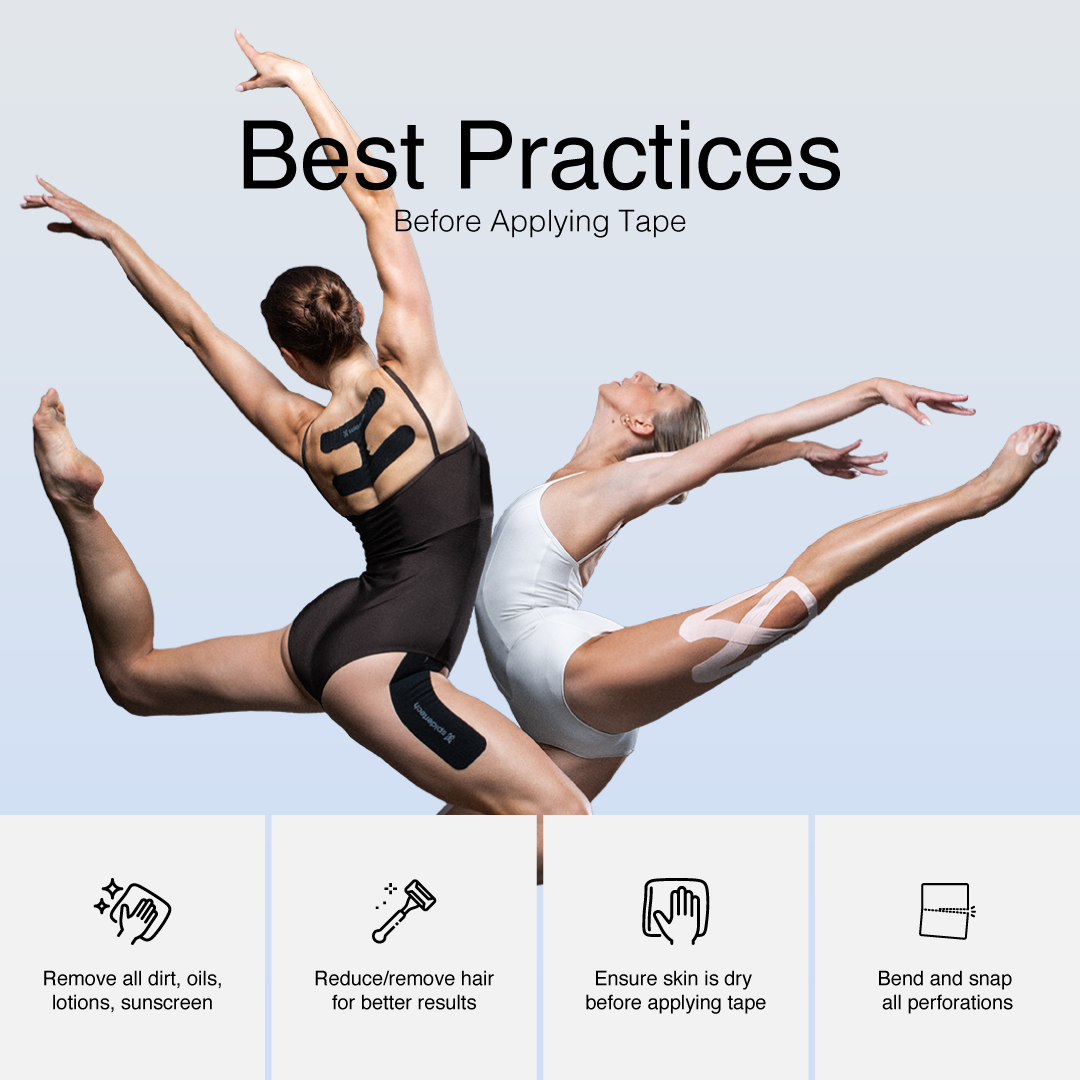
Nettoyer la peau, éliminer la sueur, l'huile, les crèmes et les cheveux.
Préparez le ruban adhésif avant l'application et déchirez toutes les perforations.
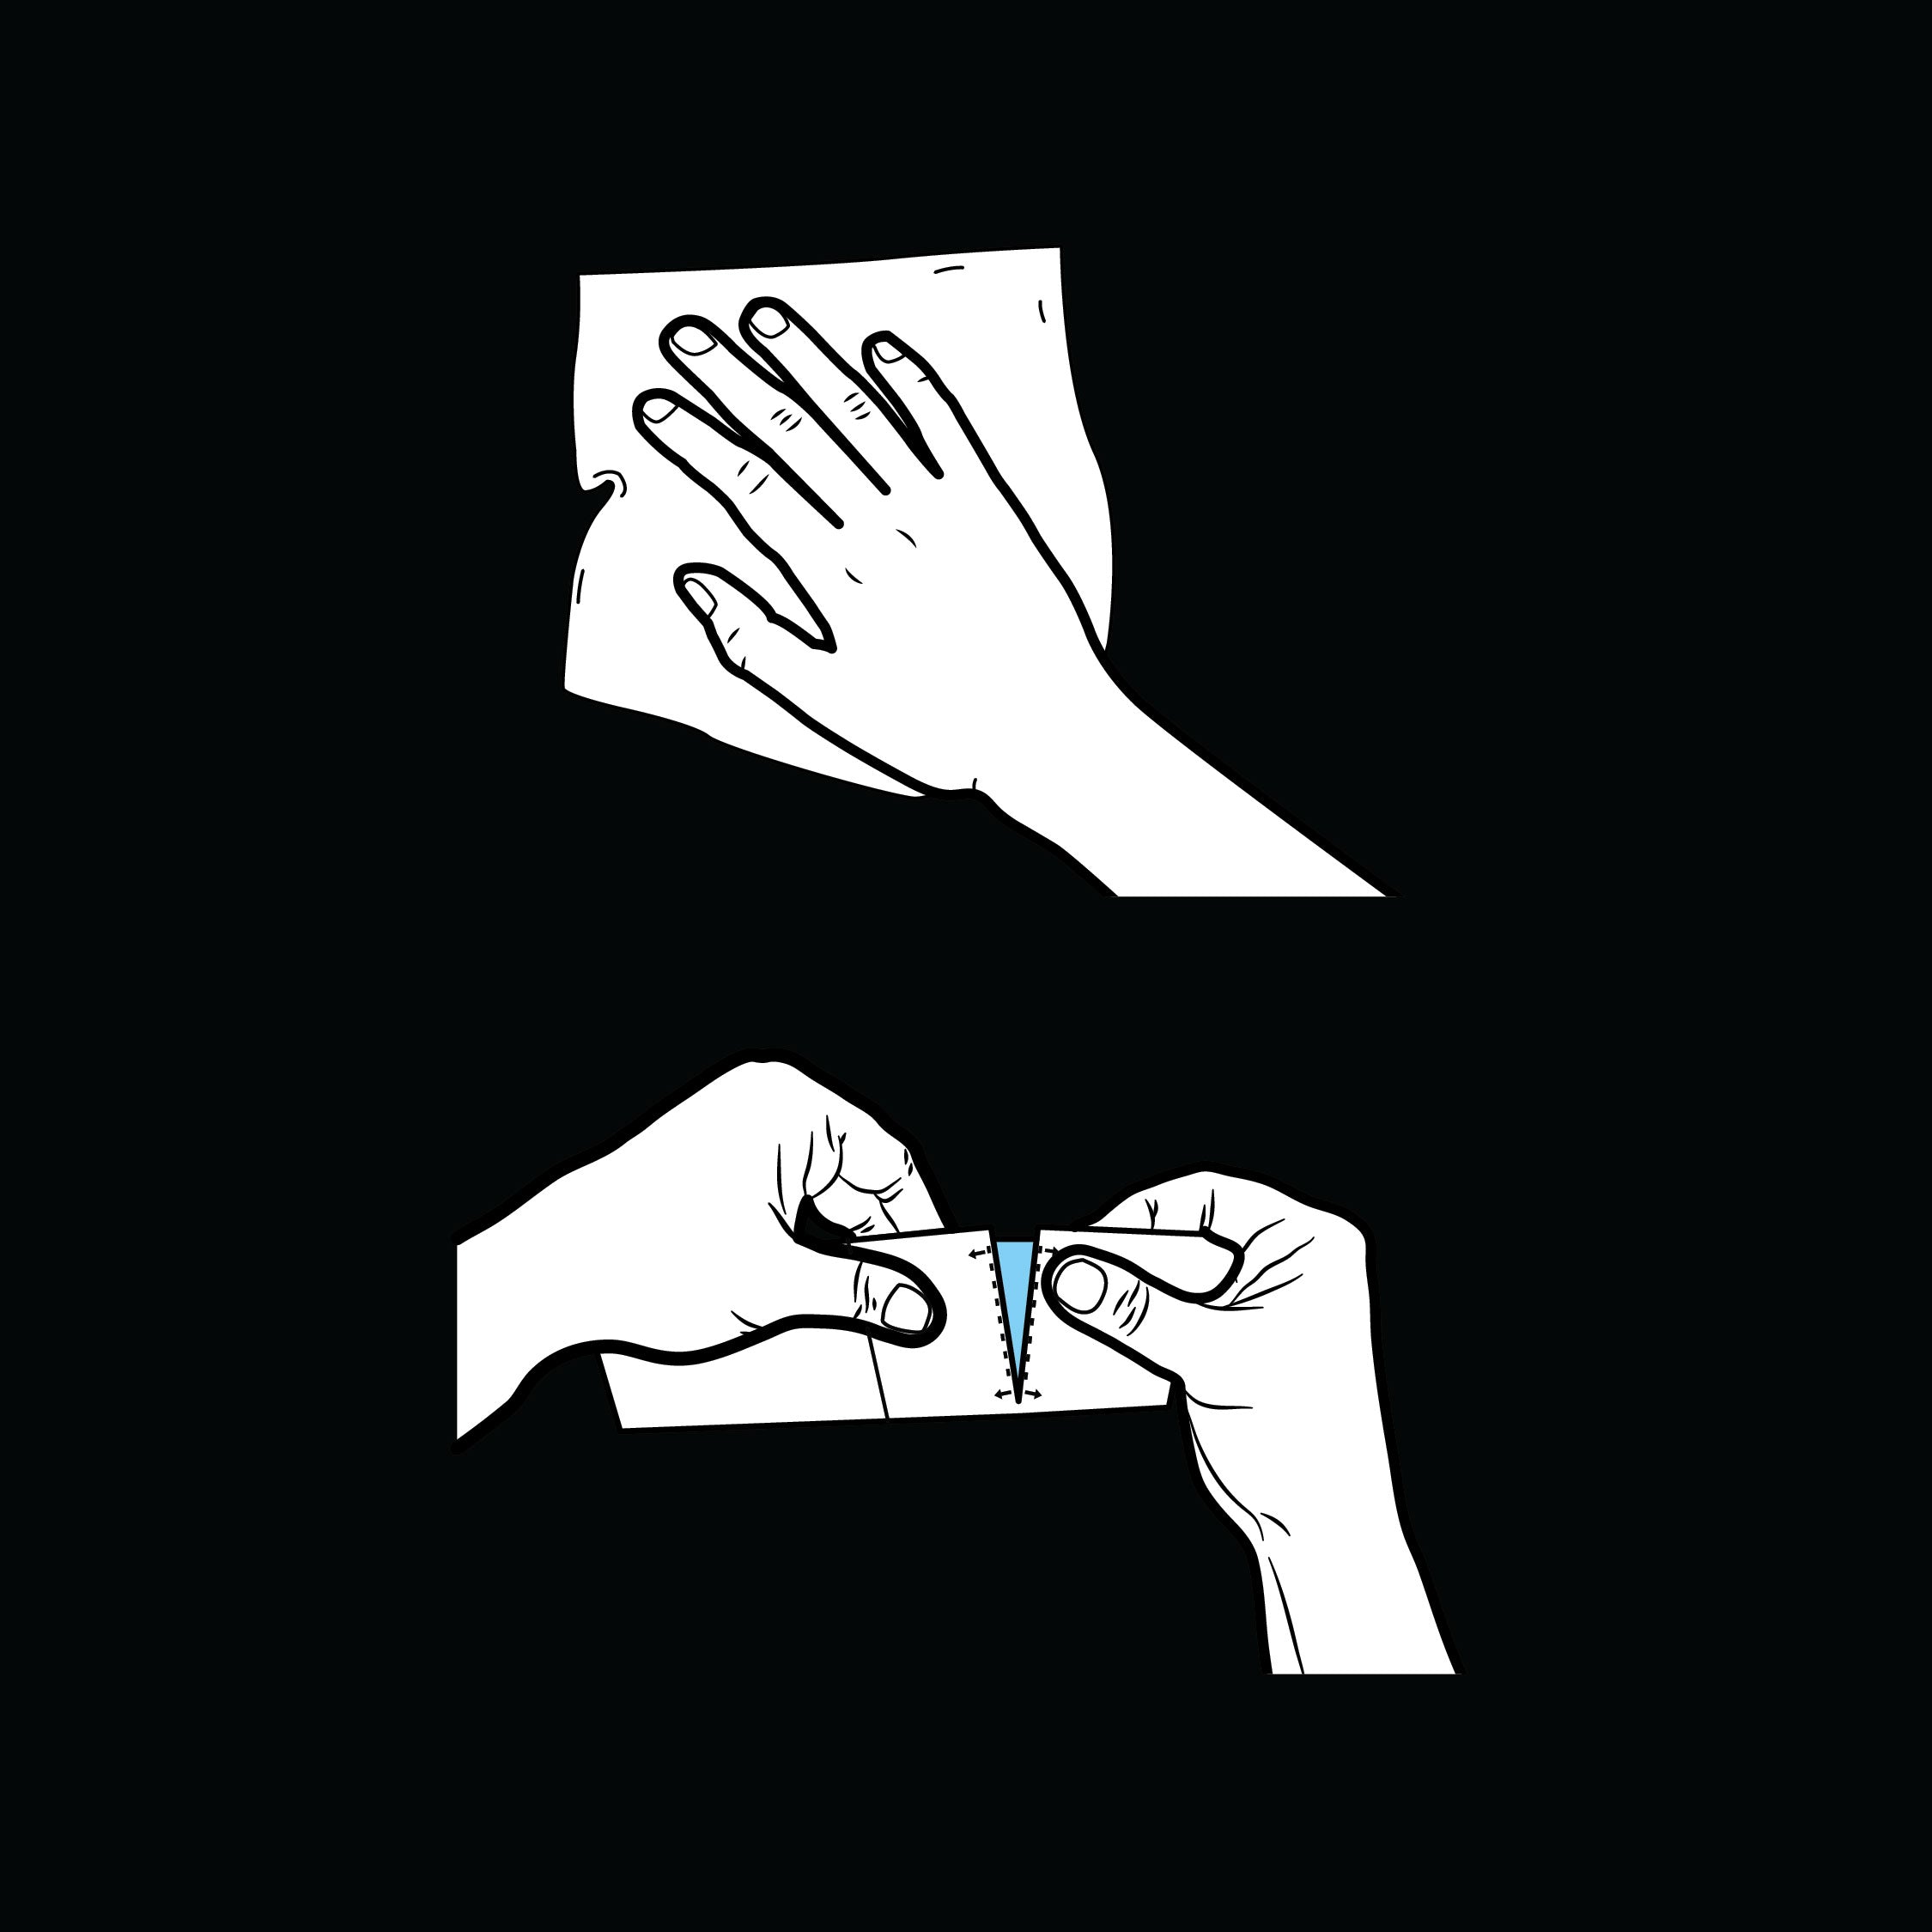
Appliquer
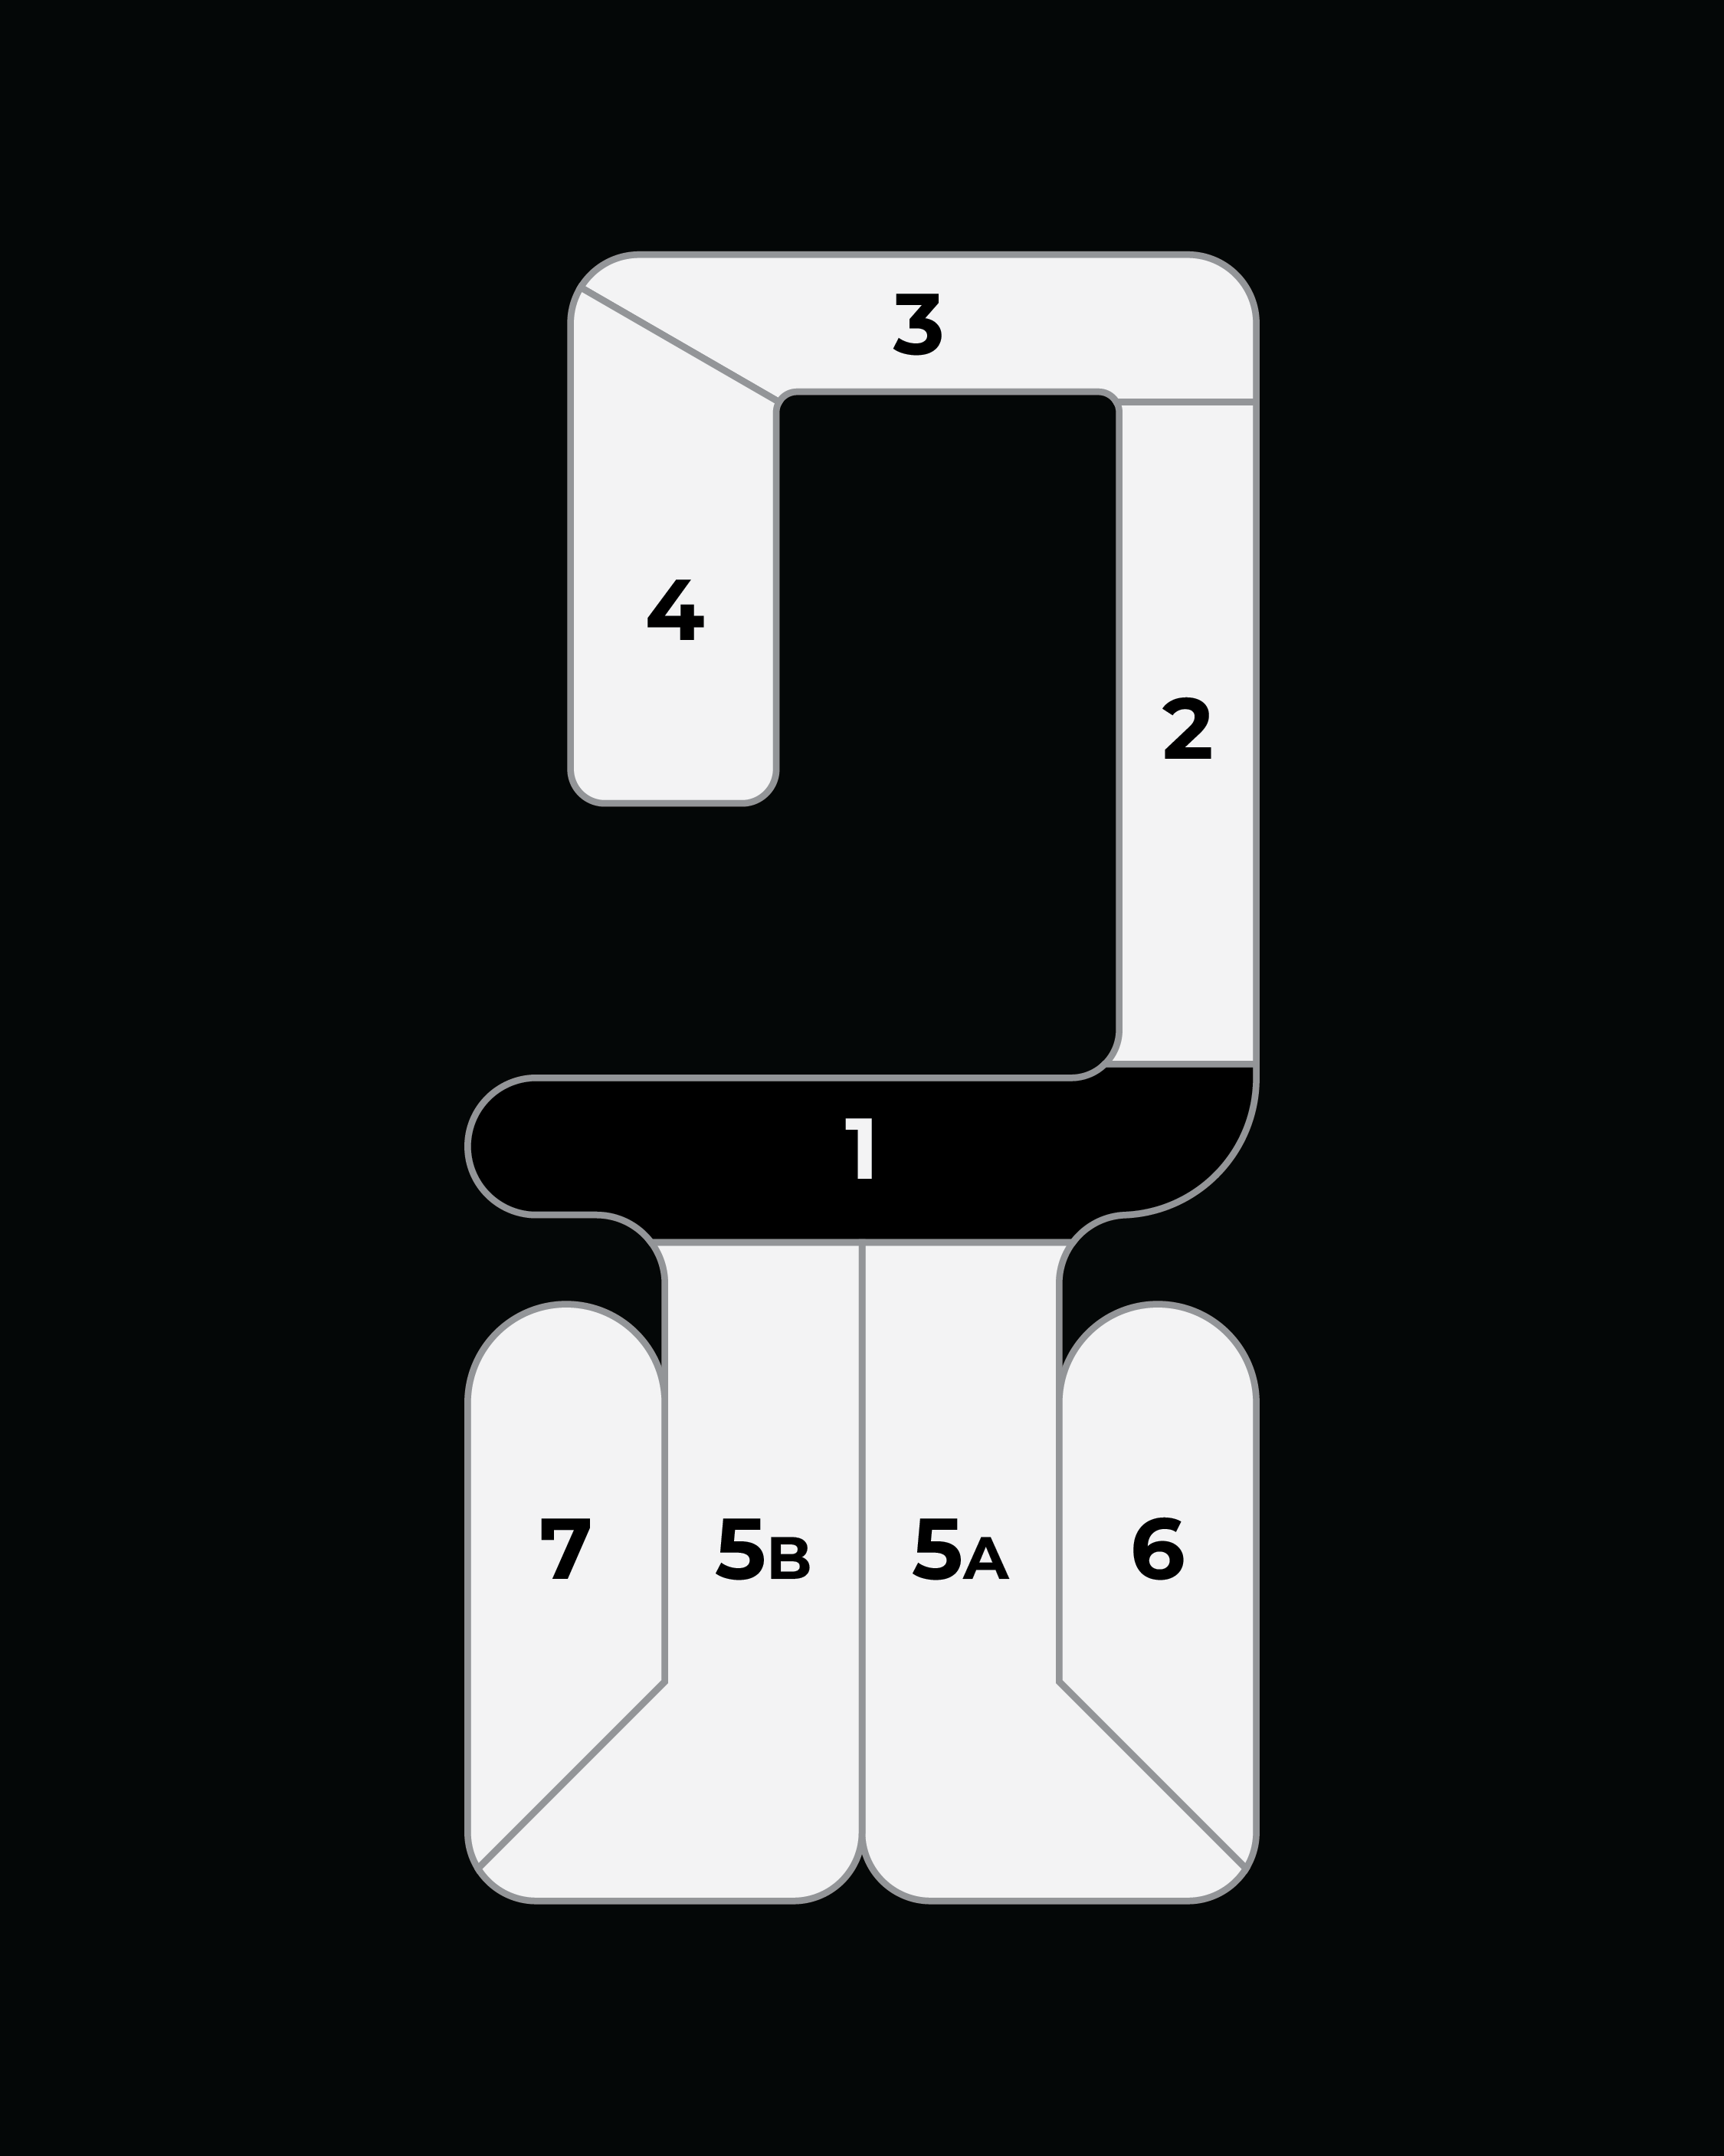
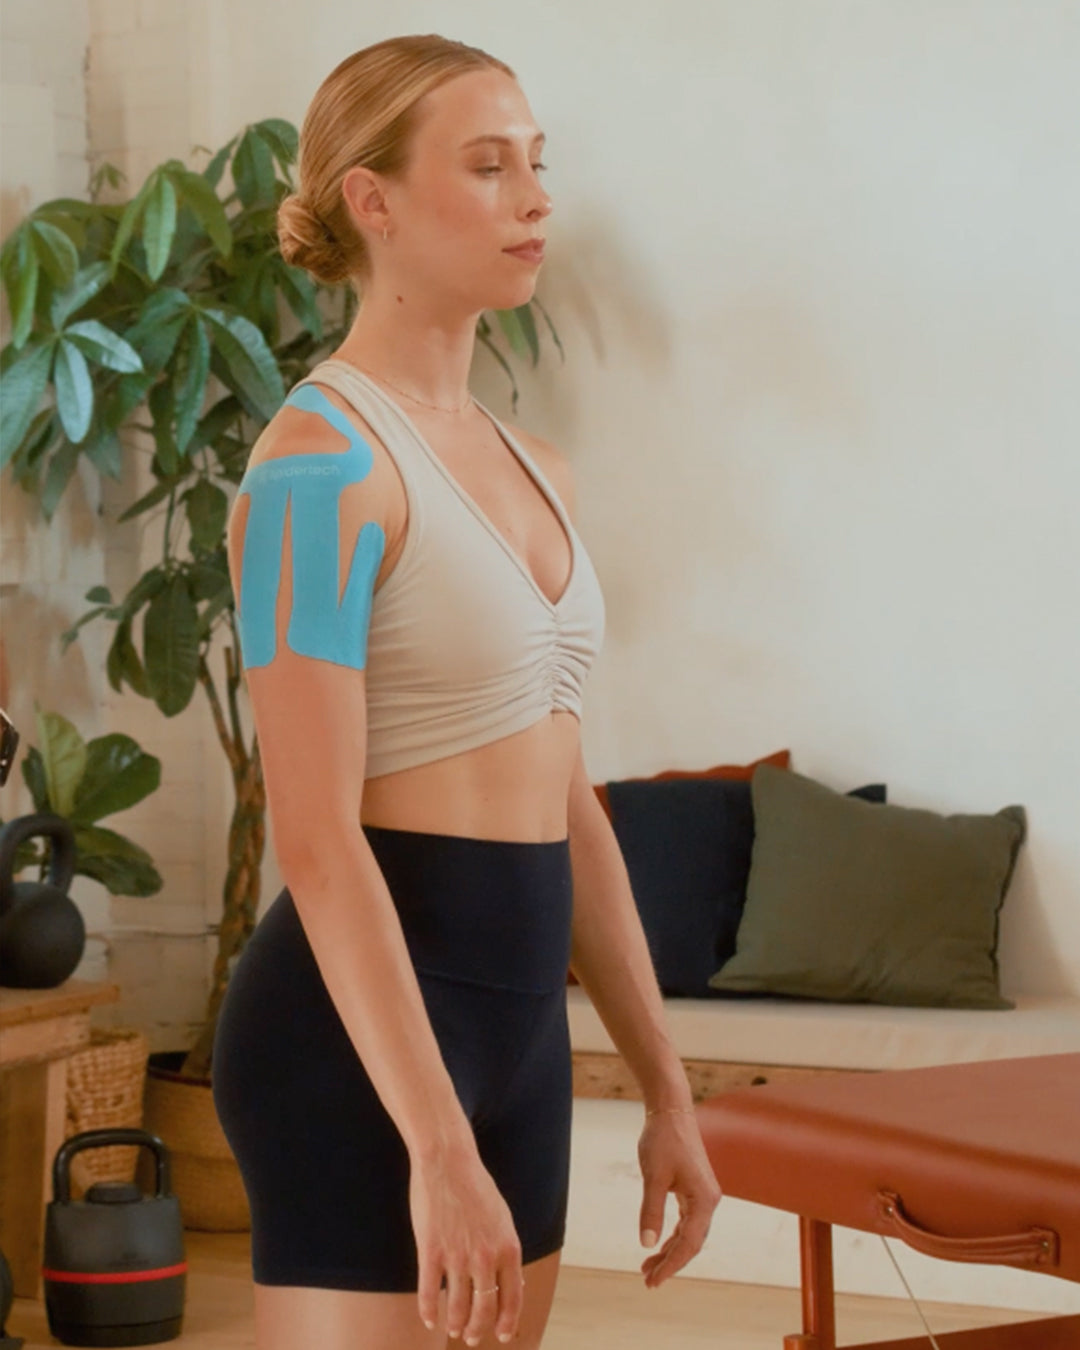
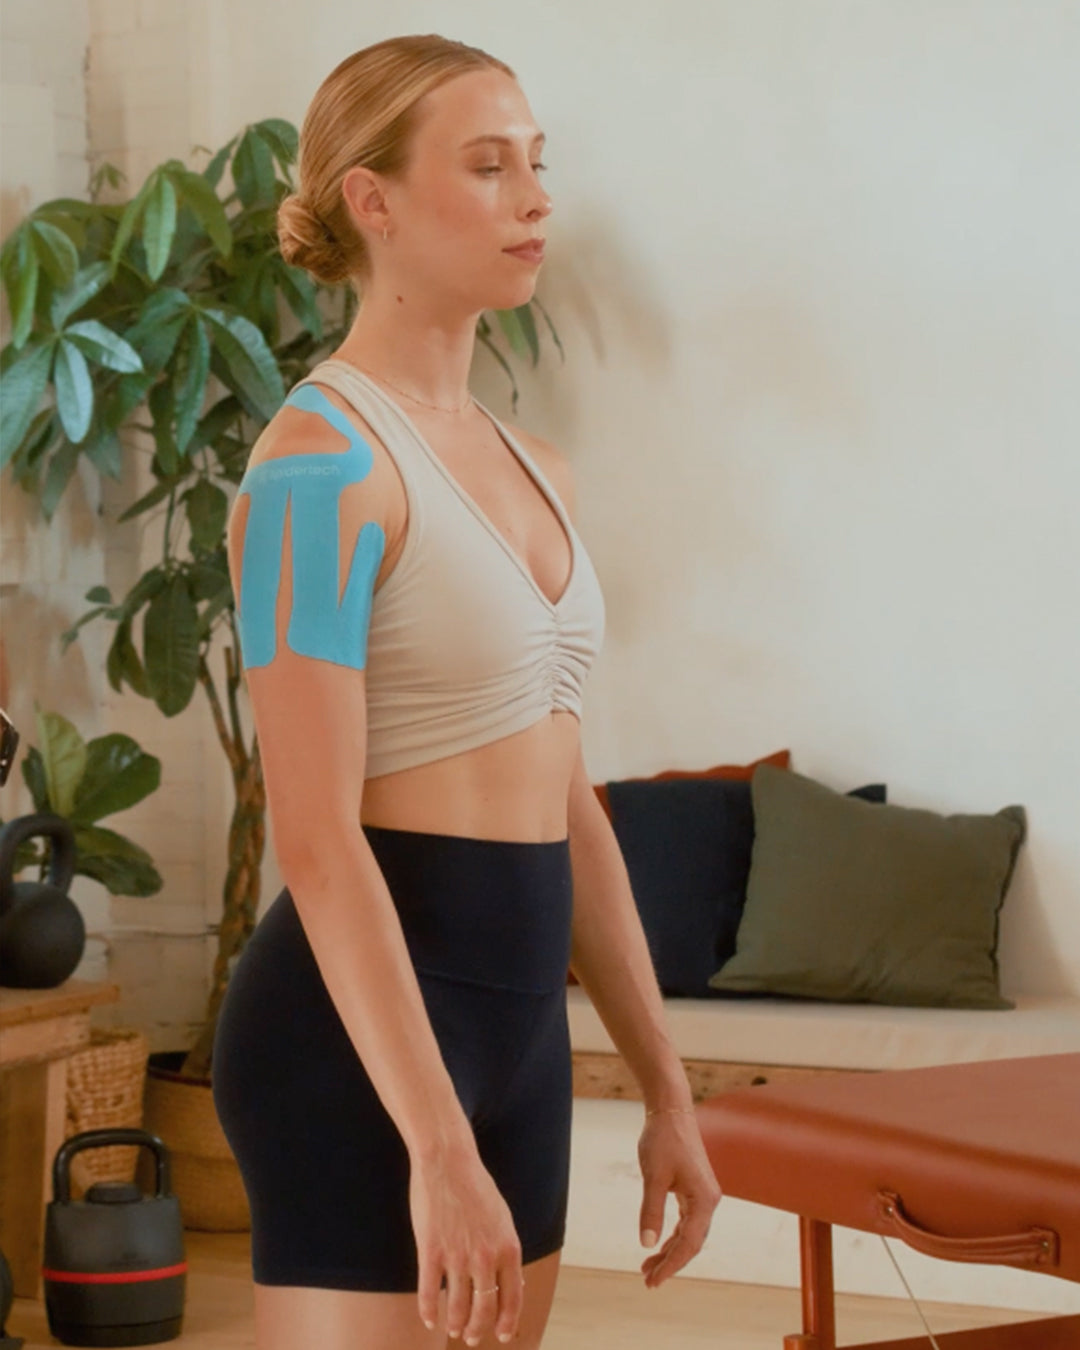
Avec le bras détendu sur le côté, appliquez la section 1 sous l’articulation de l’épaule.
Appliquer
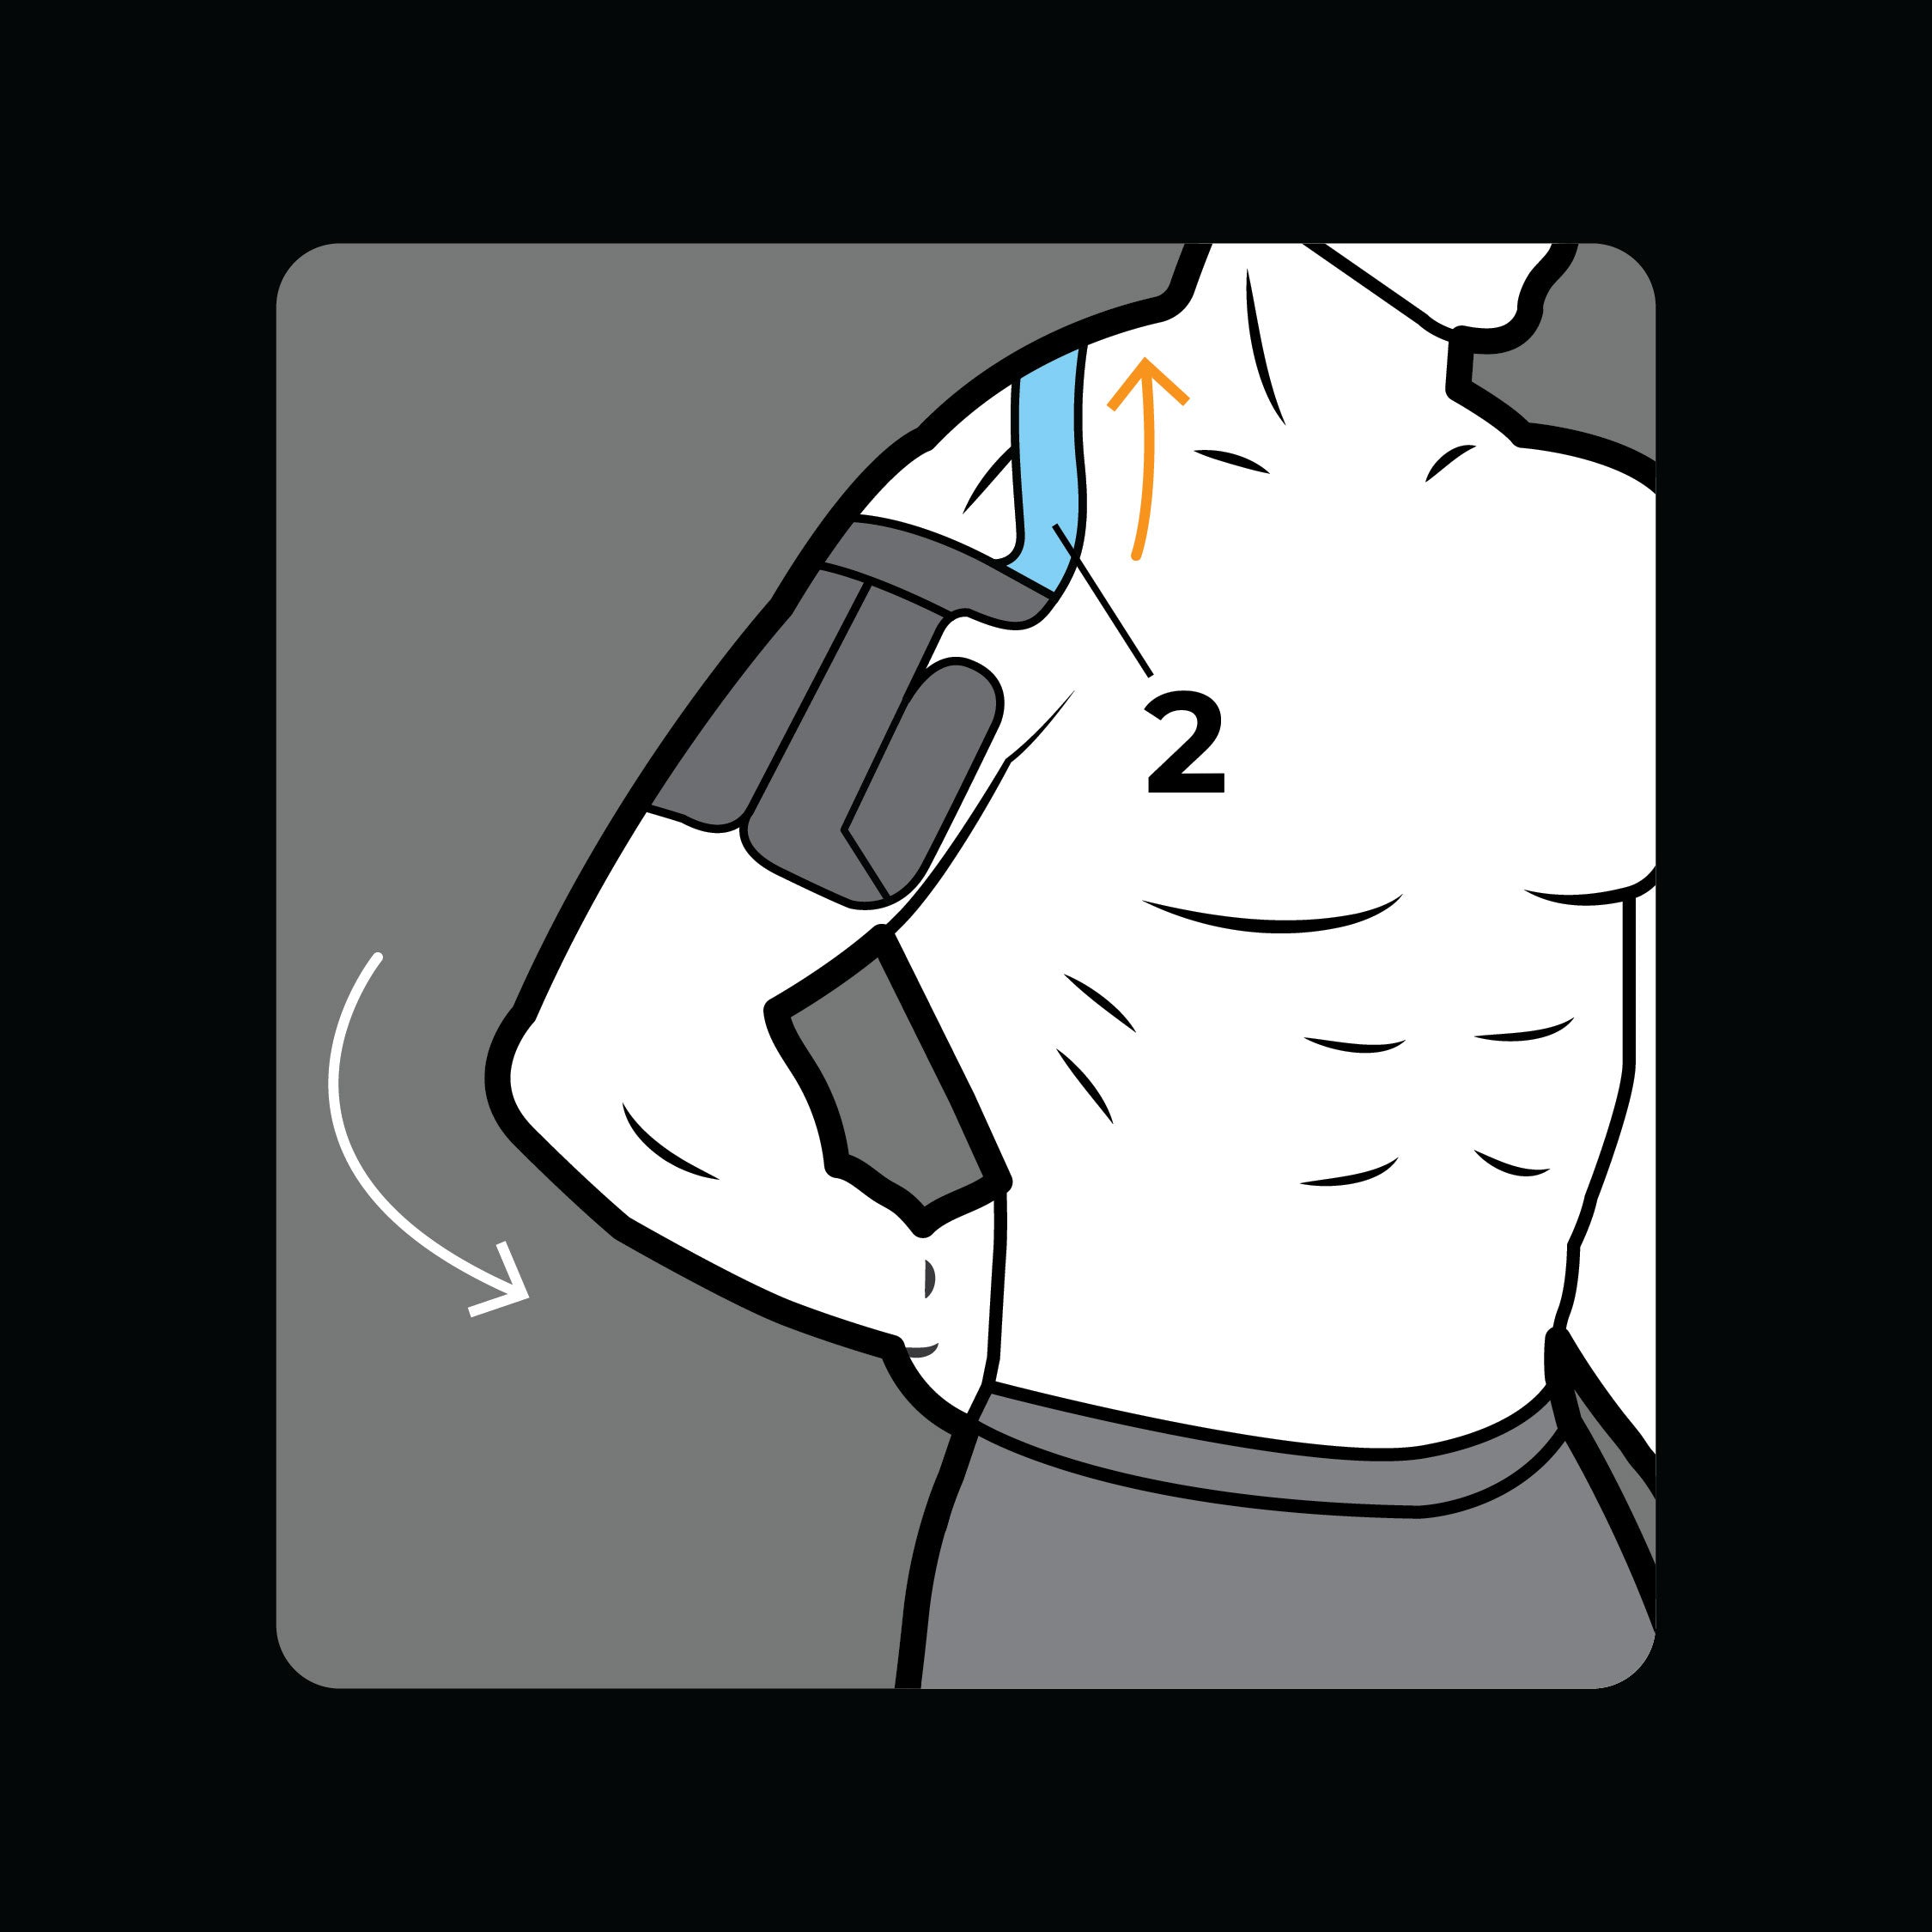
Placez le dos de la main sur le bas du dos. Appliquer la section 2 de la clavicule, vers le cou.
Appliquer
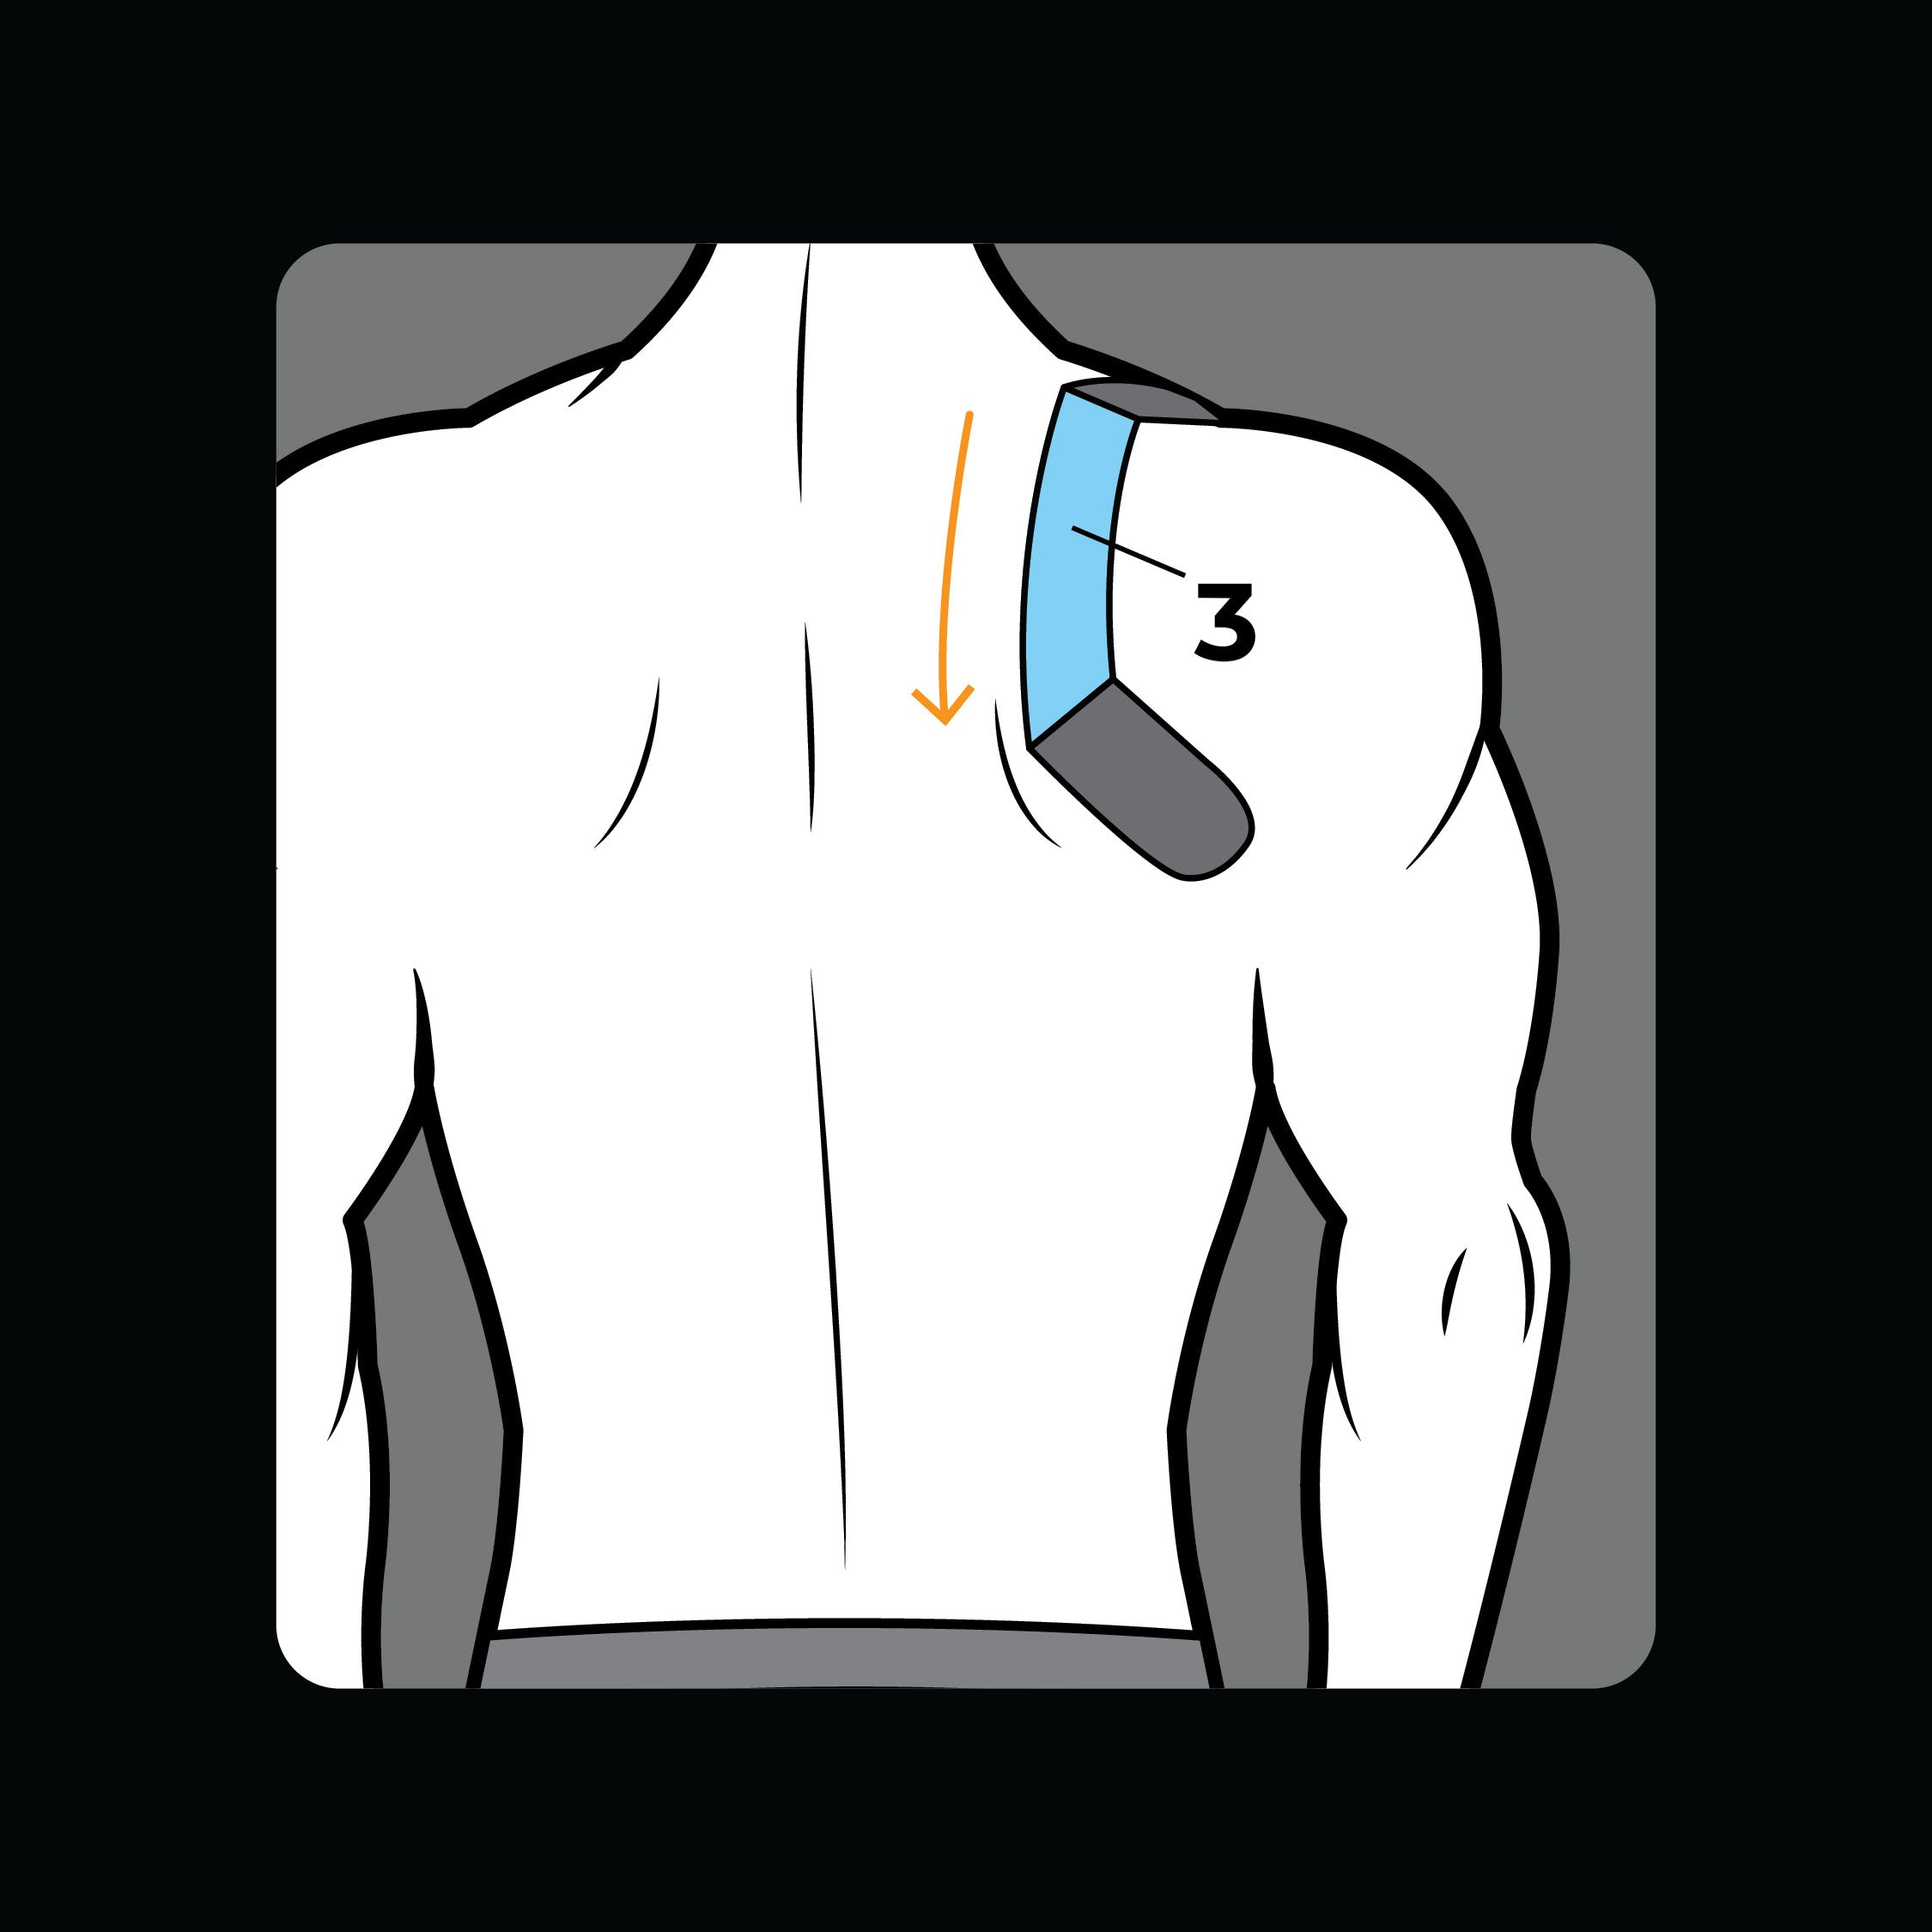
Avec les bras détendus sur le côté, appliquez la section 3 parallèlement à la colonne vertébrale.
Appliquer
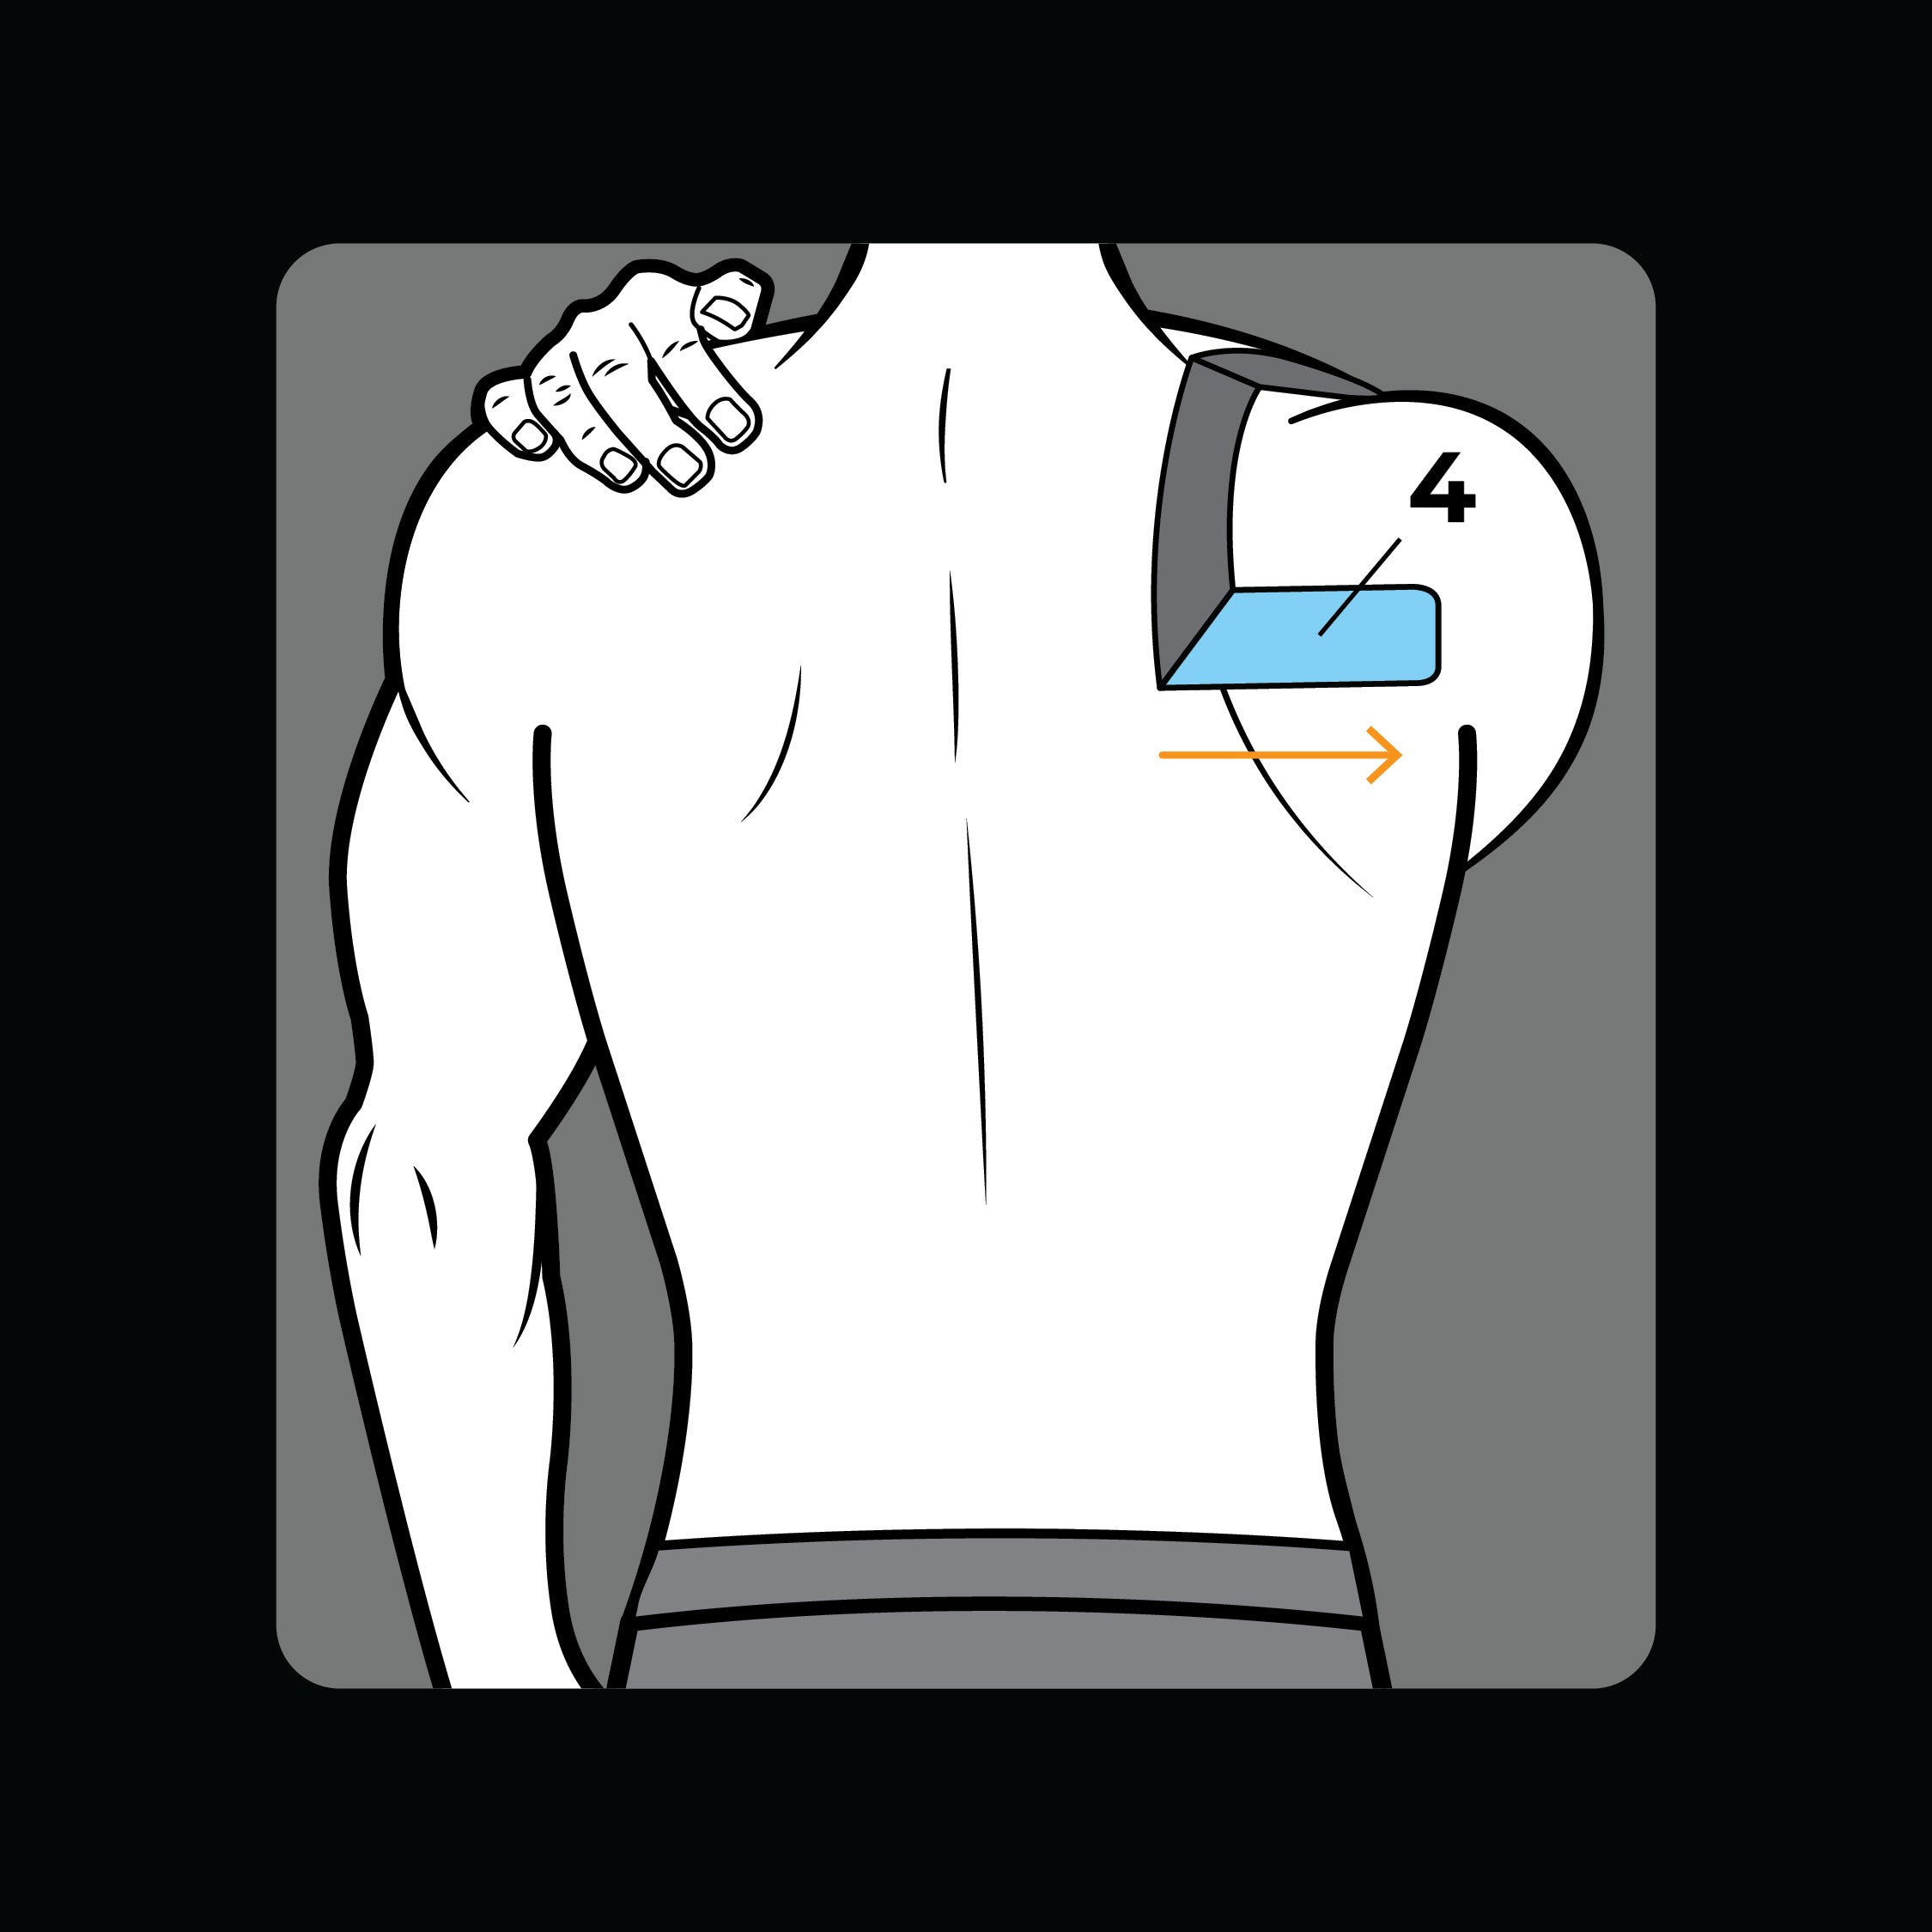
Placez la main droite sur l'épaule opposée et appliquez la section 4 sur l'omoplate.
Appliquer
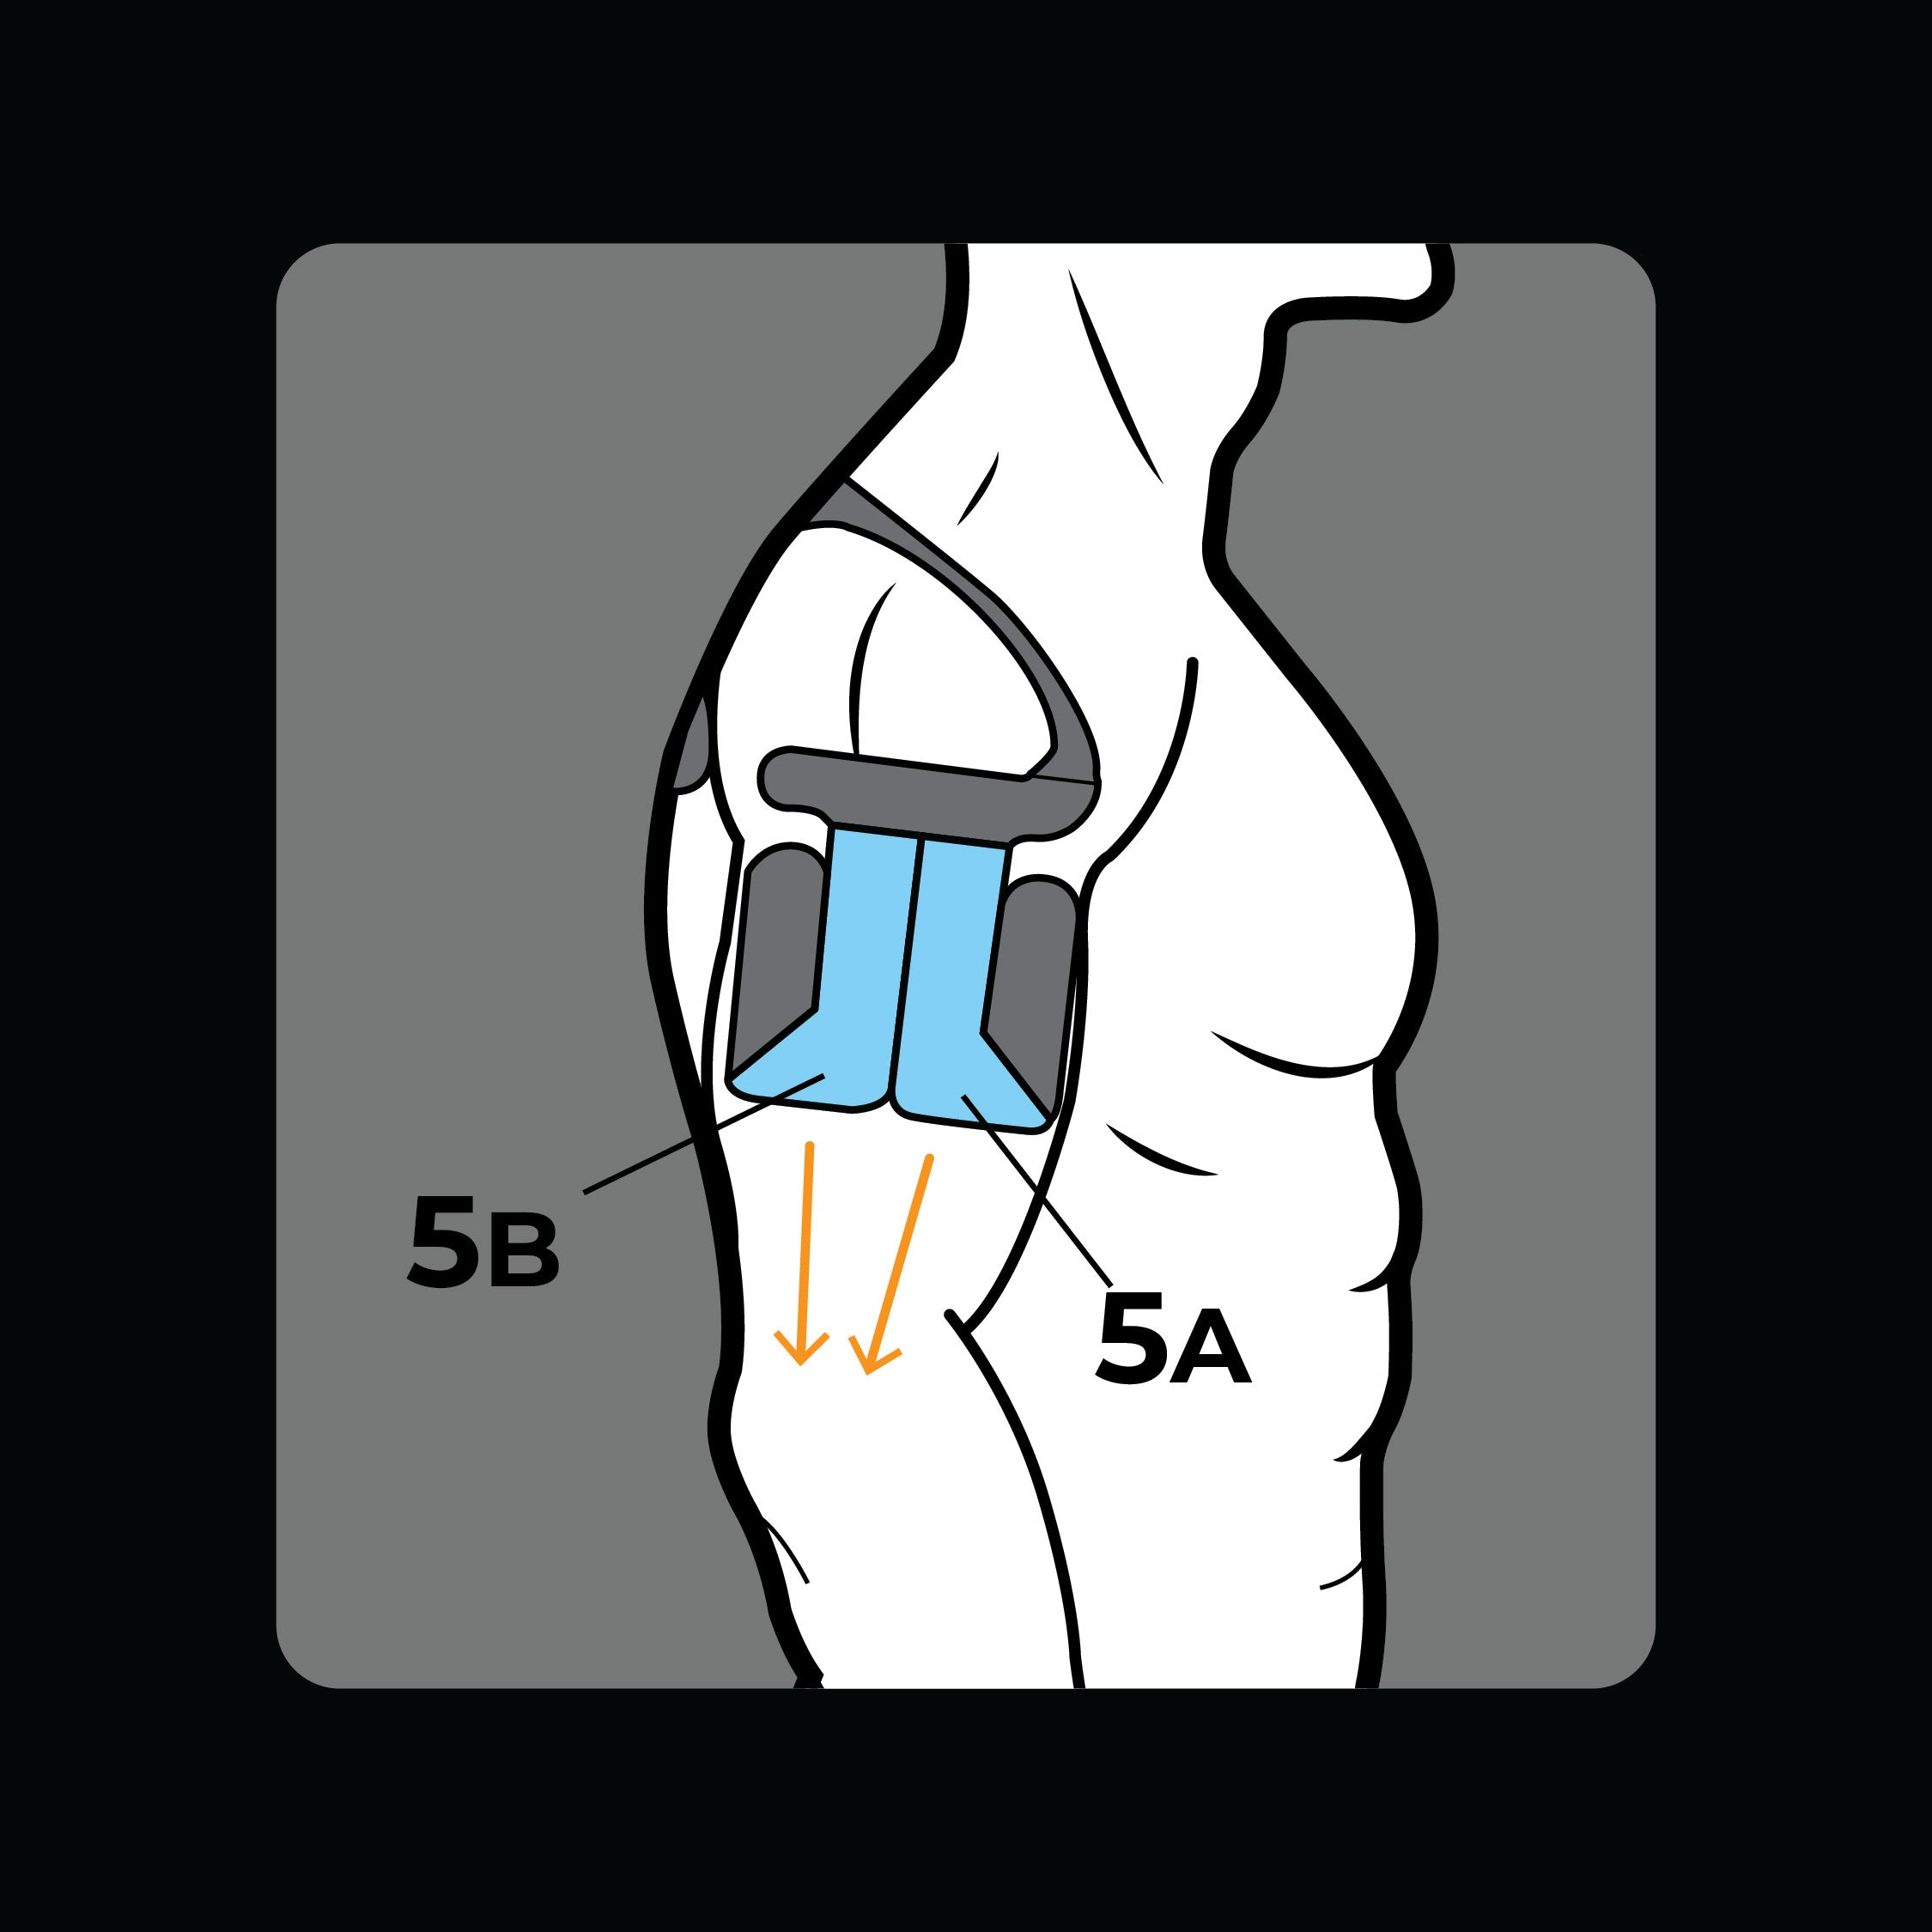
Placez le bras détendu sur le côté du corps. Appliquer 5A et 5B vers le coude.
Appliquer
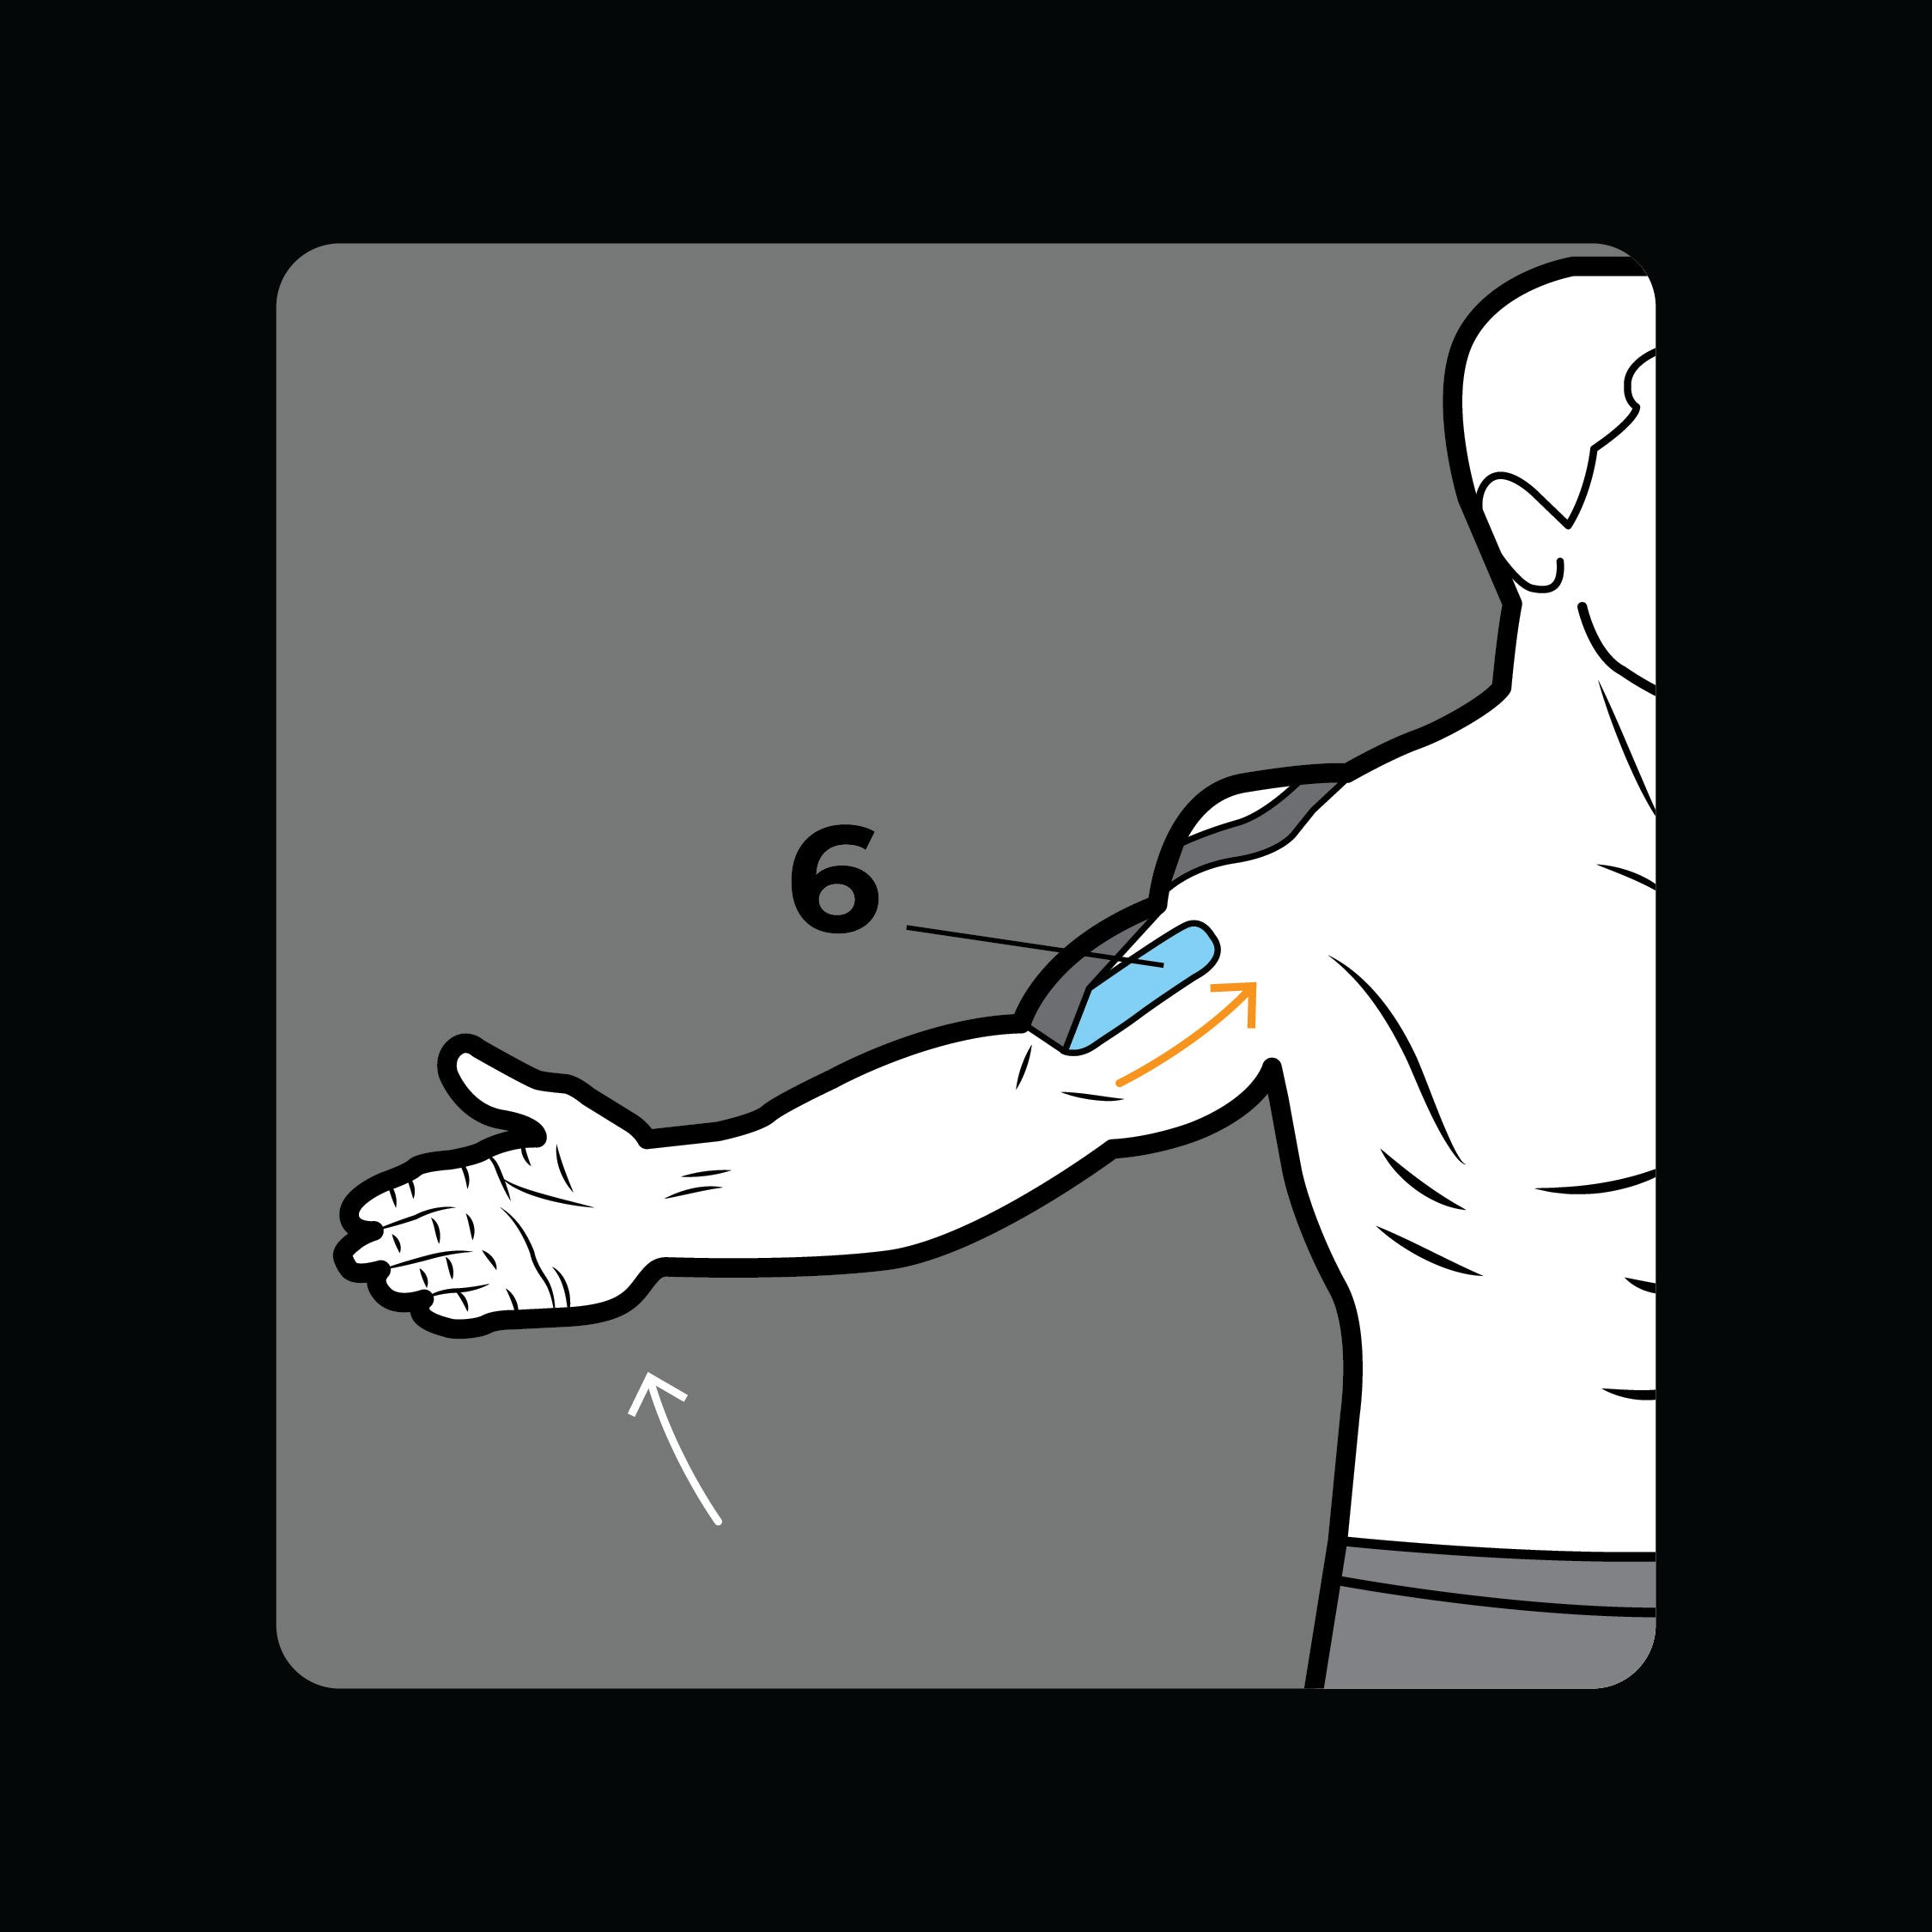
Avoir le bras à hauteur d’épaule, paume vers l’avant. Appliquer la section 6 vers l'épaule.
Appliquer
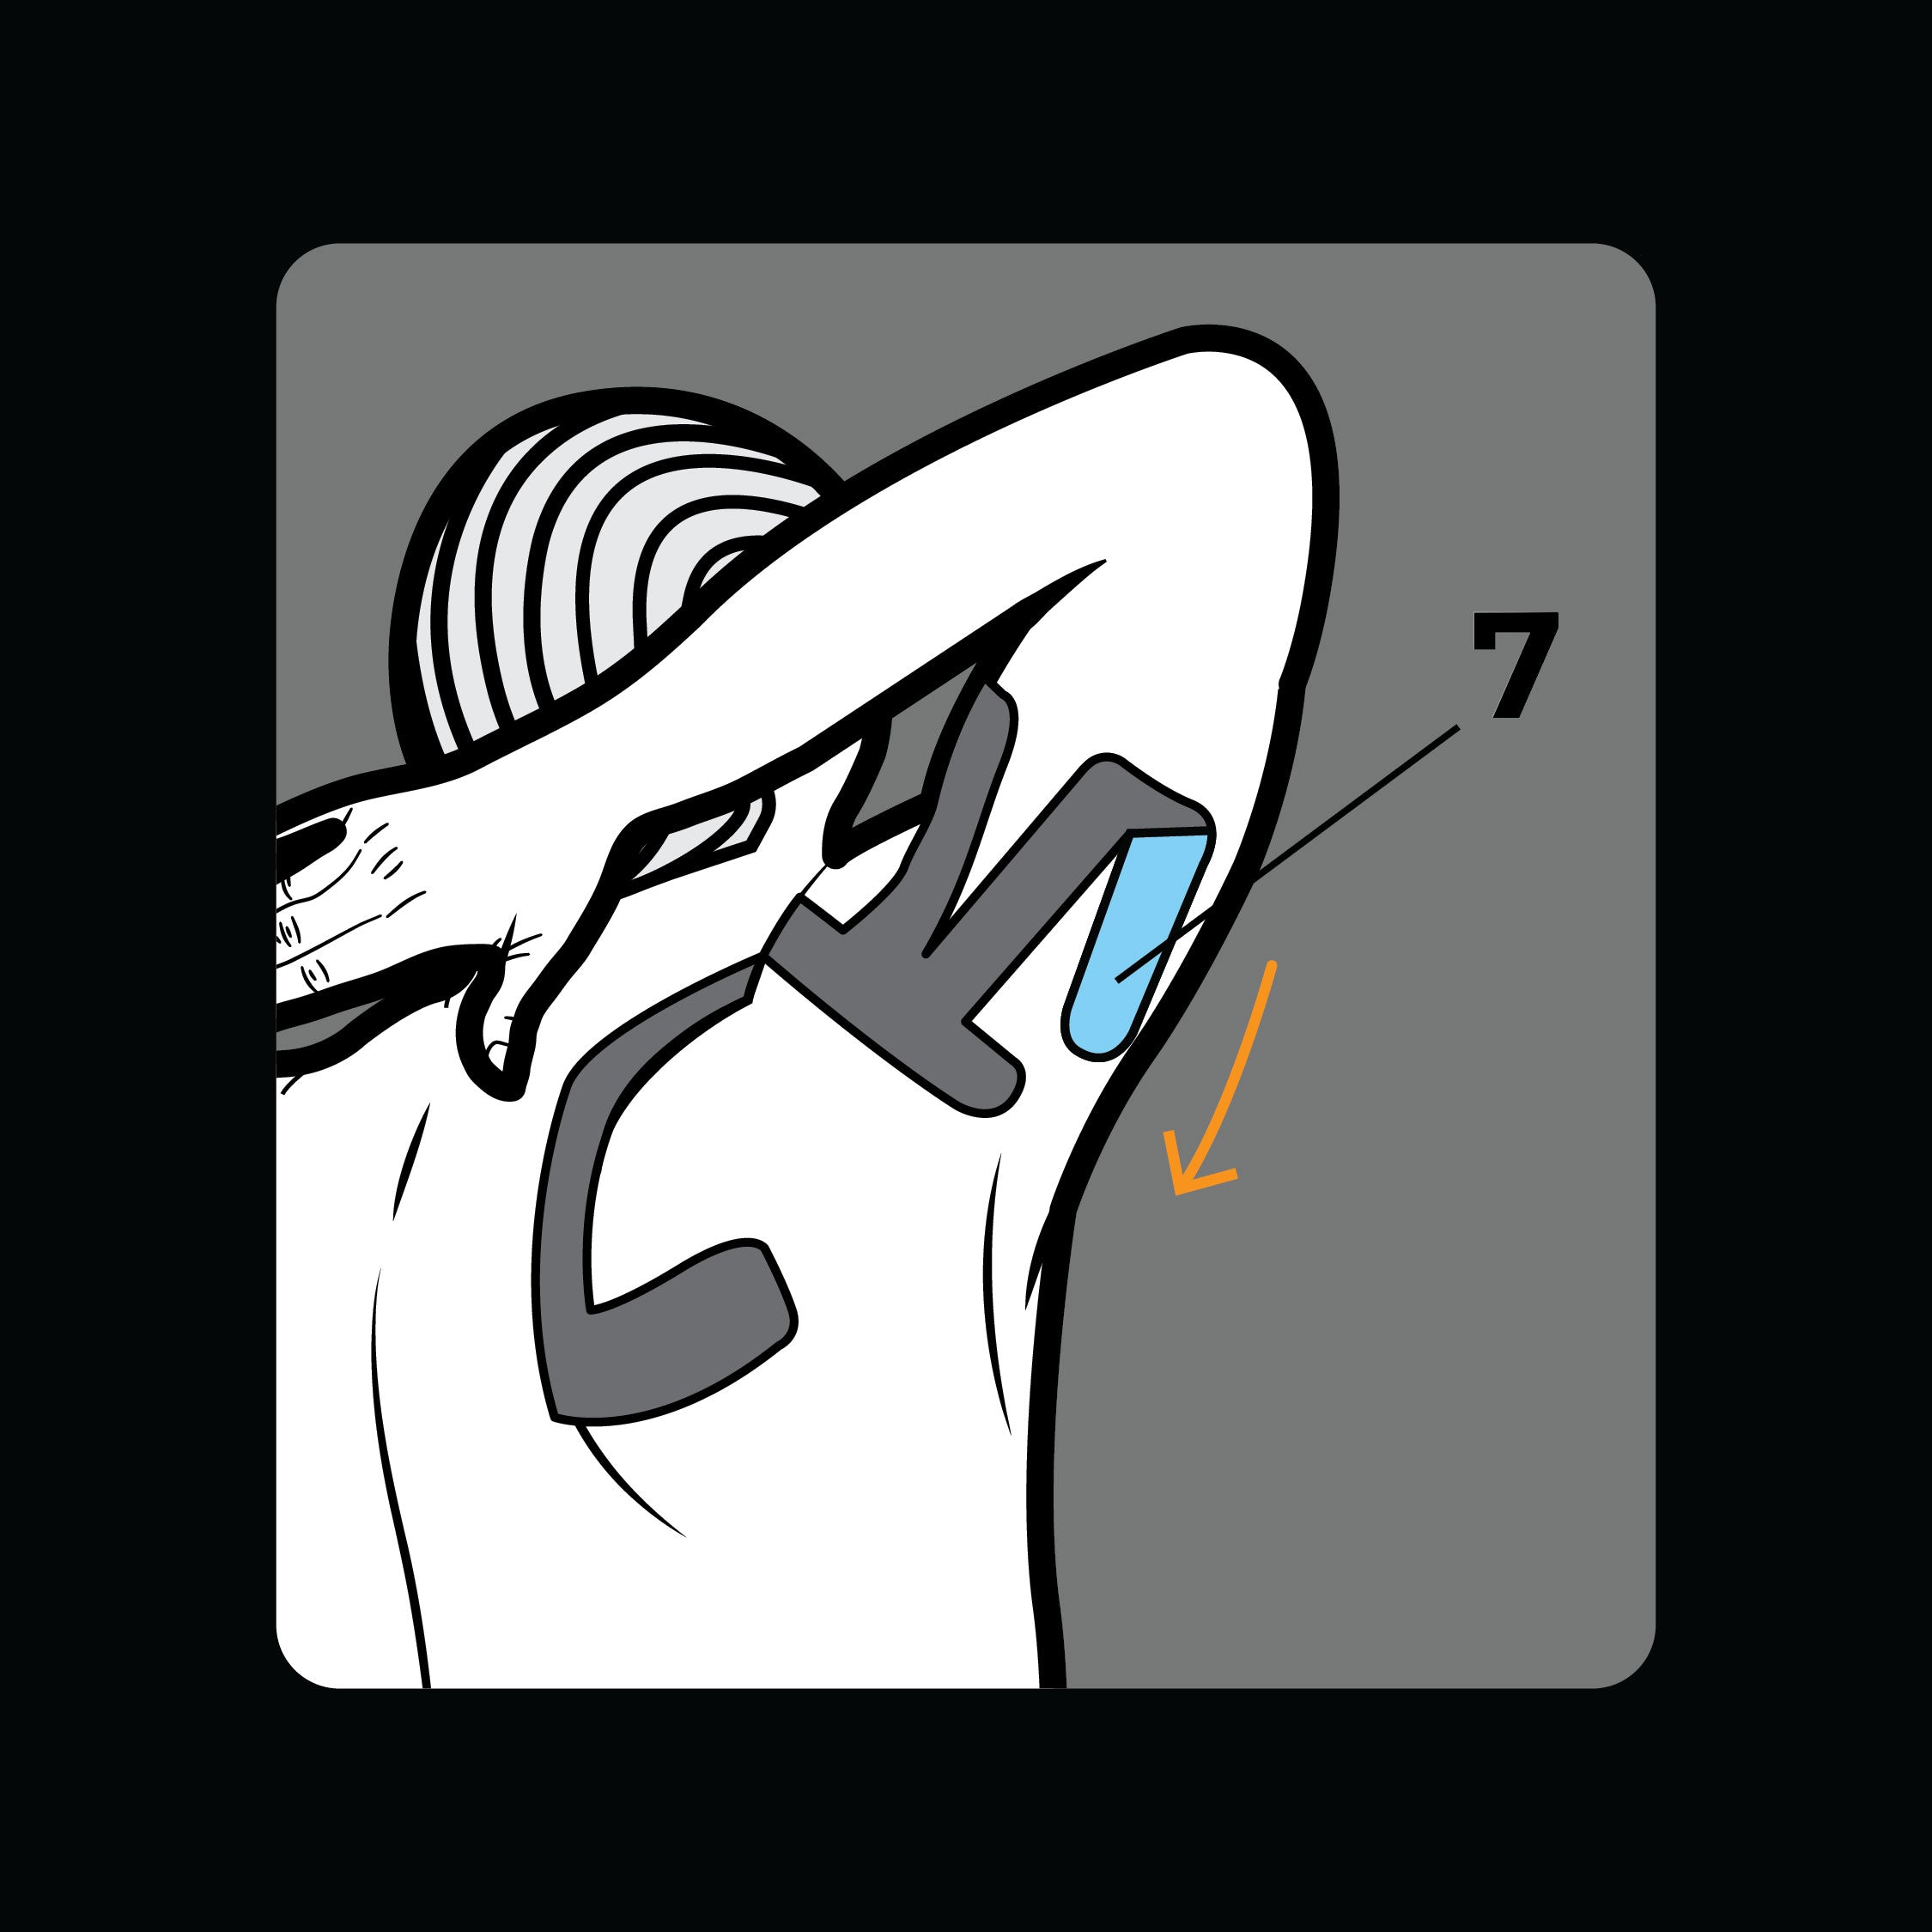
Soulevez la main au-dessus de la tête et pliez le coude. Appliquer la section 7 vers l'épaule.
Frottez doucement
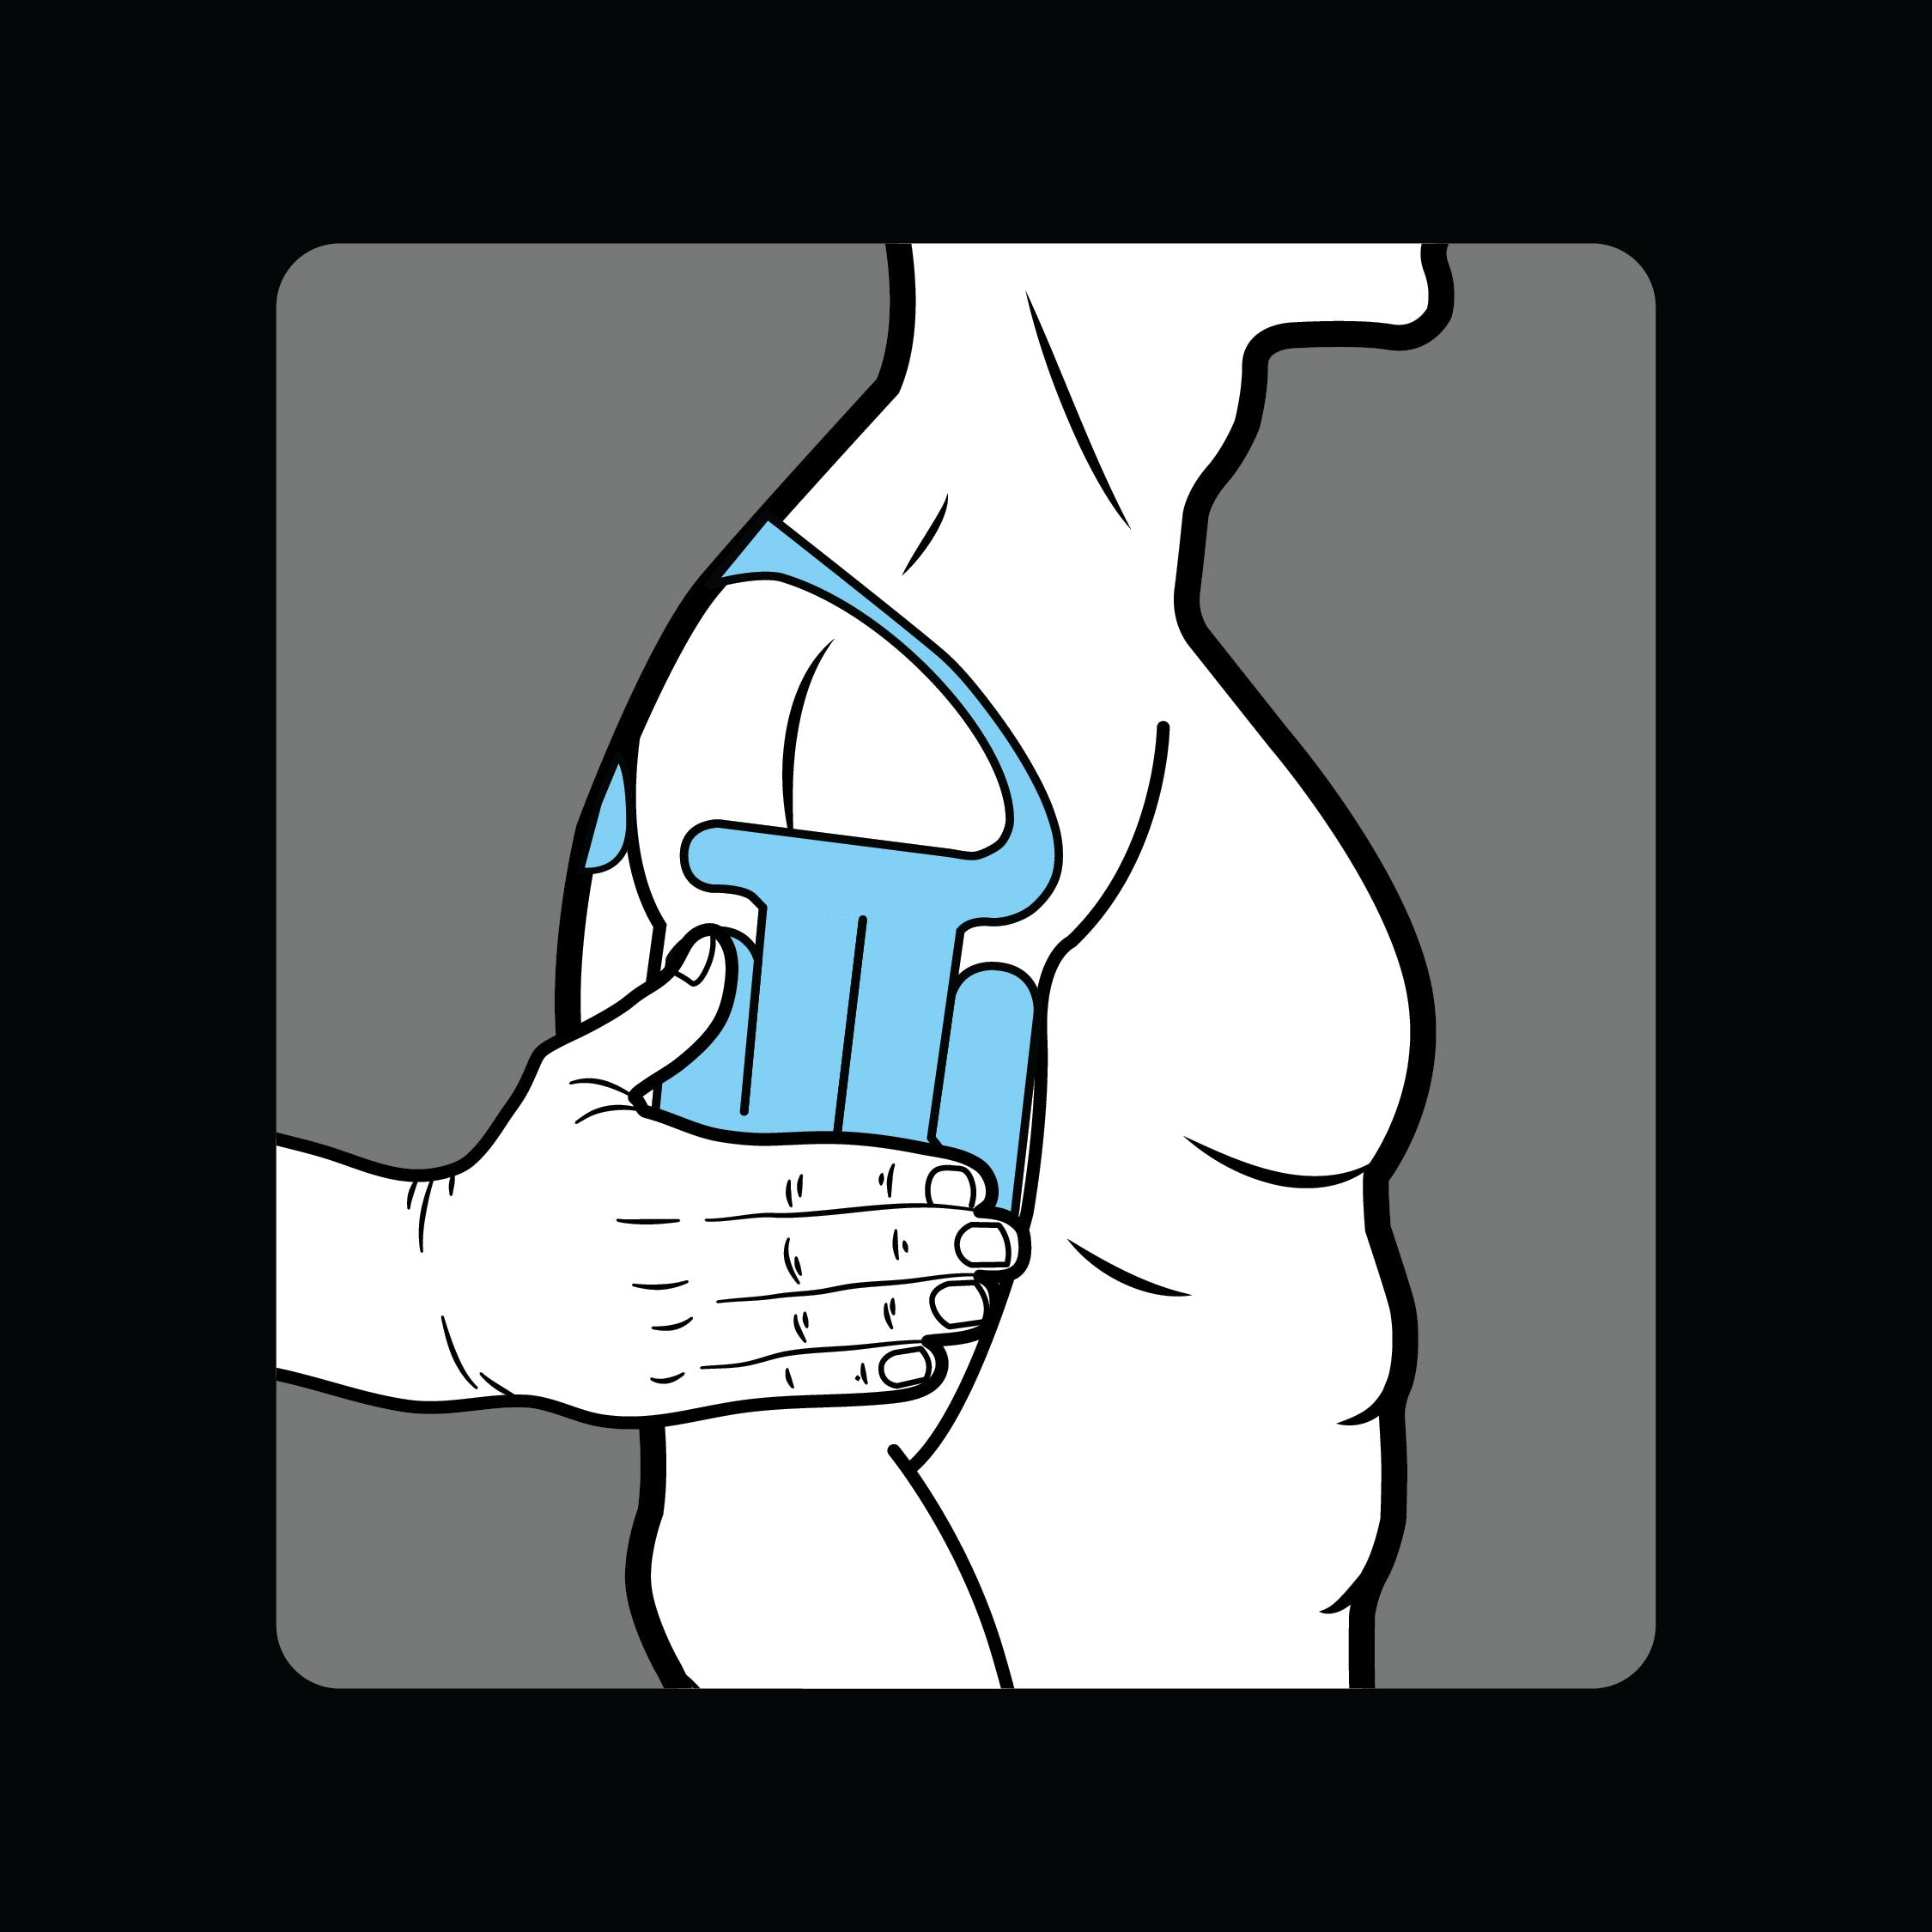
Revenez à la position détendue. Frottez doucement pour activer l'adhésif.
Step 8
Go back to relaxed position. Gently rub to activate adhesive.
Left Shoulder Application Guide - Step-by-Step
Left Pro Shoulder Application
Follow the steps in order to achieve a perfect application.
Slide to the right for next steps.

Before you begin
To ensure the best results:
Clean skin, remove any sweat, oil, creams and hair.
Prepare tape before application and tear all perforations.
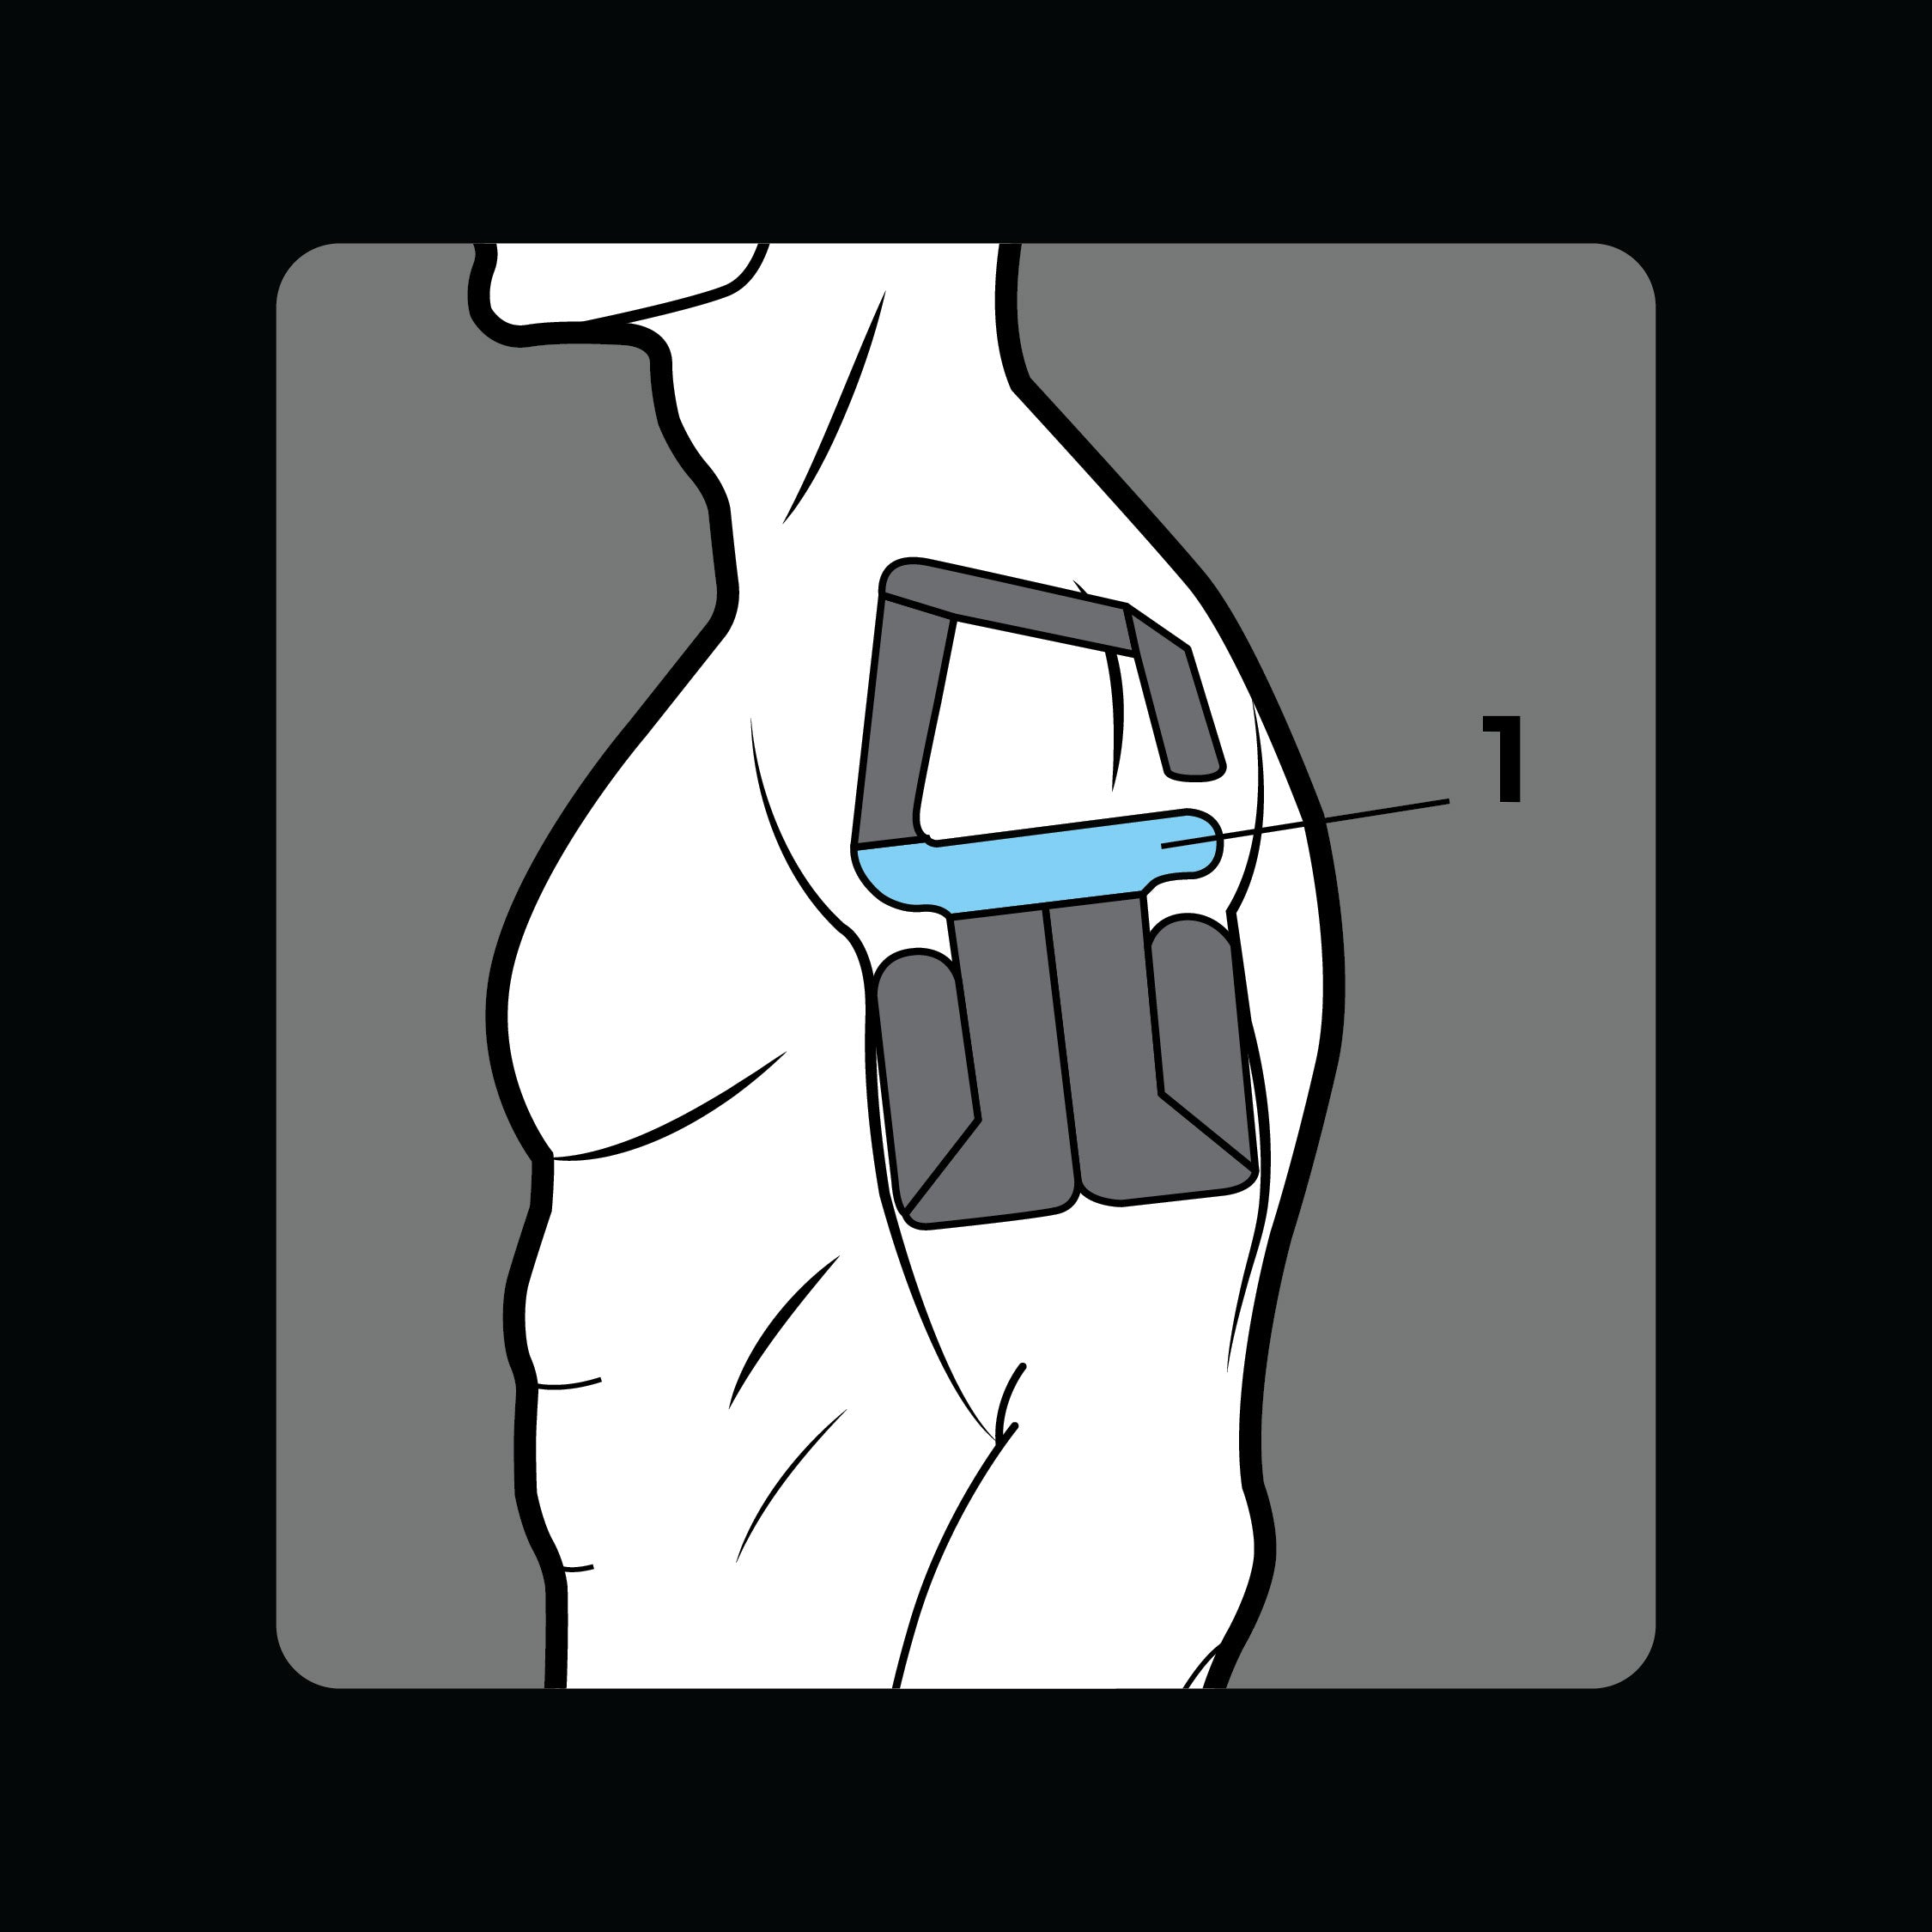
Step 1
With arm relaxed to your side, apply section 1 below the shoulder joint.
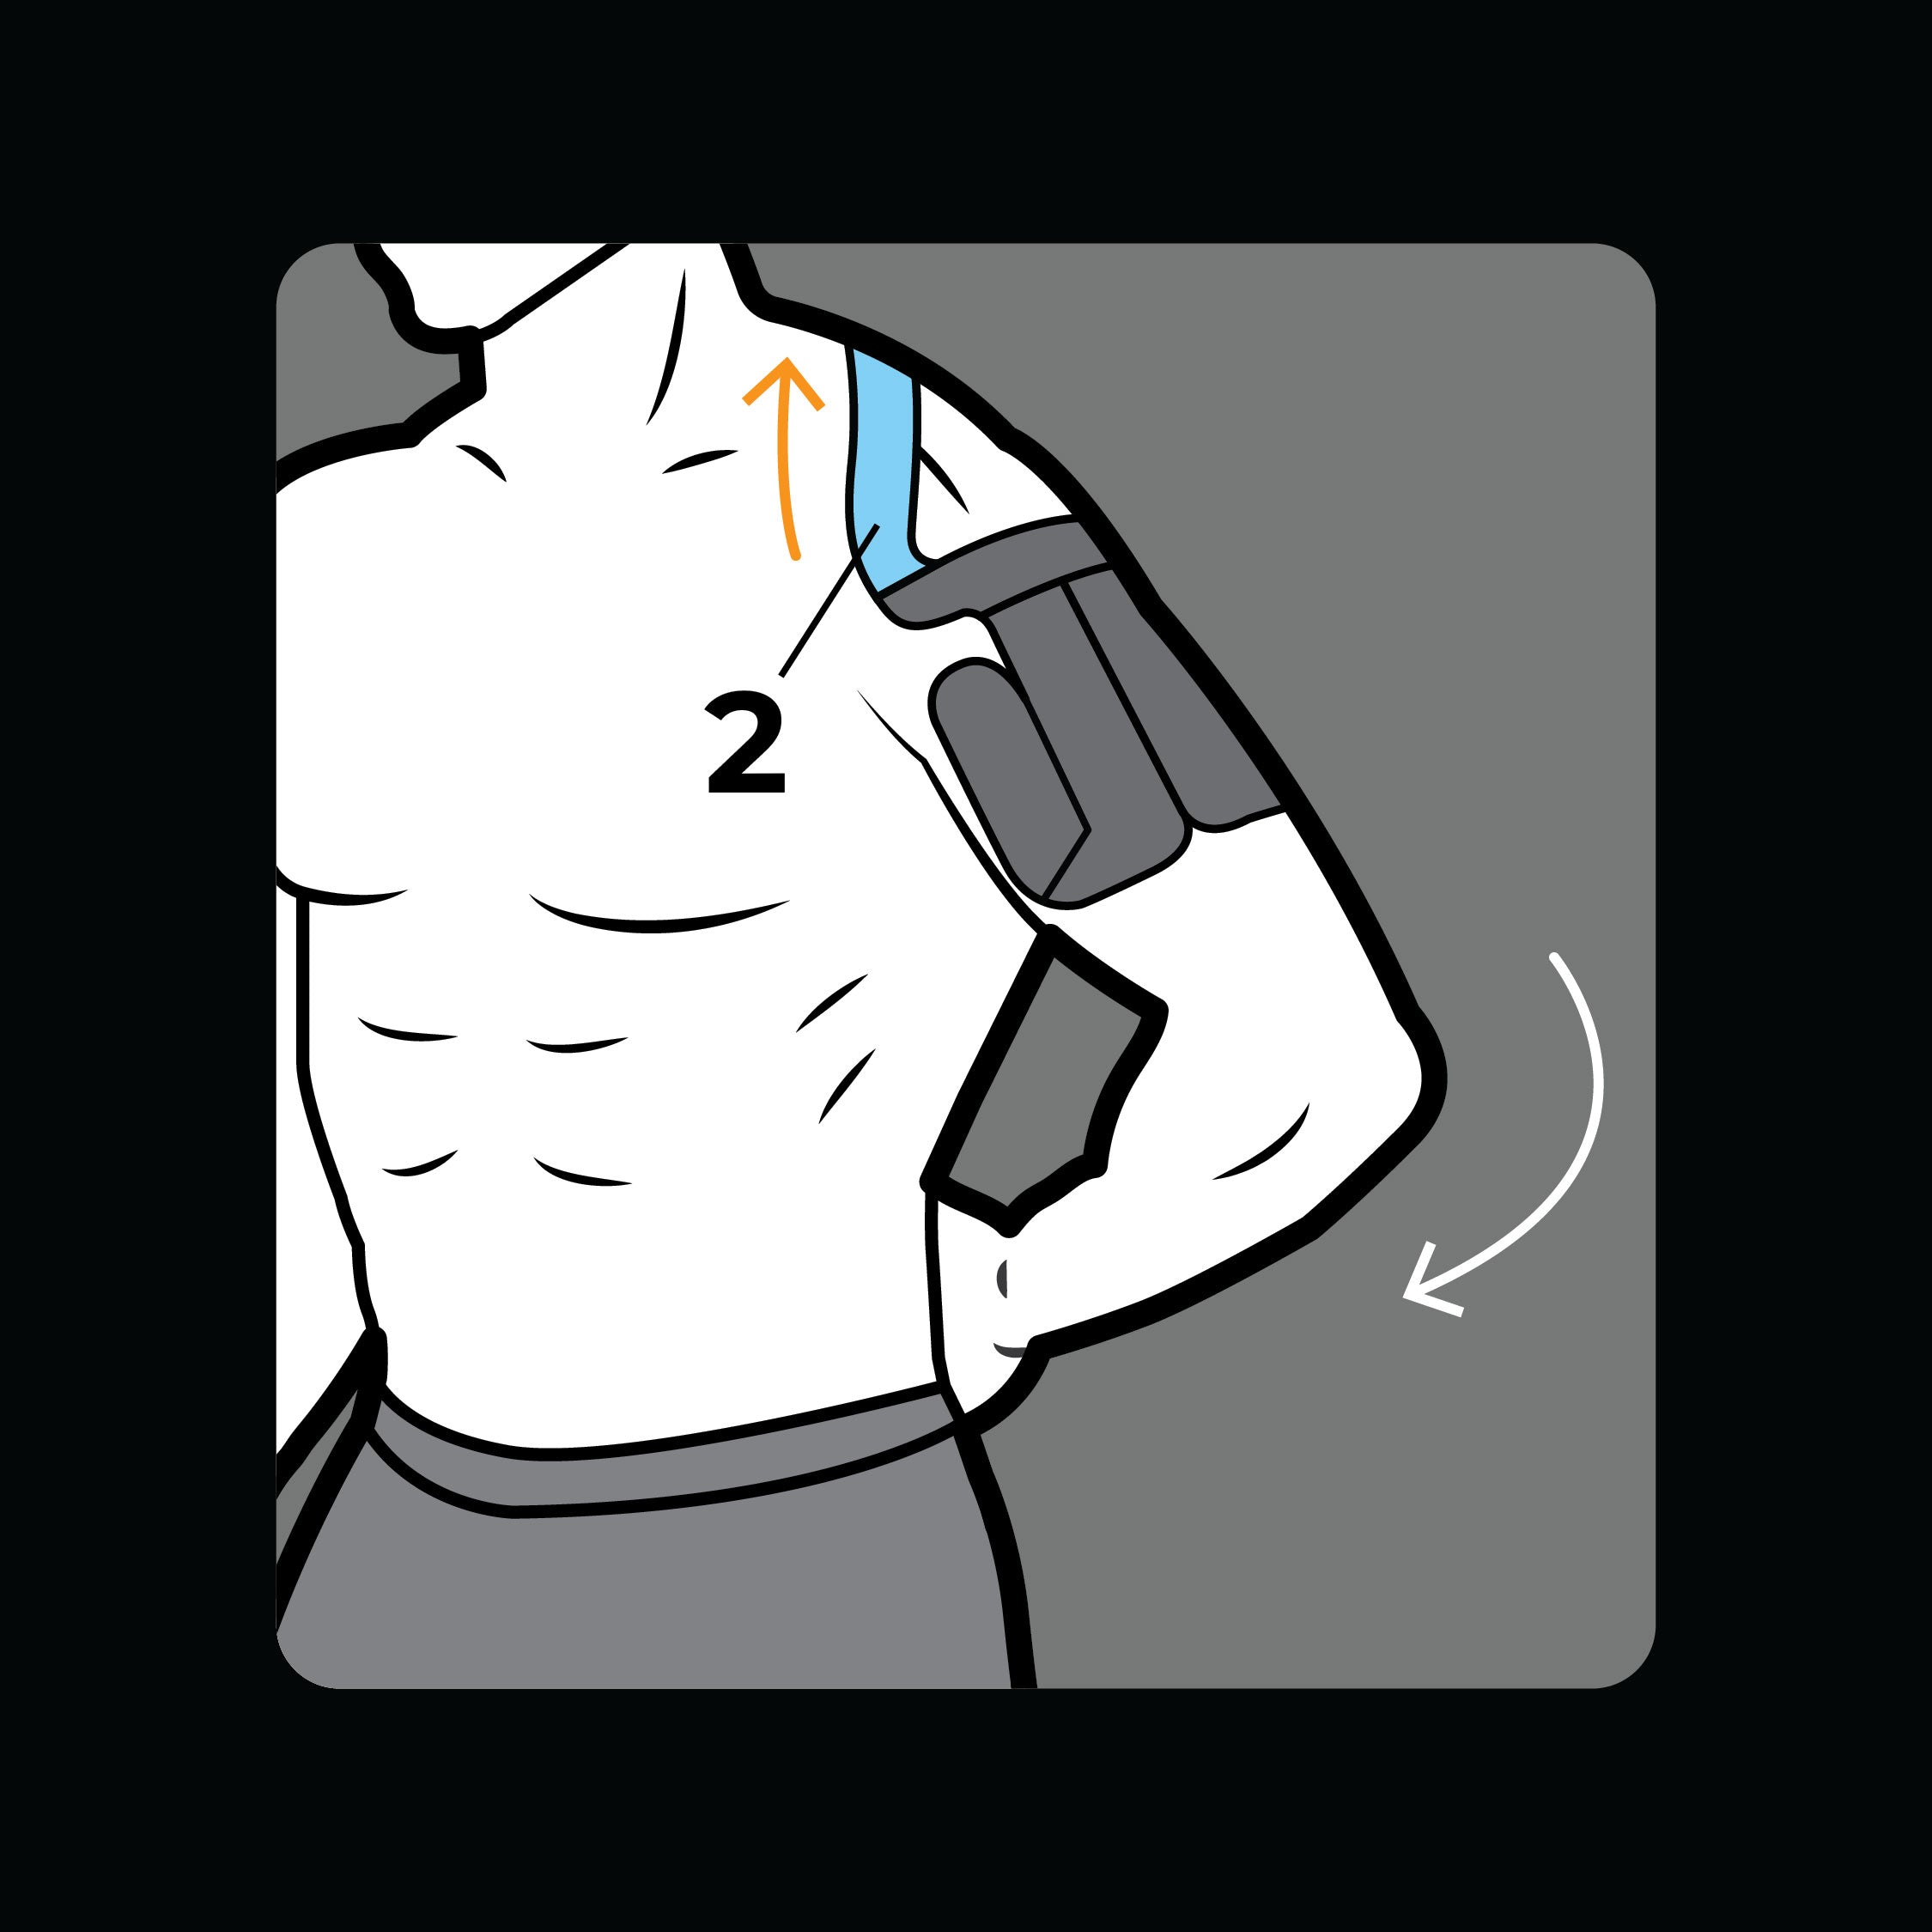
Step 2
Place back of hand on low back. Apply section 2 across collarbone, towards neck.
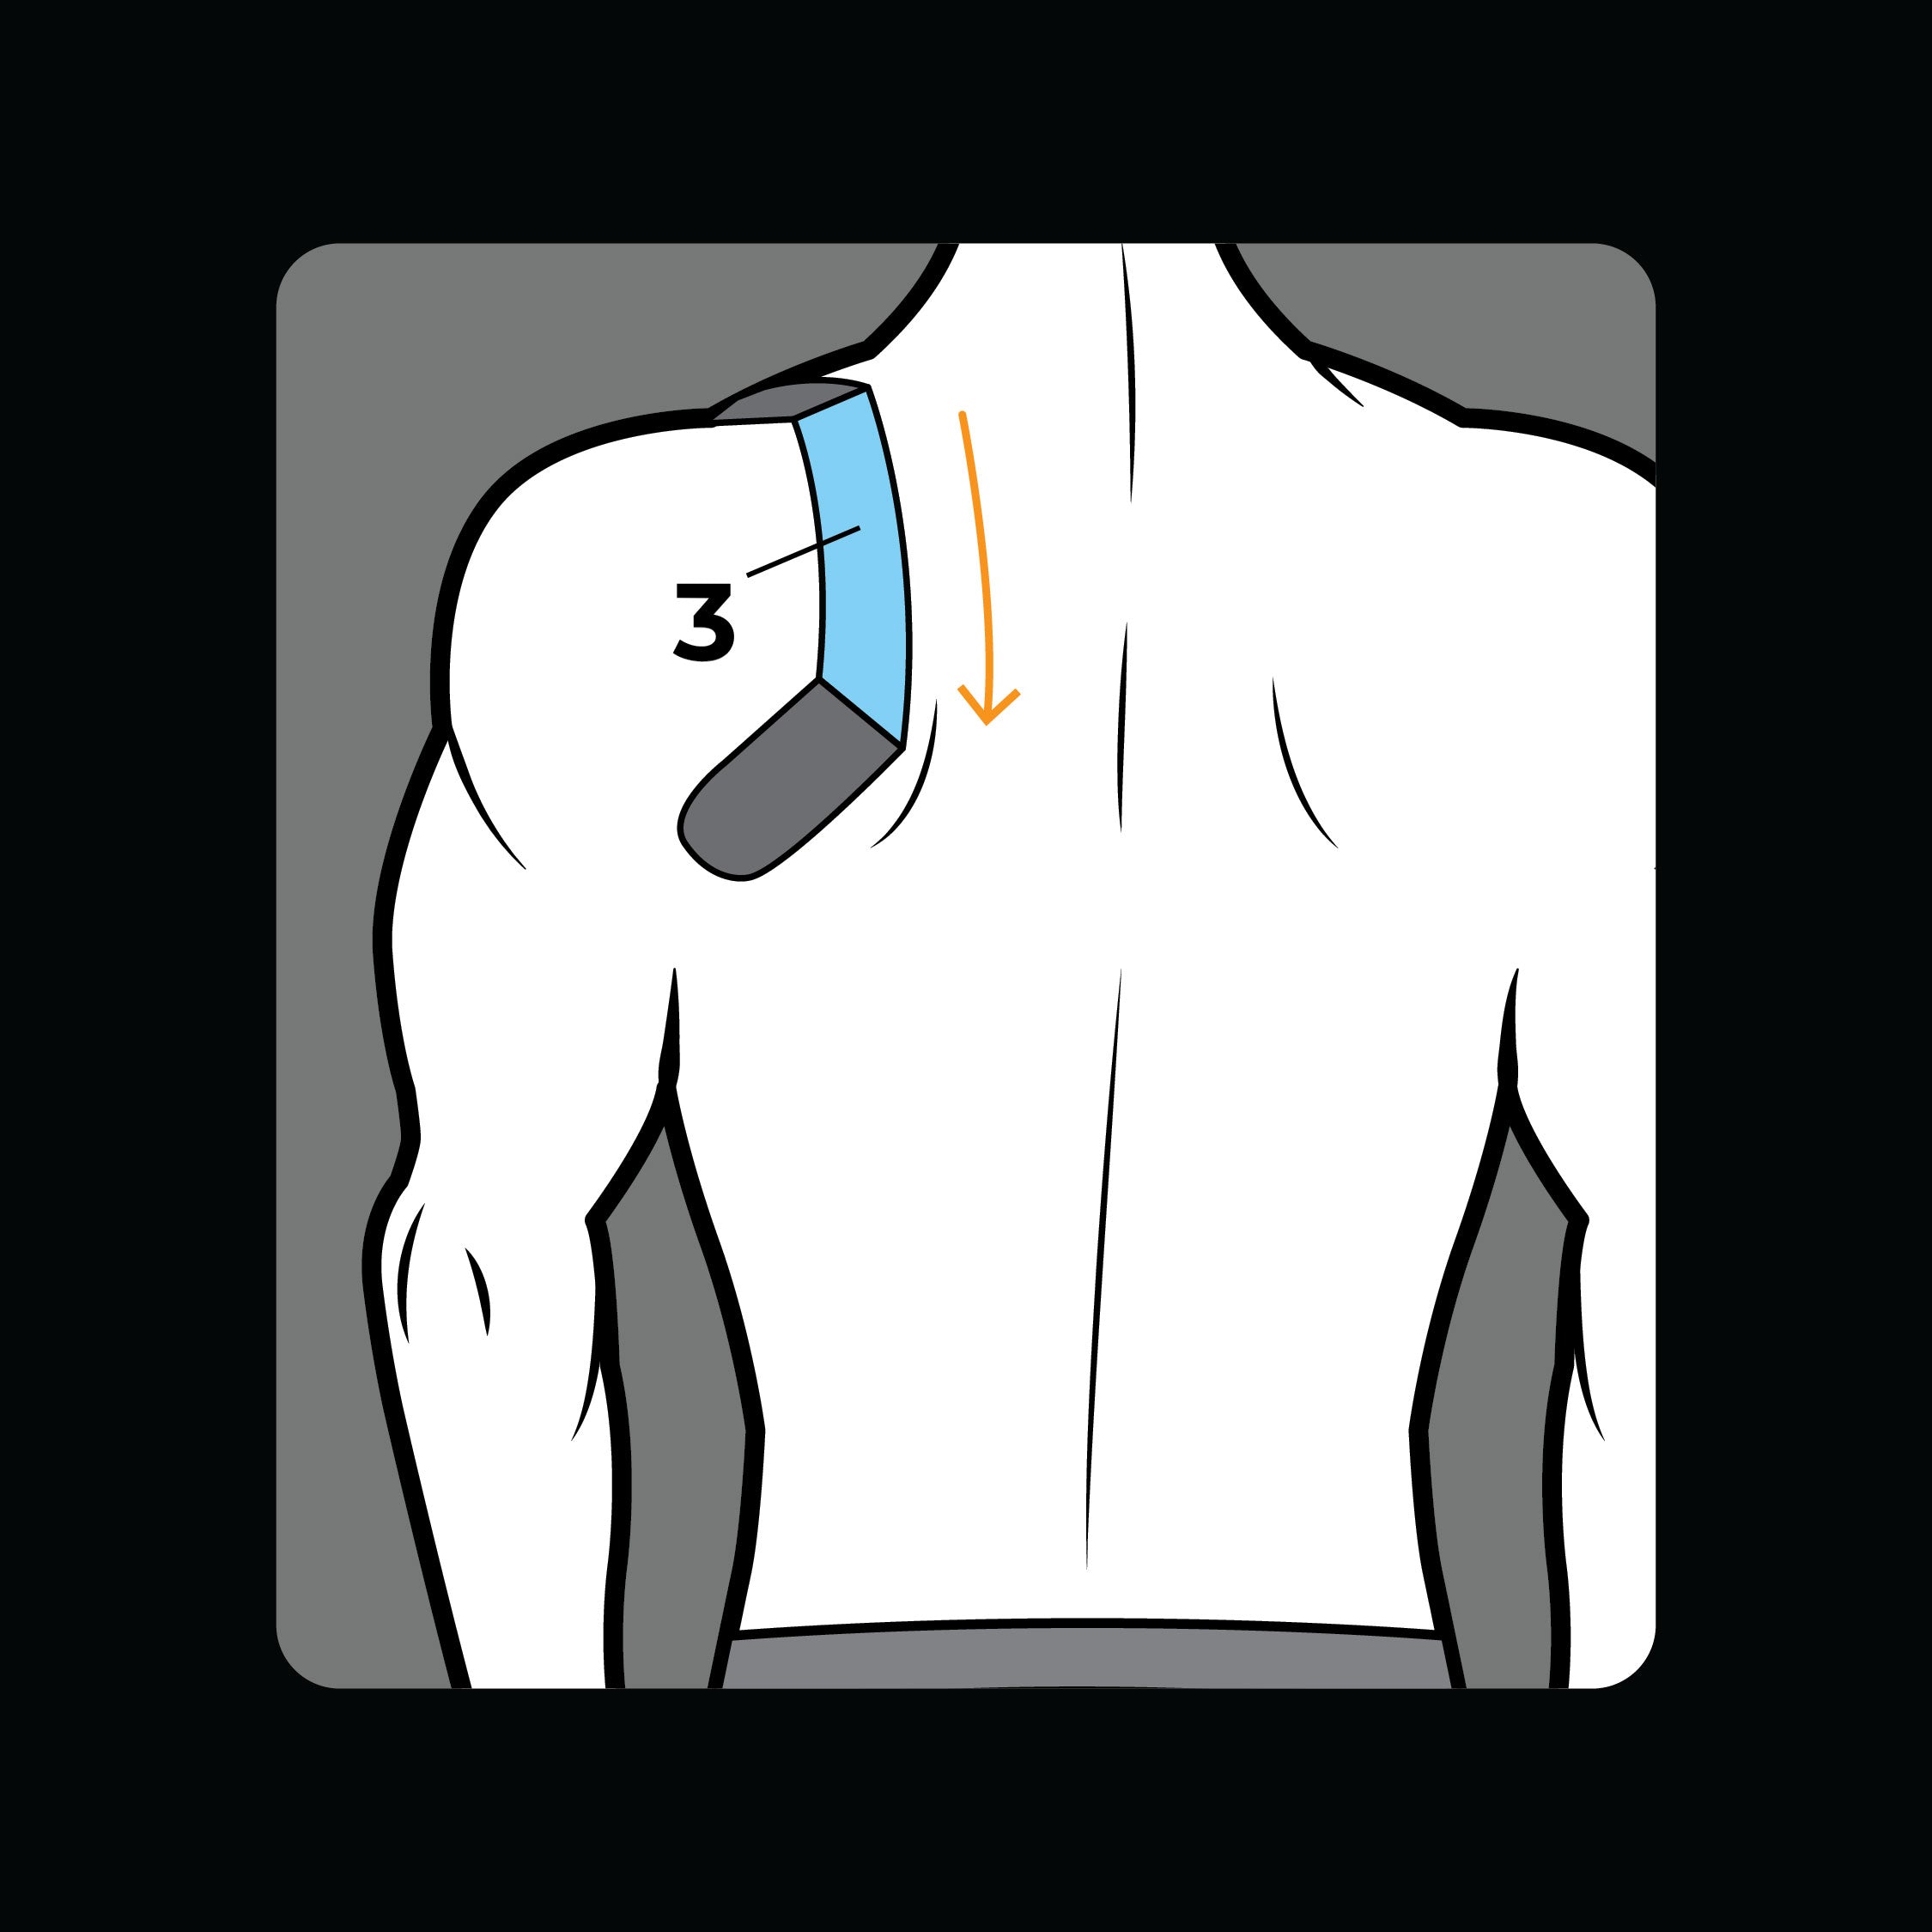
Step 3
With arms relaxed to your side, apply section 3 parallel to spine.
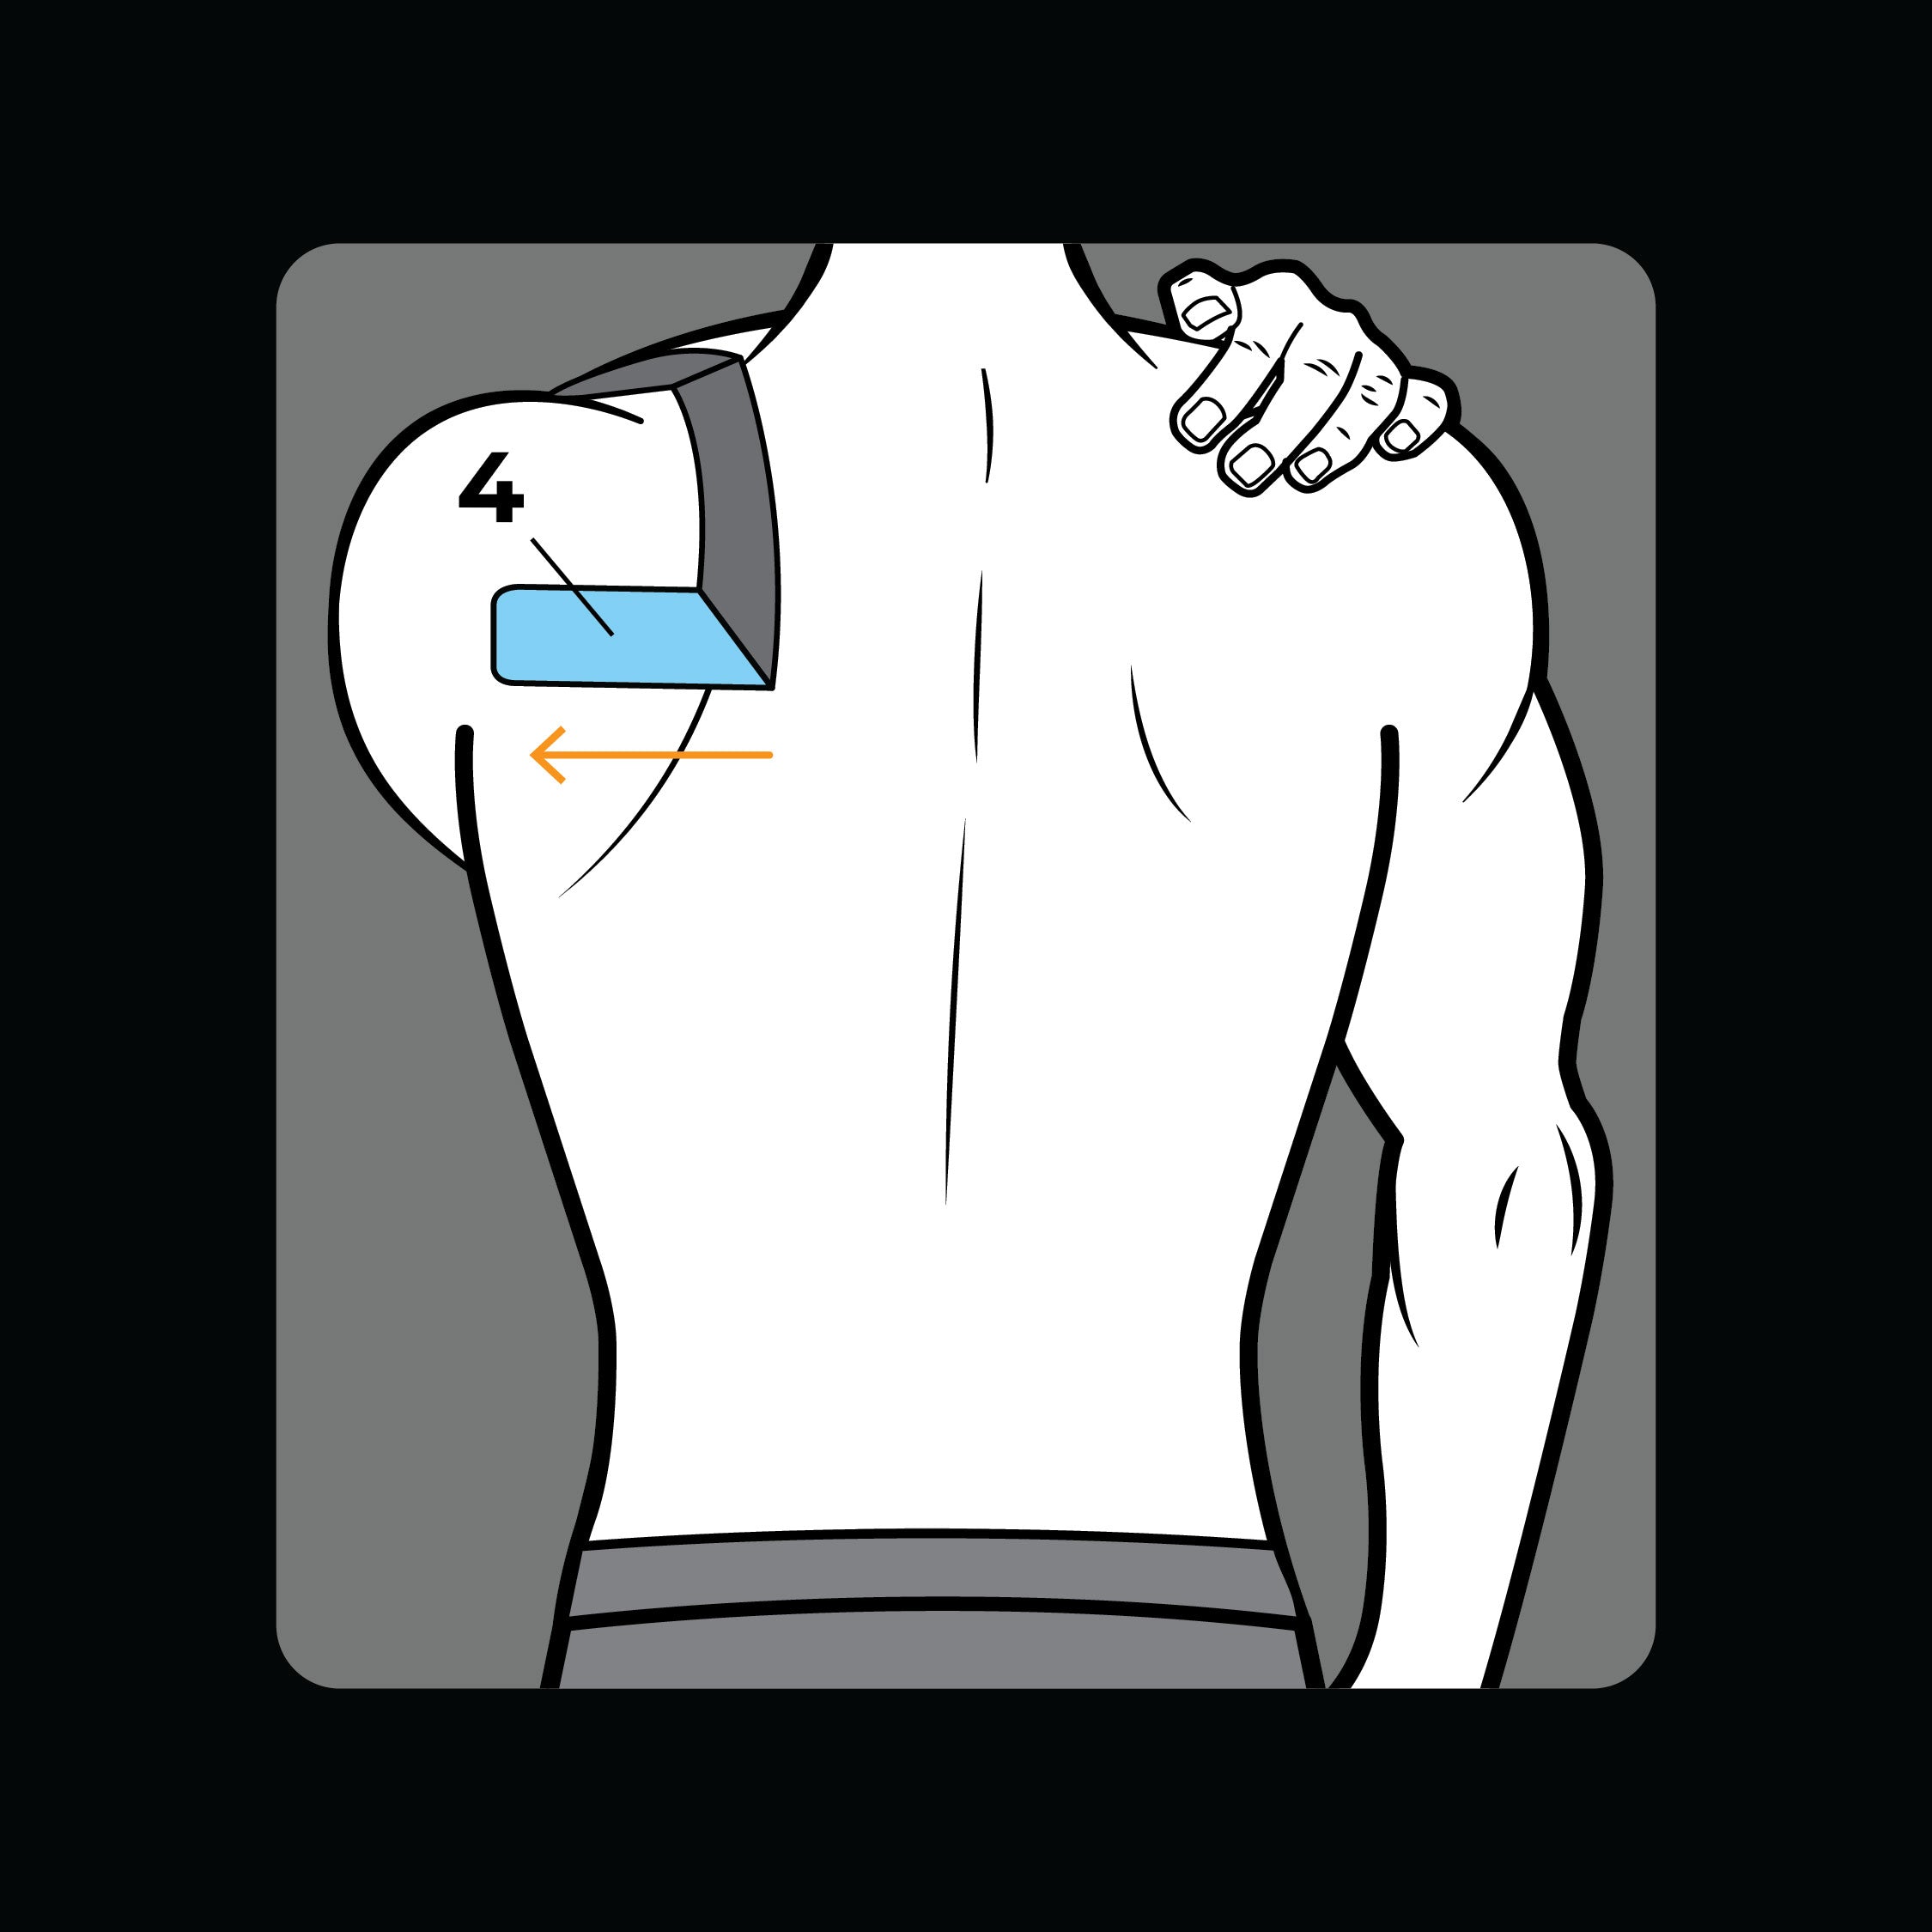
Step 4
Place left hand on opposite shoulder and apply section 4 across shoulder blade.
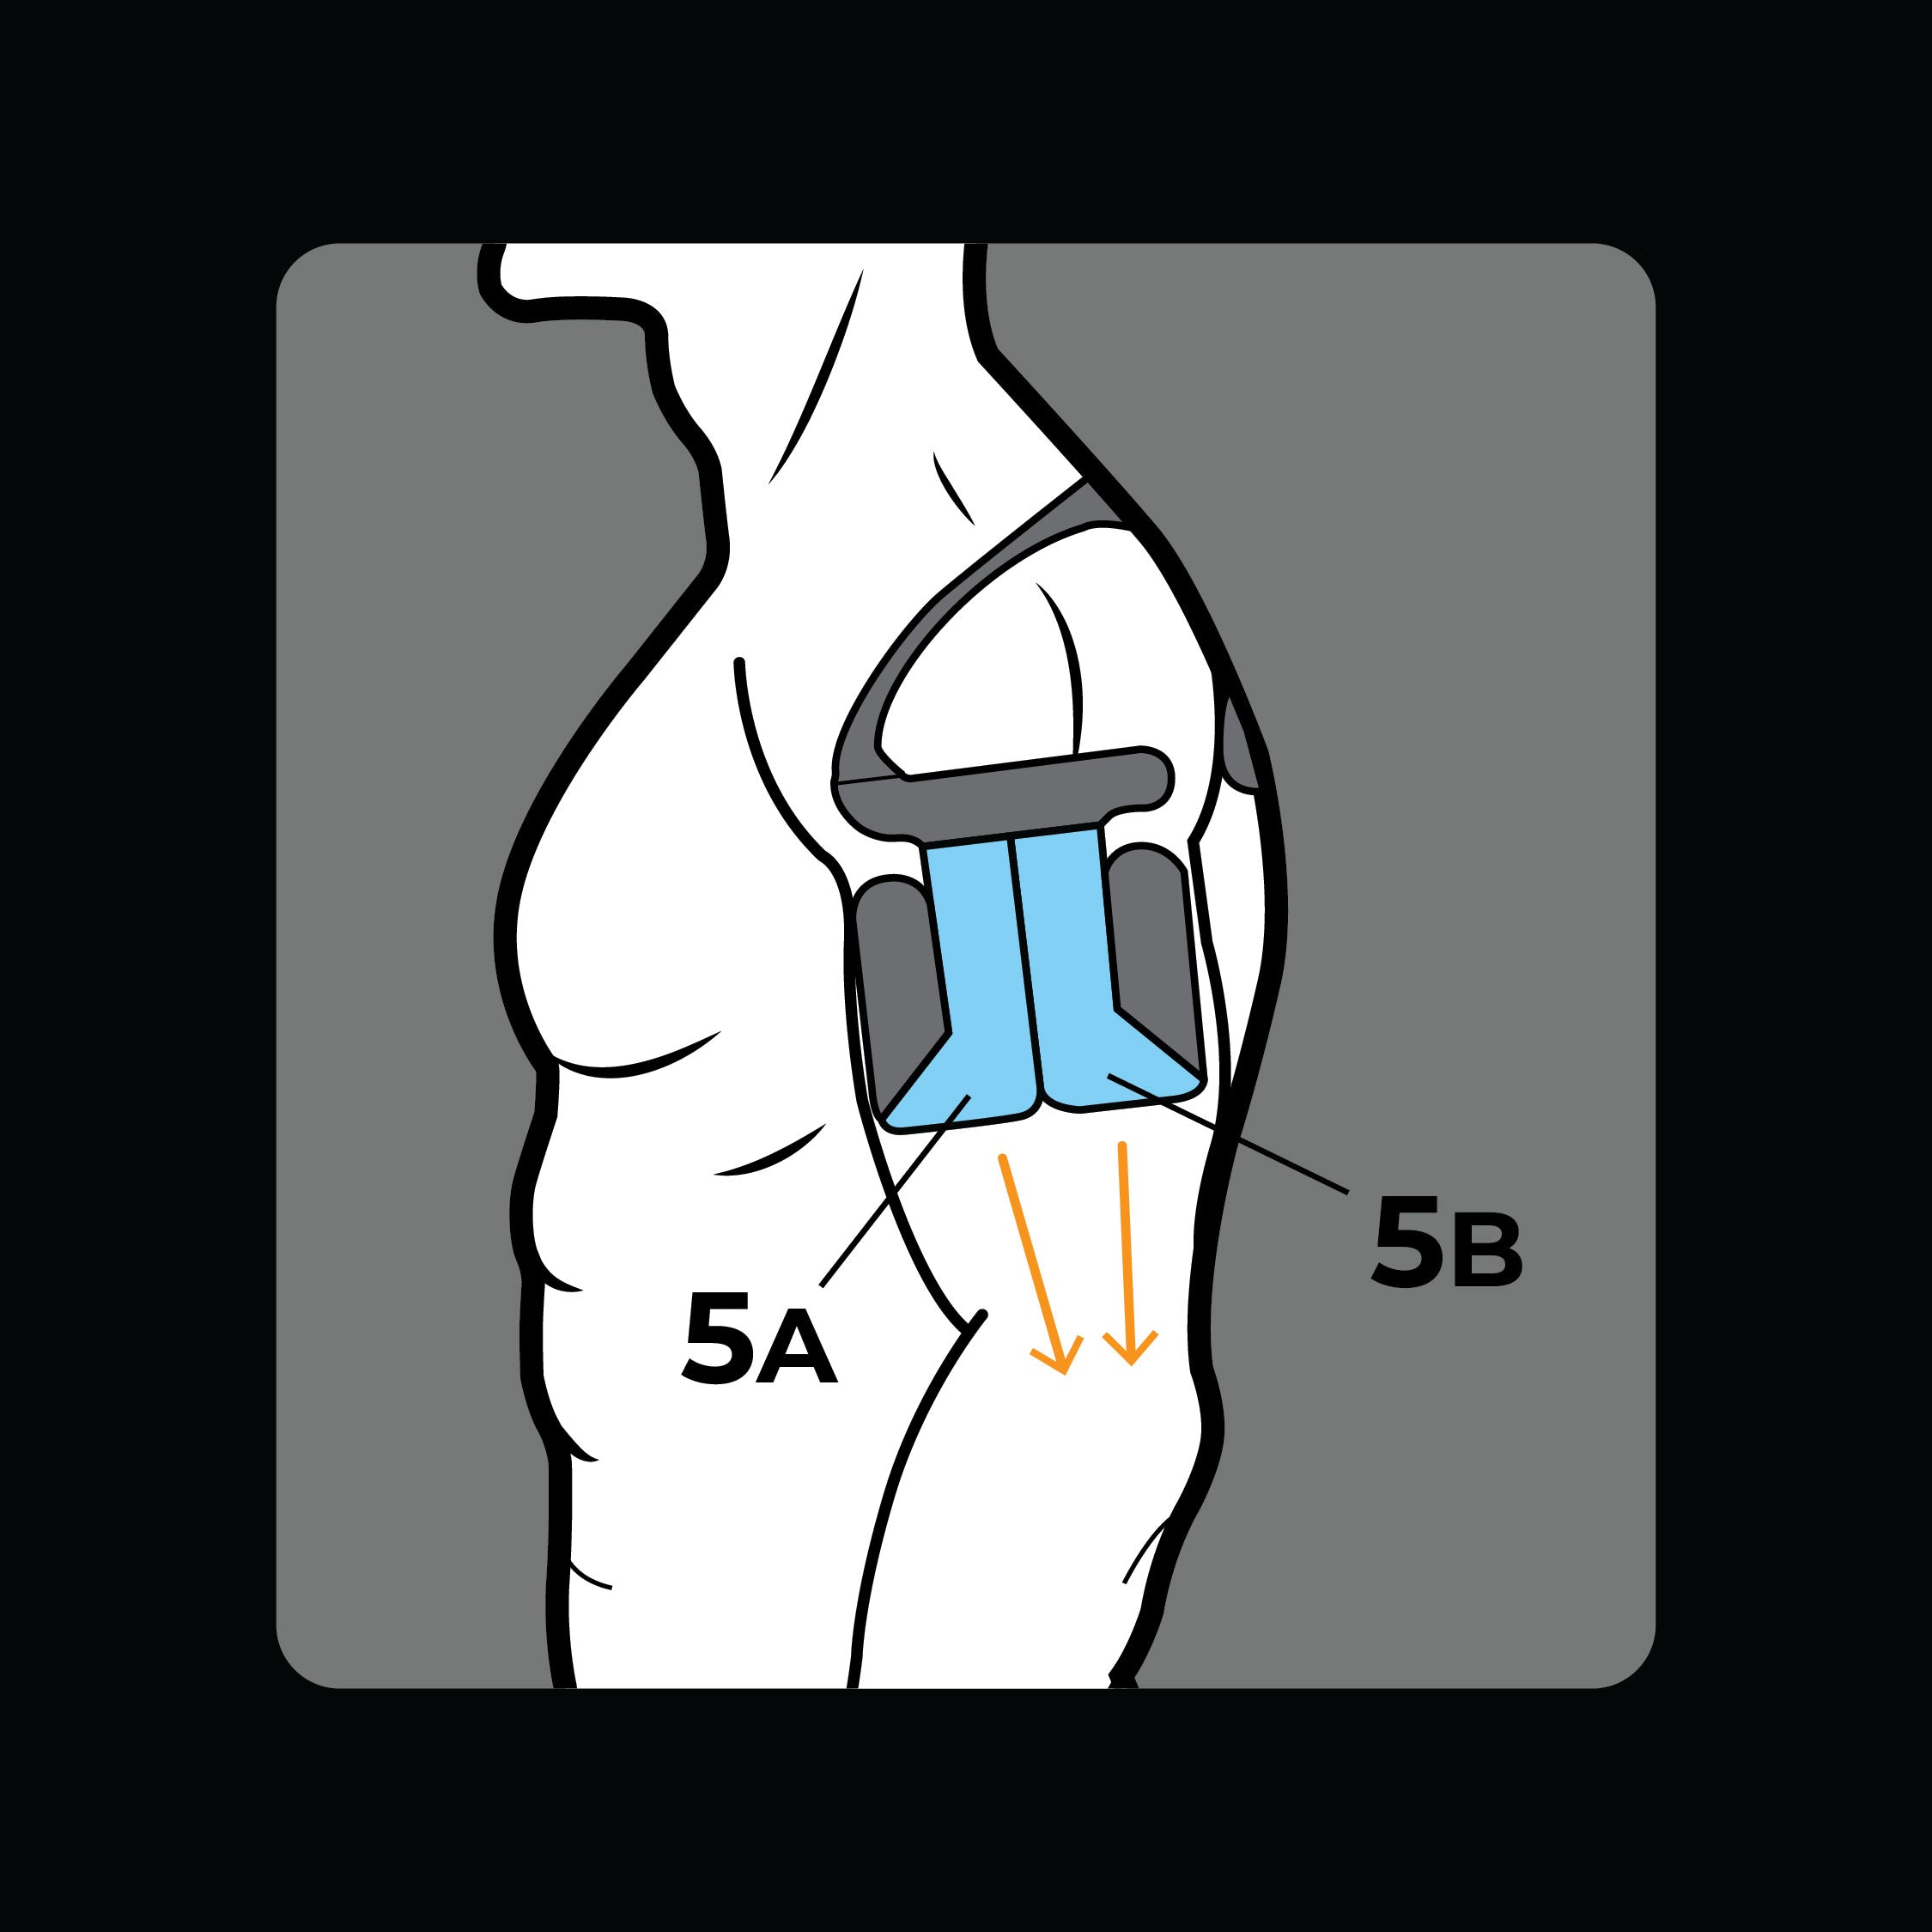
Step 5
Place arm relaxed at side of body. Apple section 5A and 5B towards elbow.
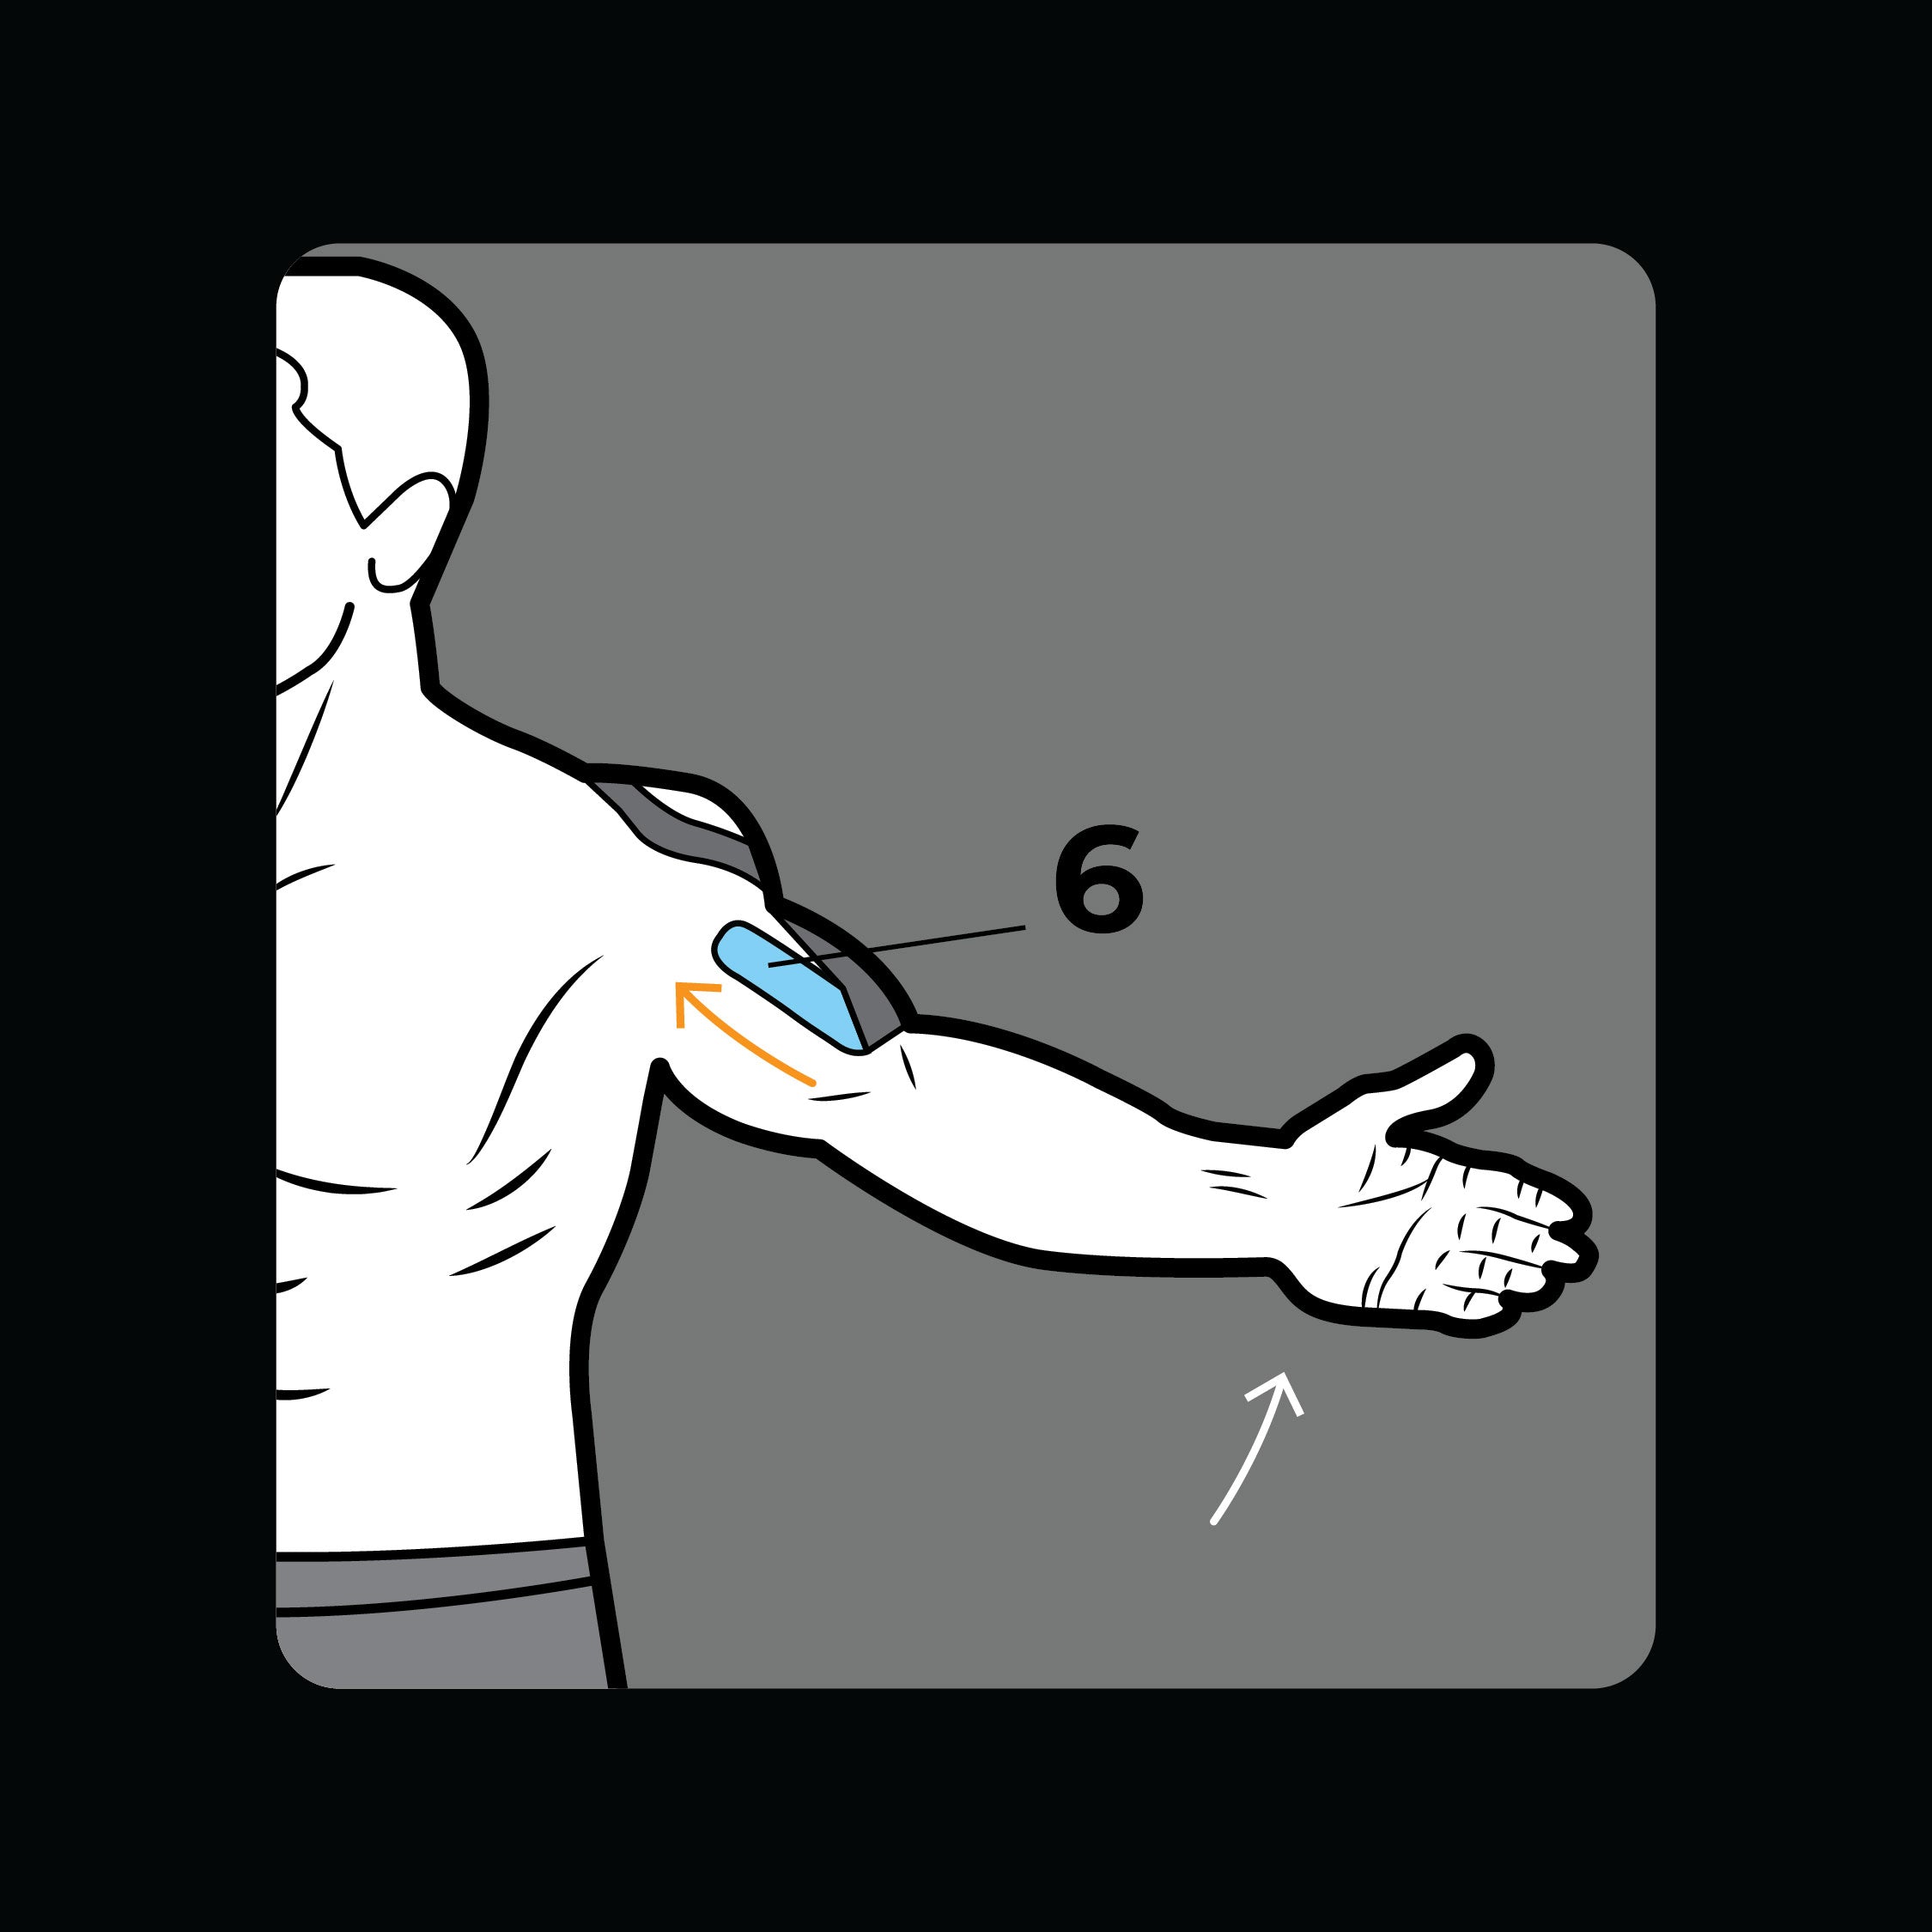
Step 6
Have arm at shoulder height, with palm forward. Apply section 6 towards shoulder.
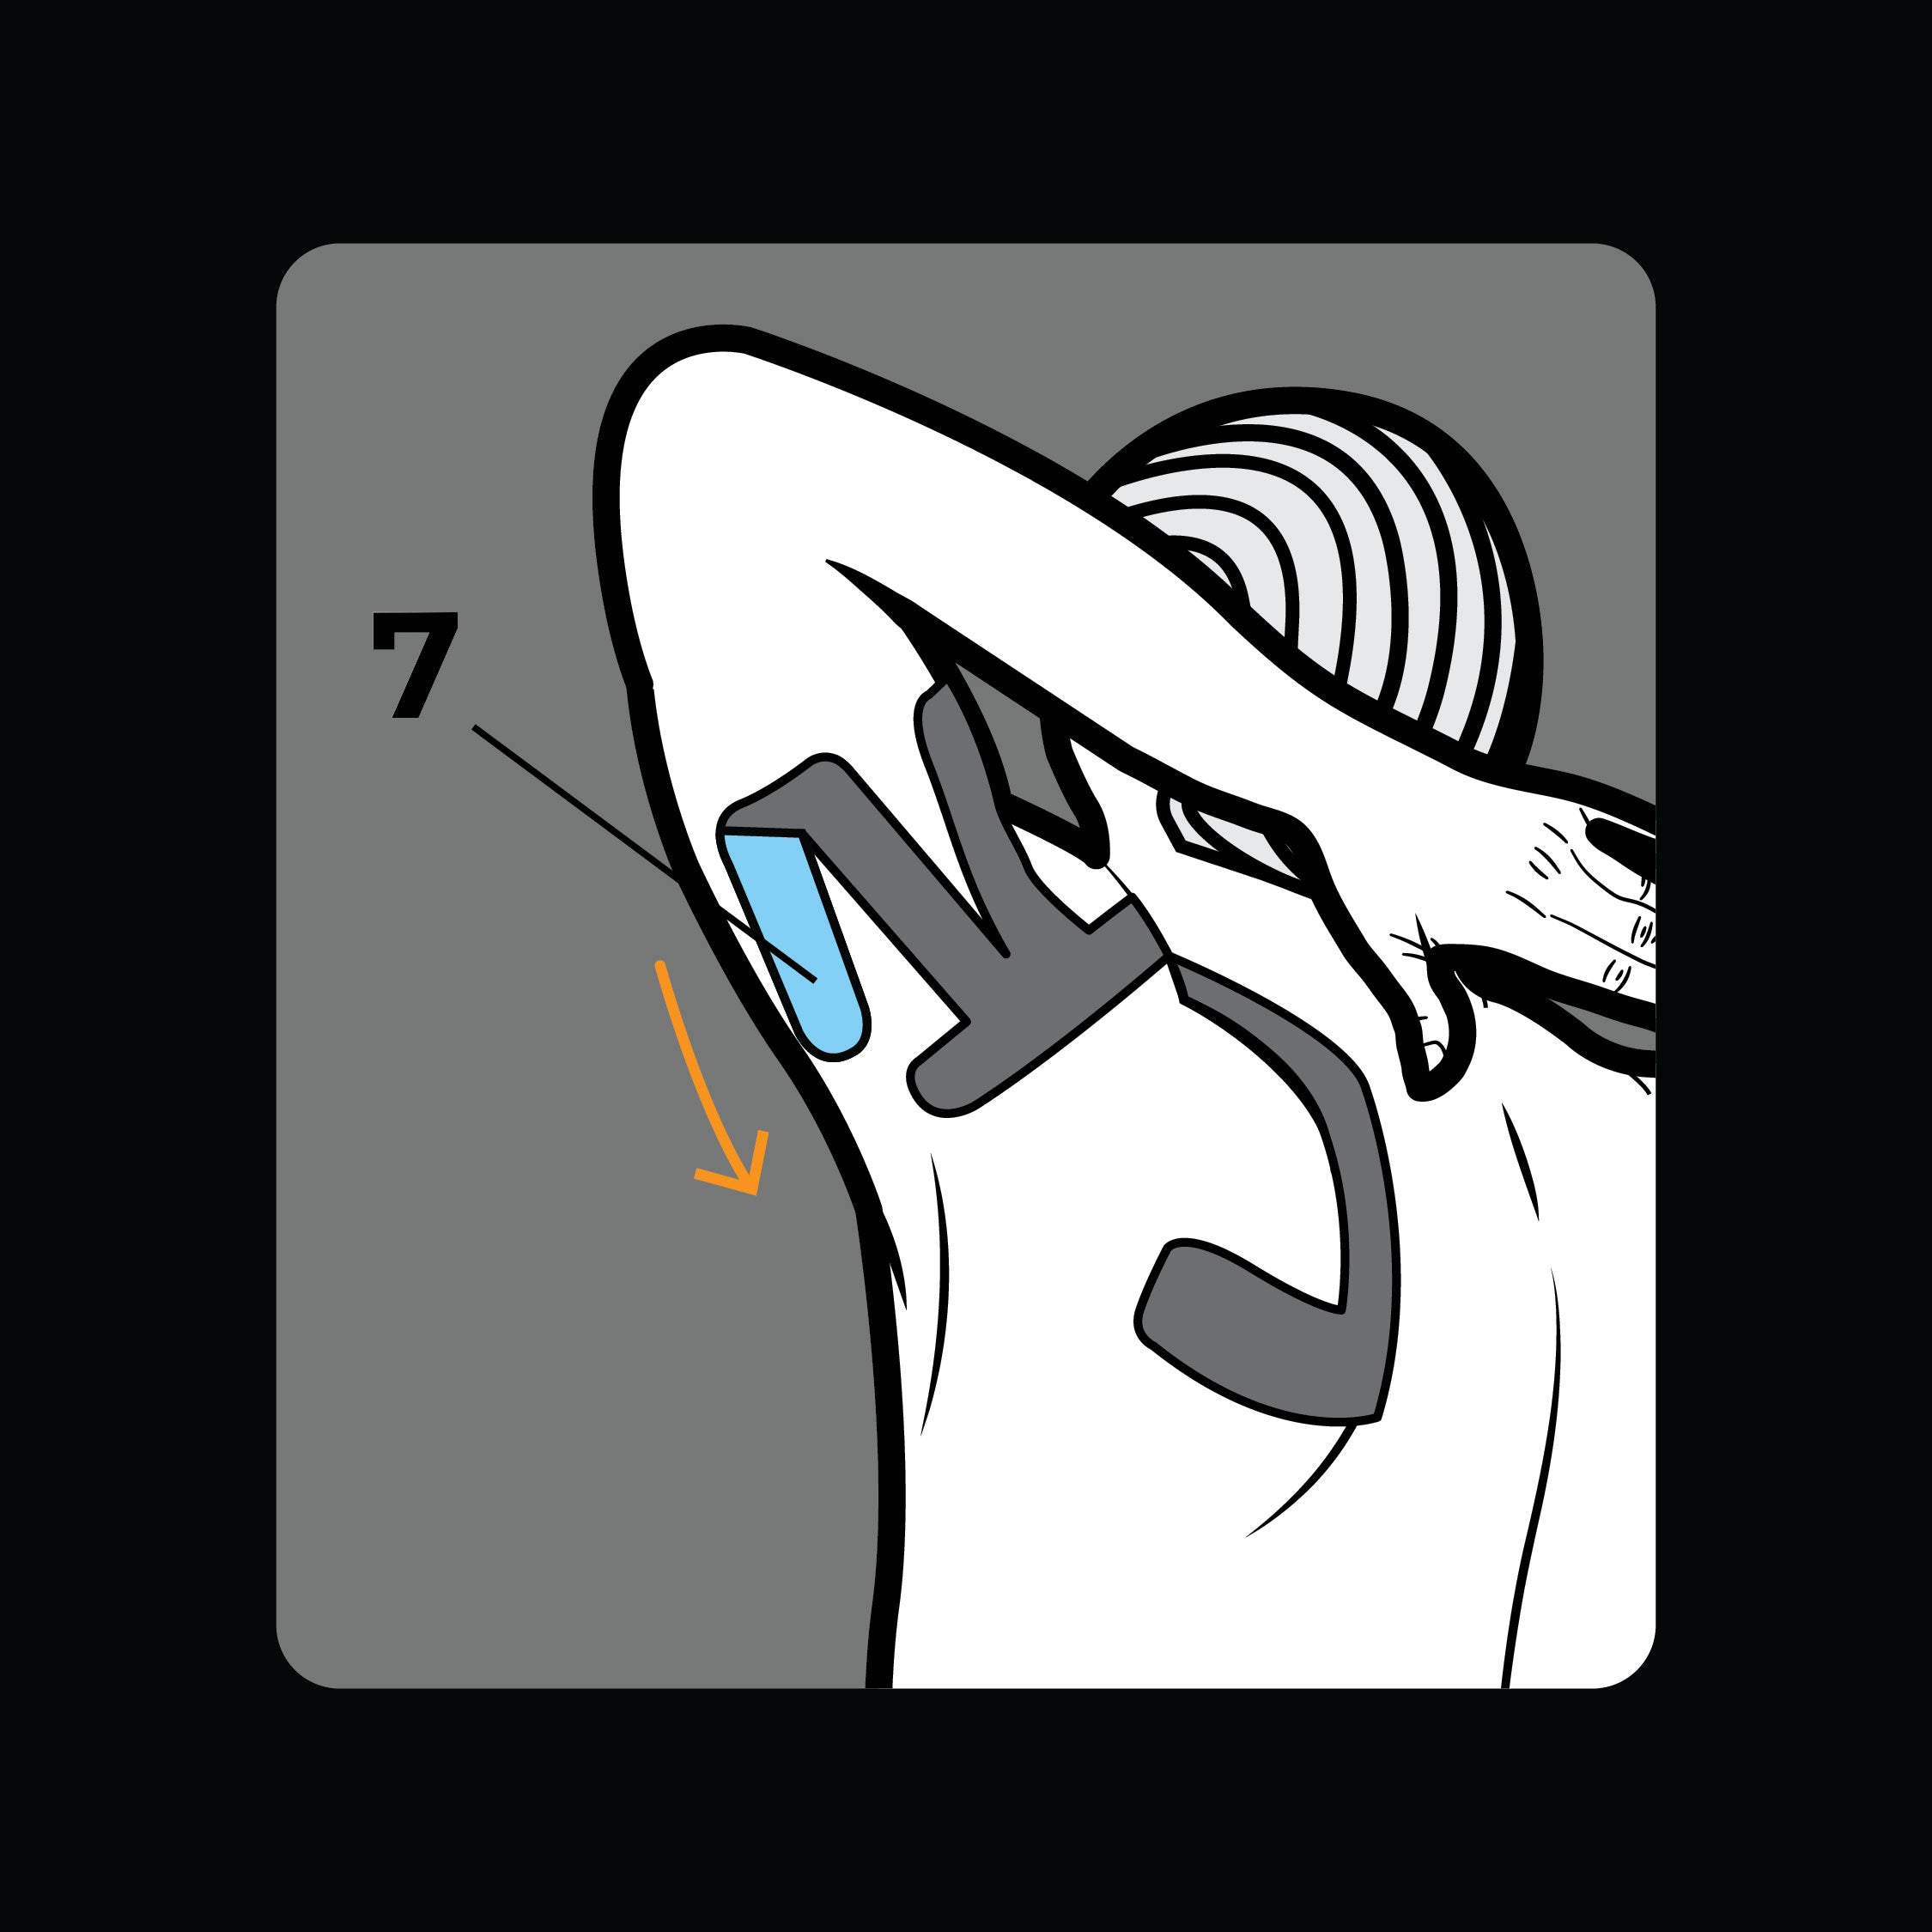
Step 7
Lift hand above head and bend elbow. Apply section 7 towards shoulder.
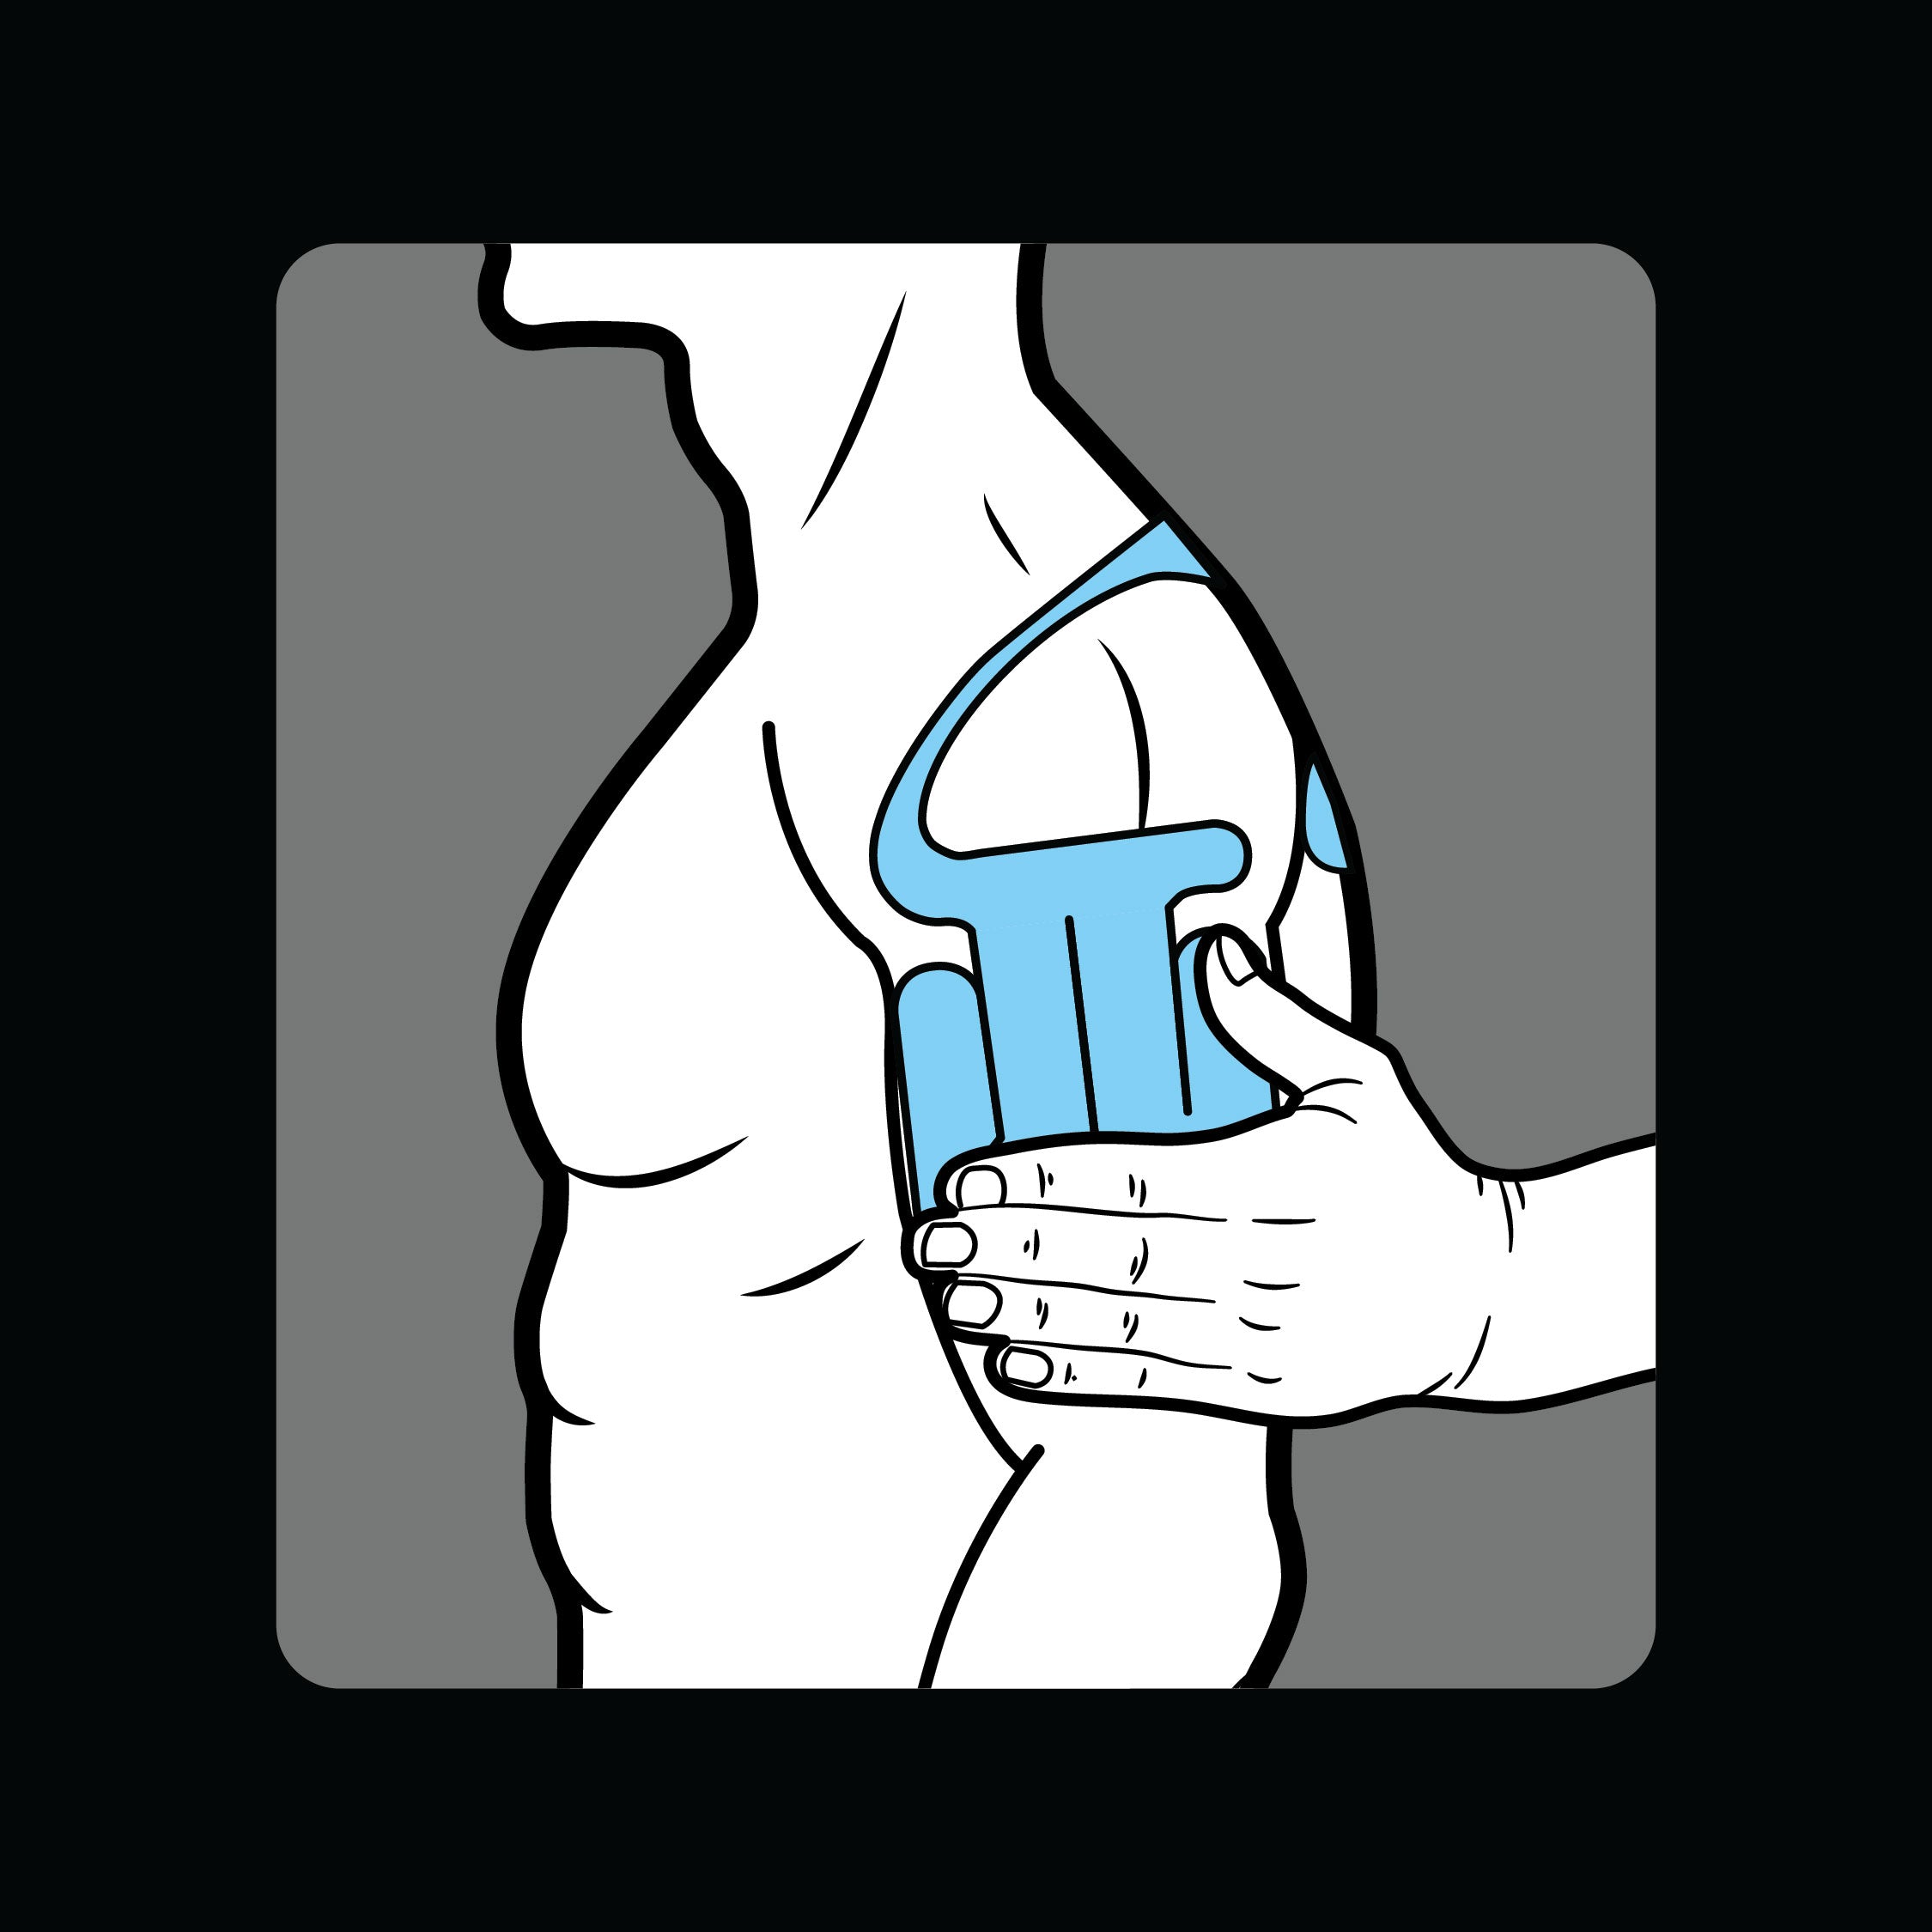
Step 8
Go back to relaxed position. Gently rub to activate adhesive.
Application Troubleshooting
Applying kinesiology tape is a unique process that may require some practice. Here are the most common issues people encounter and our expert solutions to help you apply the tape effectively and with confidence.
What do I do if the tape sticks to itself during application?
If your tape sticks to itself or has wrinkles during application, gently stretch the tape until it releases from itself and then continue with your application.
How can I get the most out of my tape application?
Here are a few tips to help your tape stay on longer:
- Remove hair, oils, and lotions.
- Apply tape only to clean, dry, undamaged skin.
- Ensure there is little to no stretch in your tape (stretch the muscle, not the tape).
- Rub the tape to activate the adhesive.
How can I avoid touching the adhesive during application?
When removing the backing paper to expose each individual tab, do not remove the entire tab. Leave about an inch that you can use to hold on to the tape and ensure it is applied in the perfect spot.
Contact Support
For more answers to your questions, please email info@spidertech.com. We would be happy to help you further.
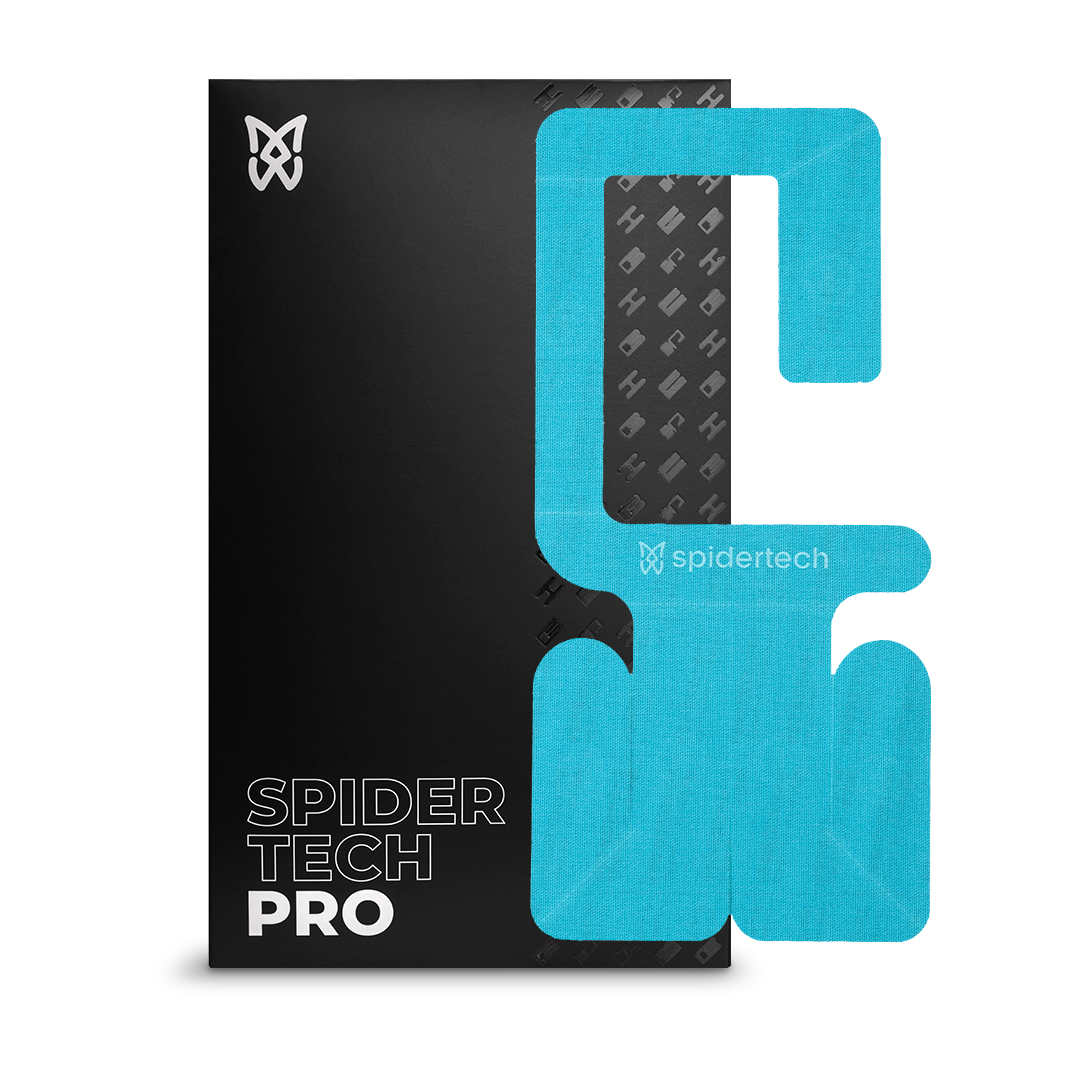
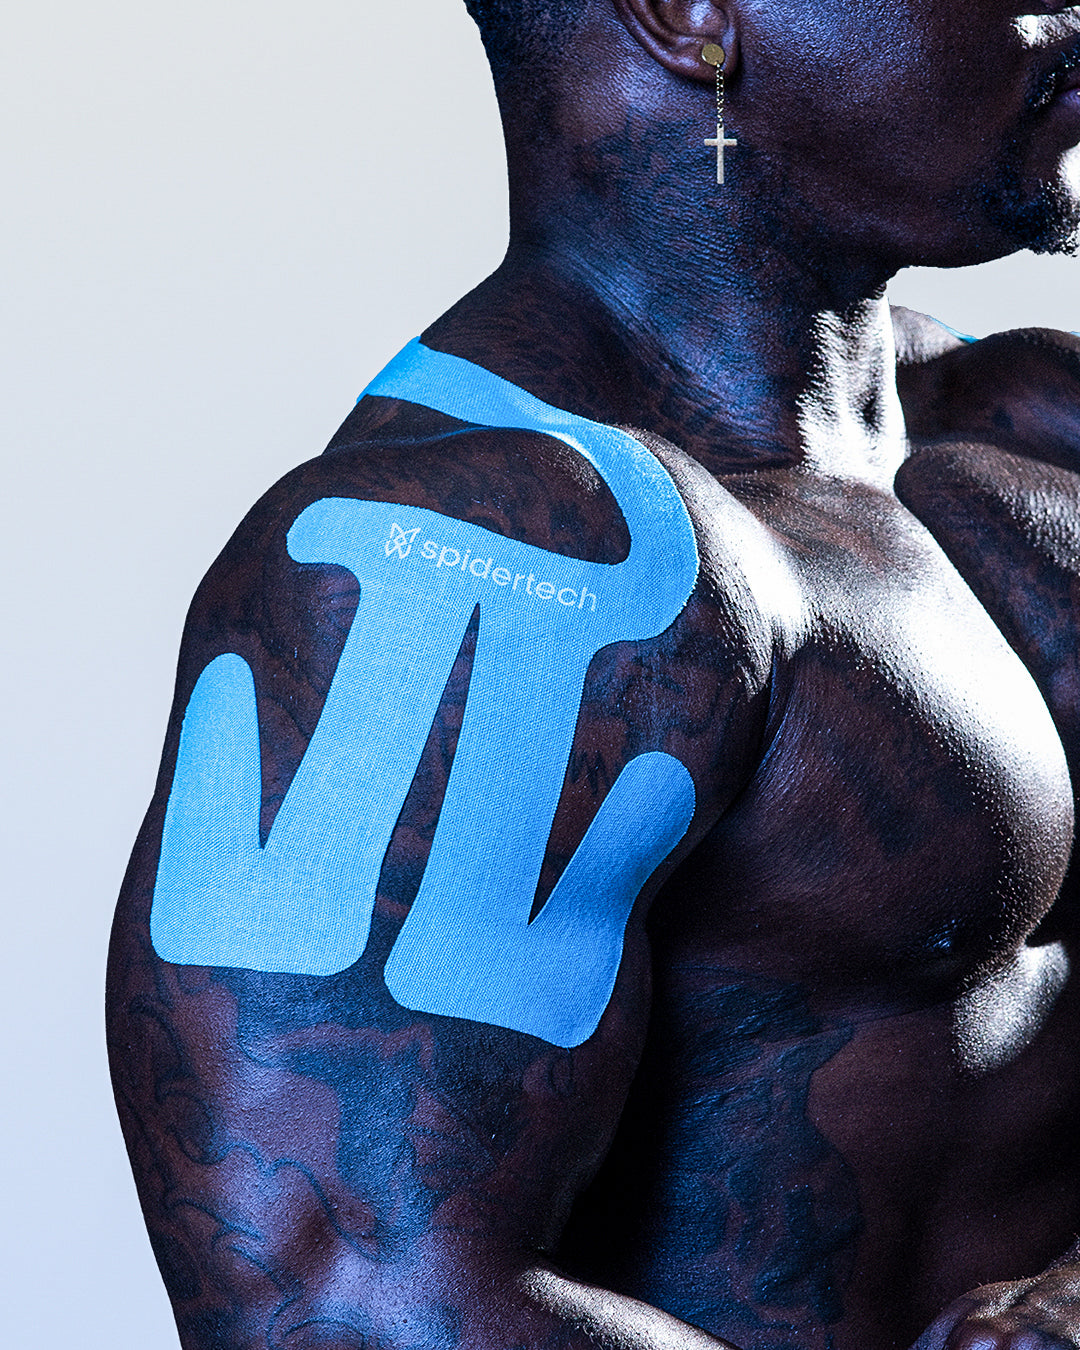
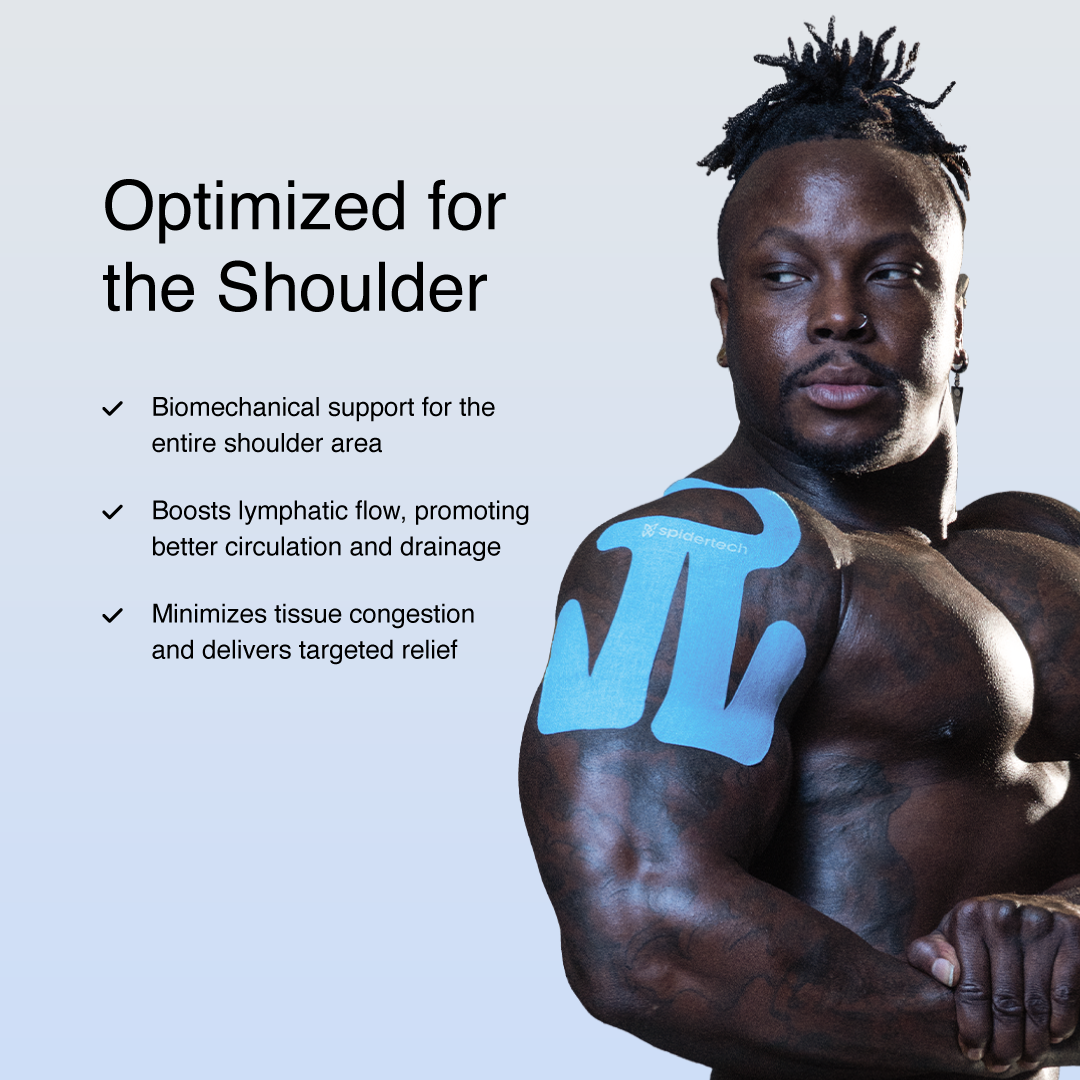
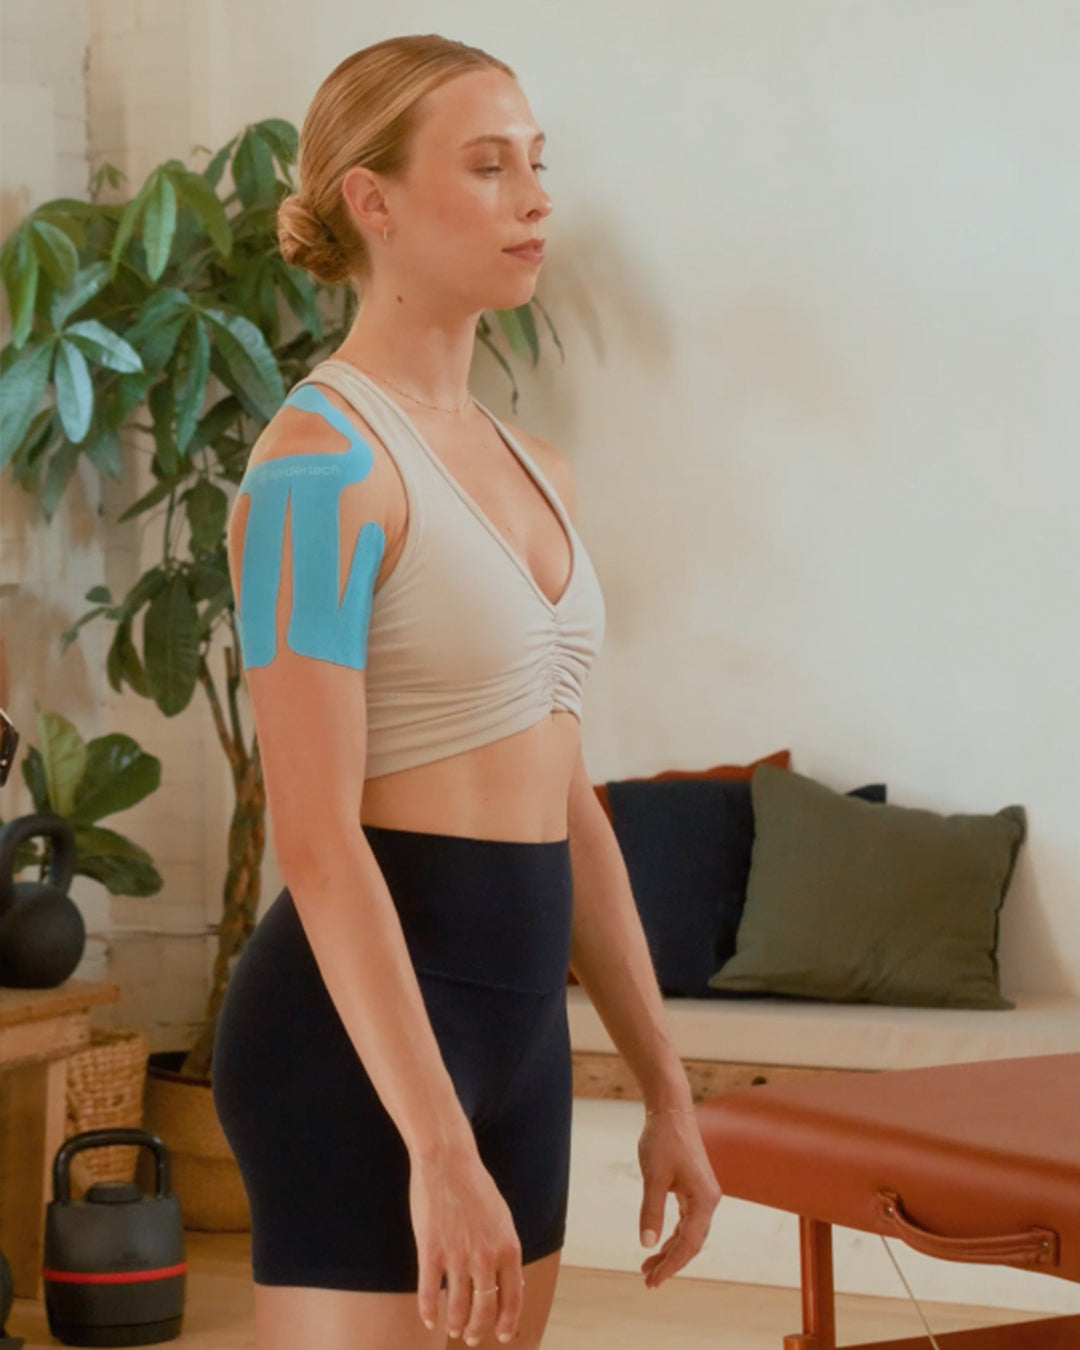
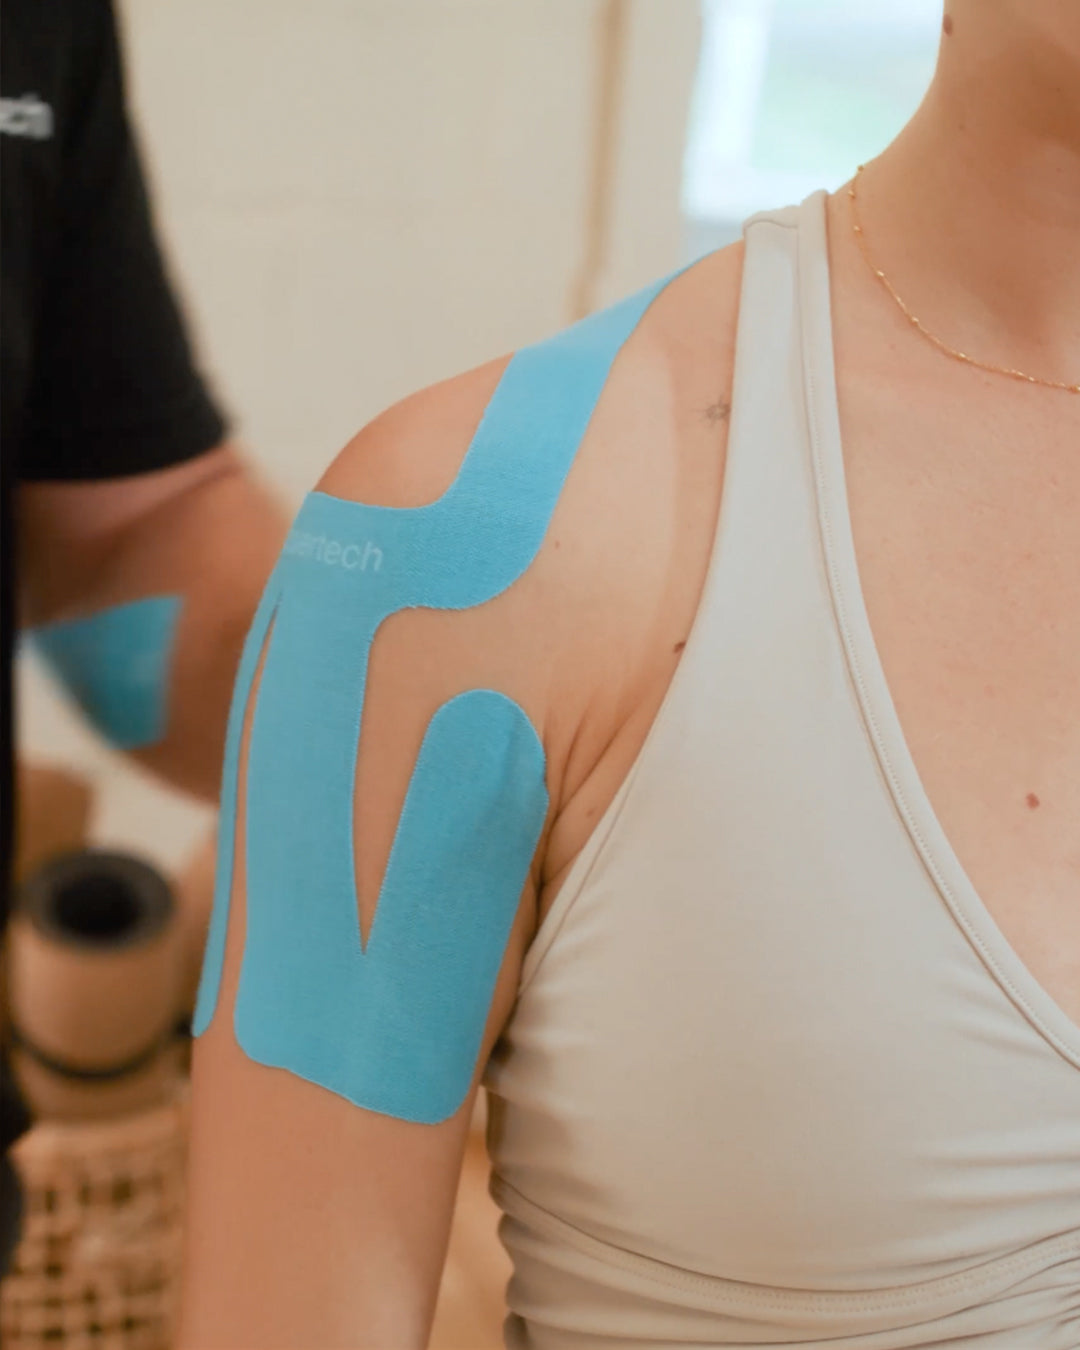
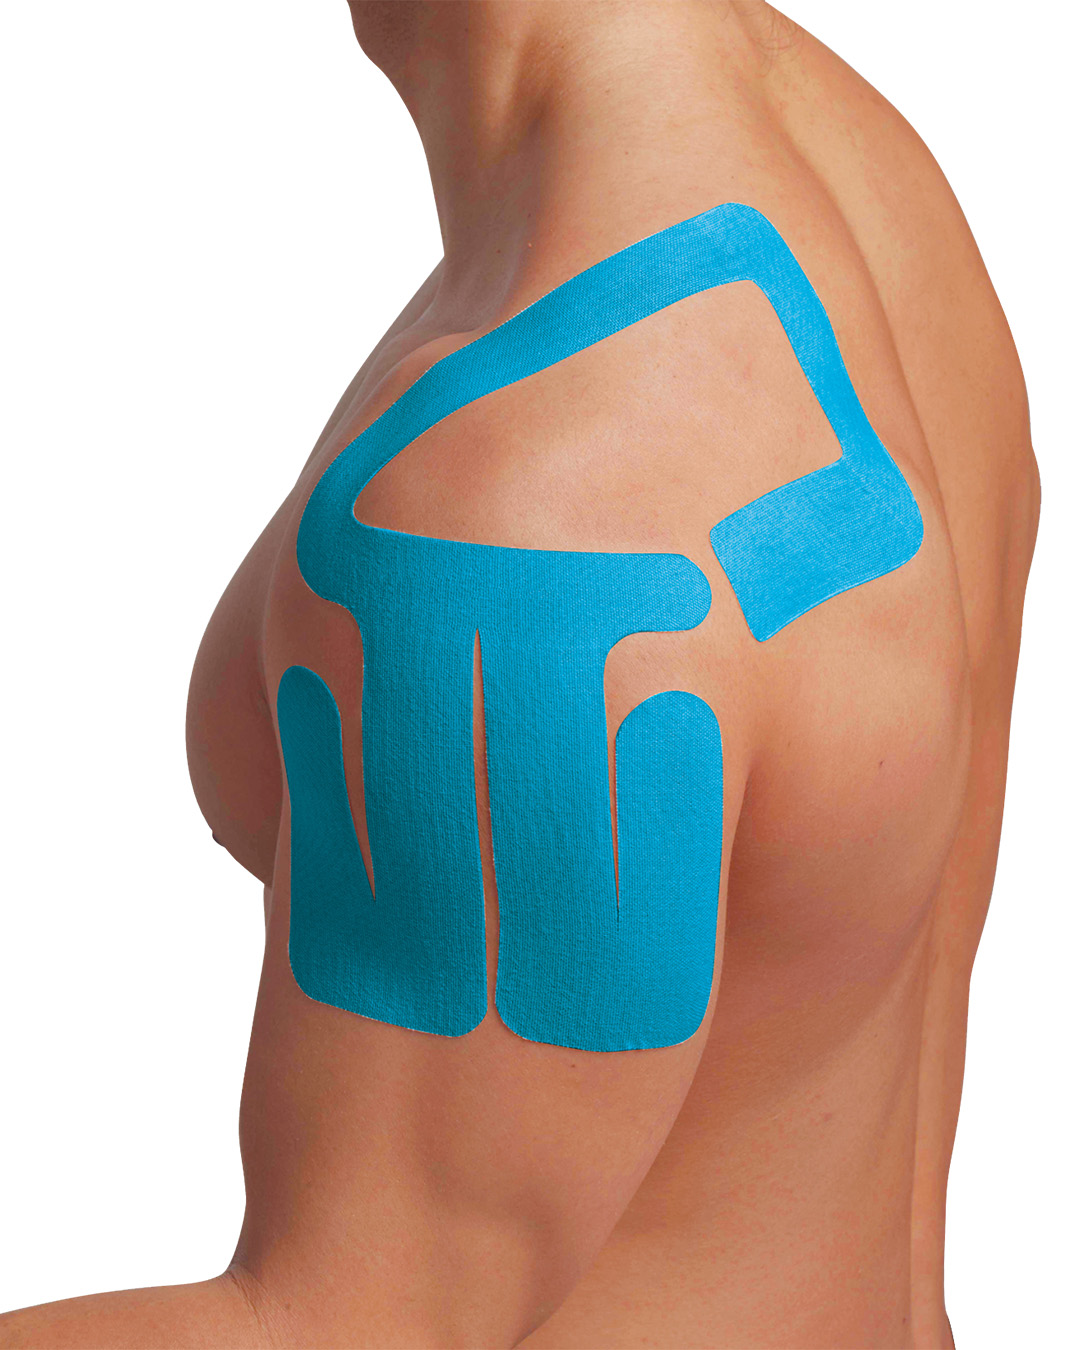
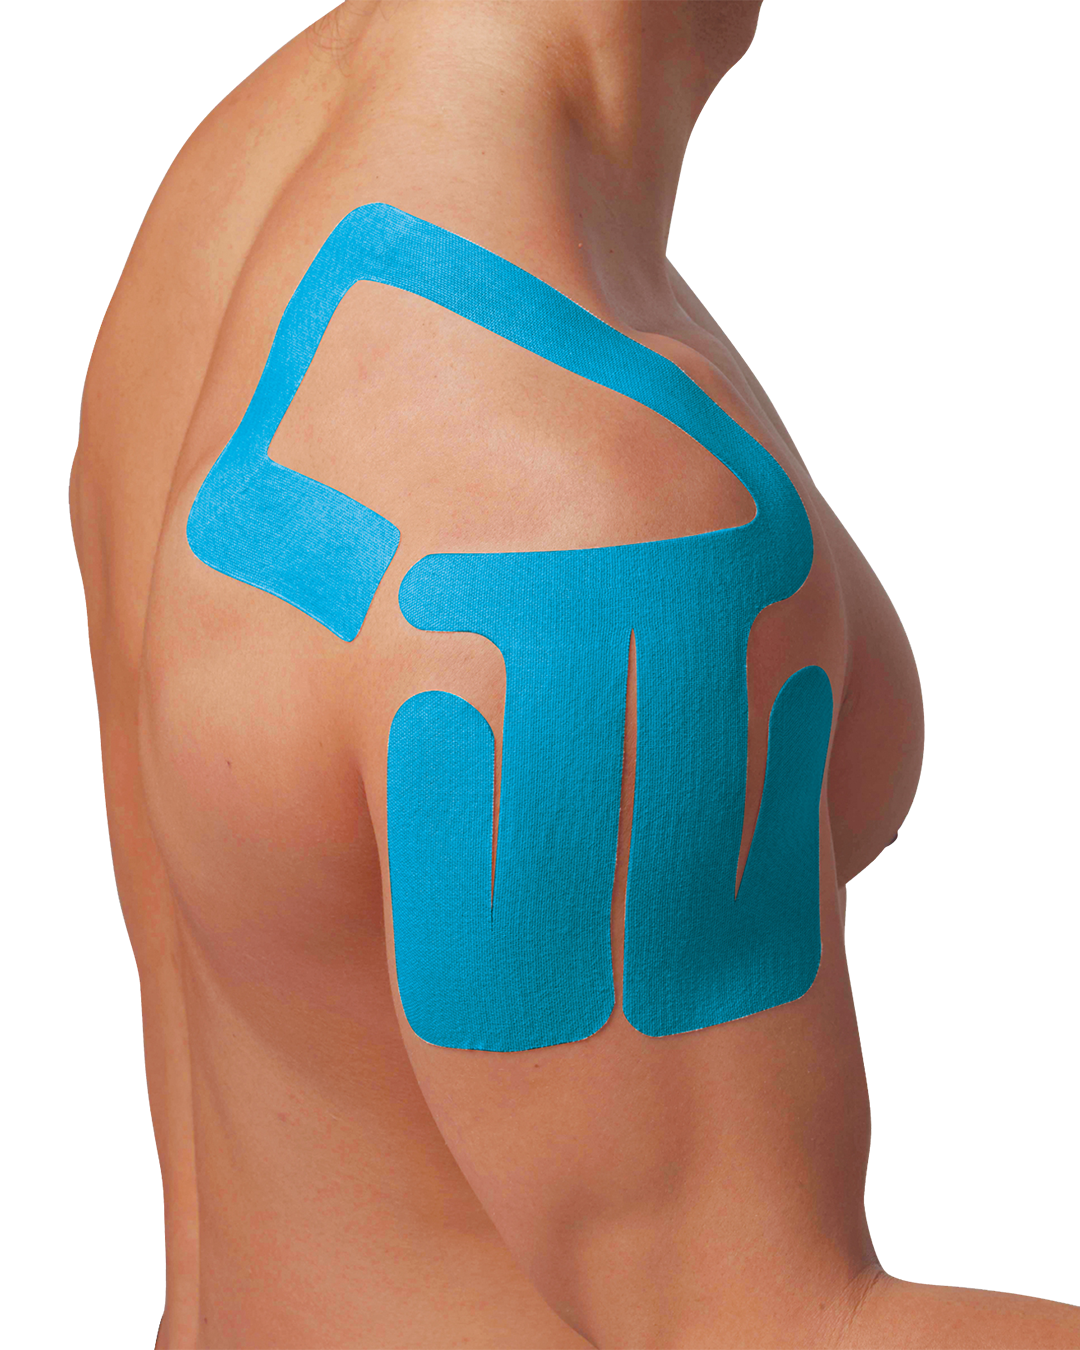
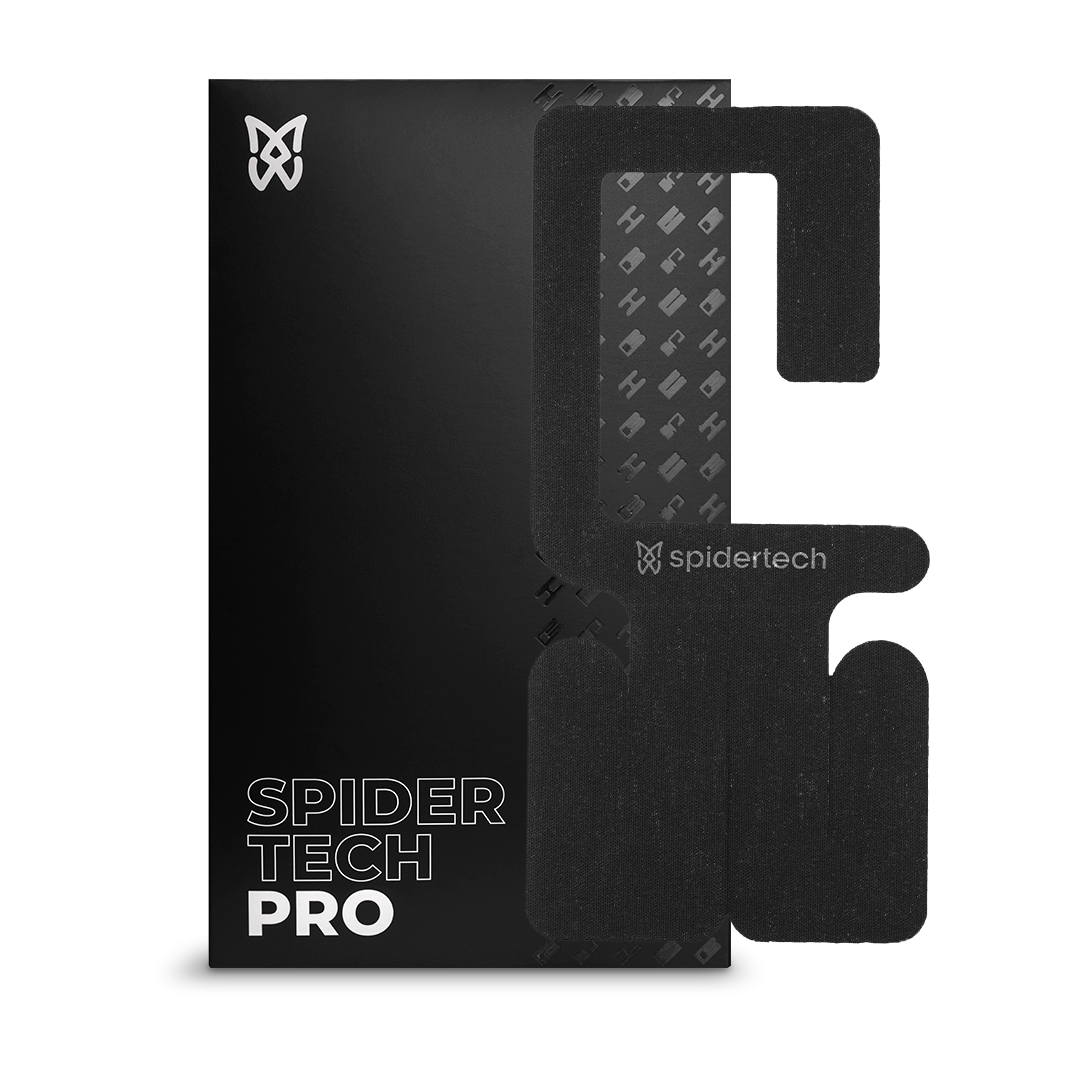
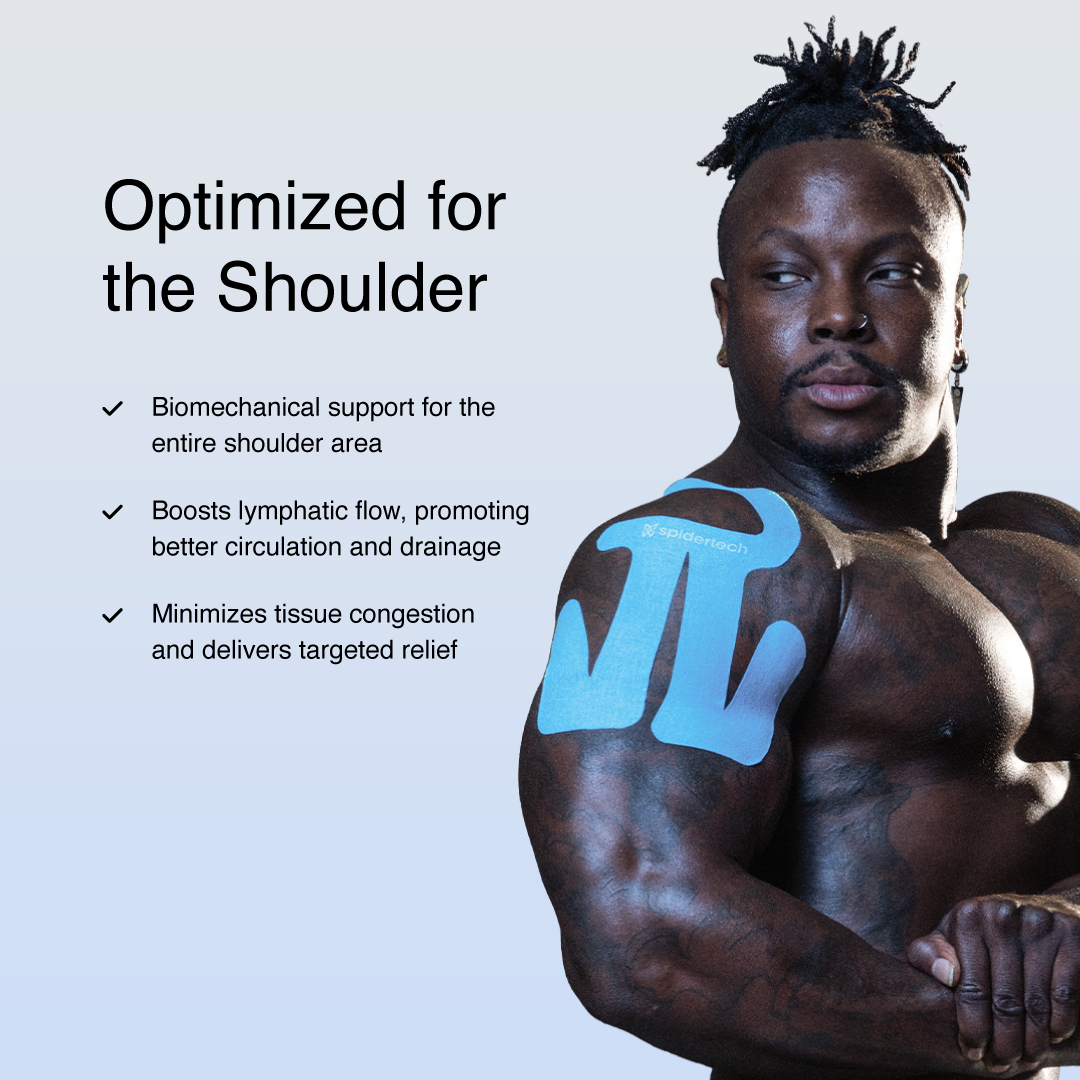
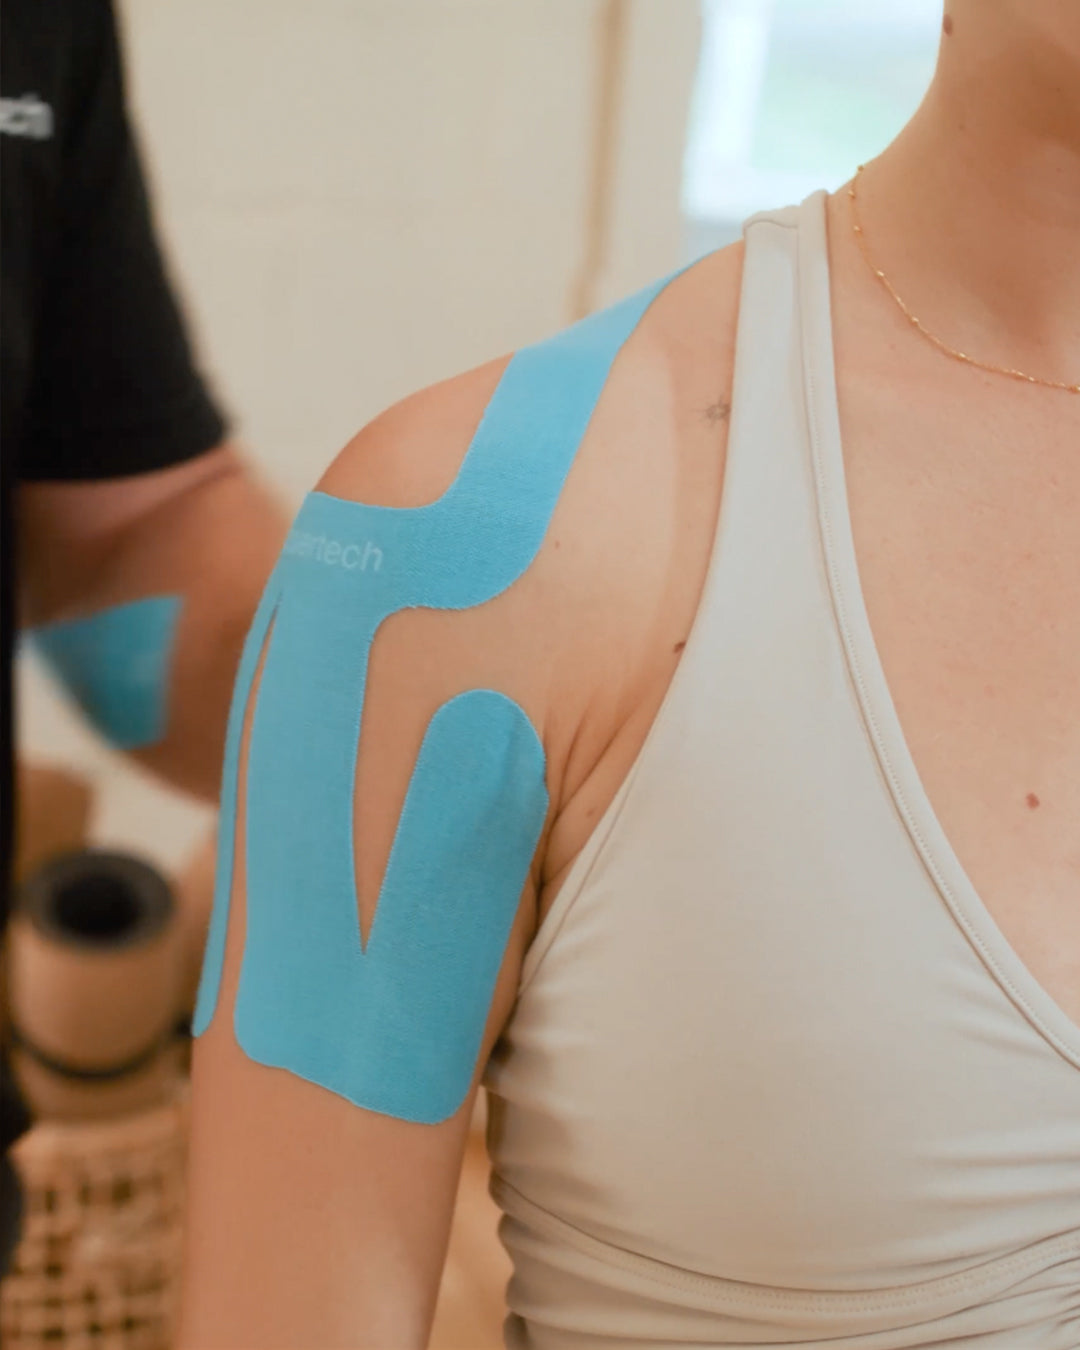
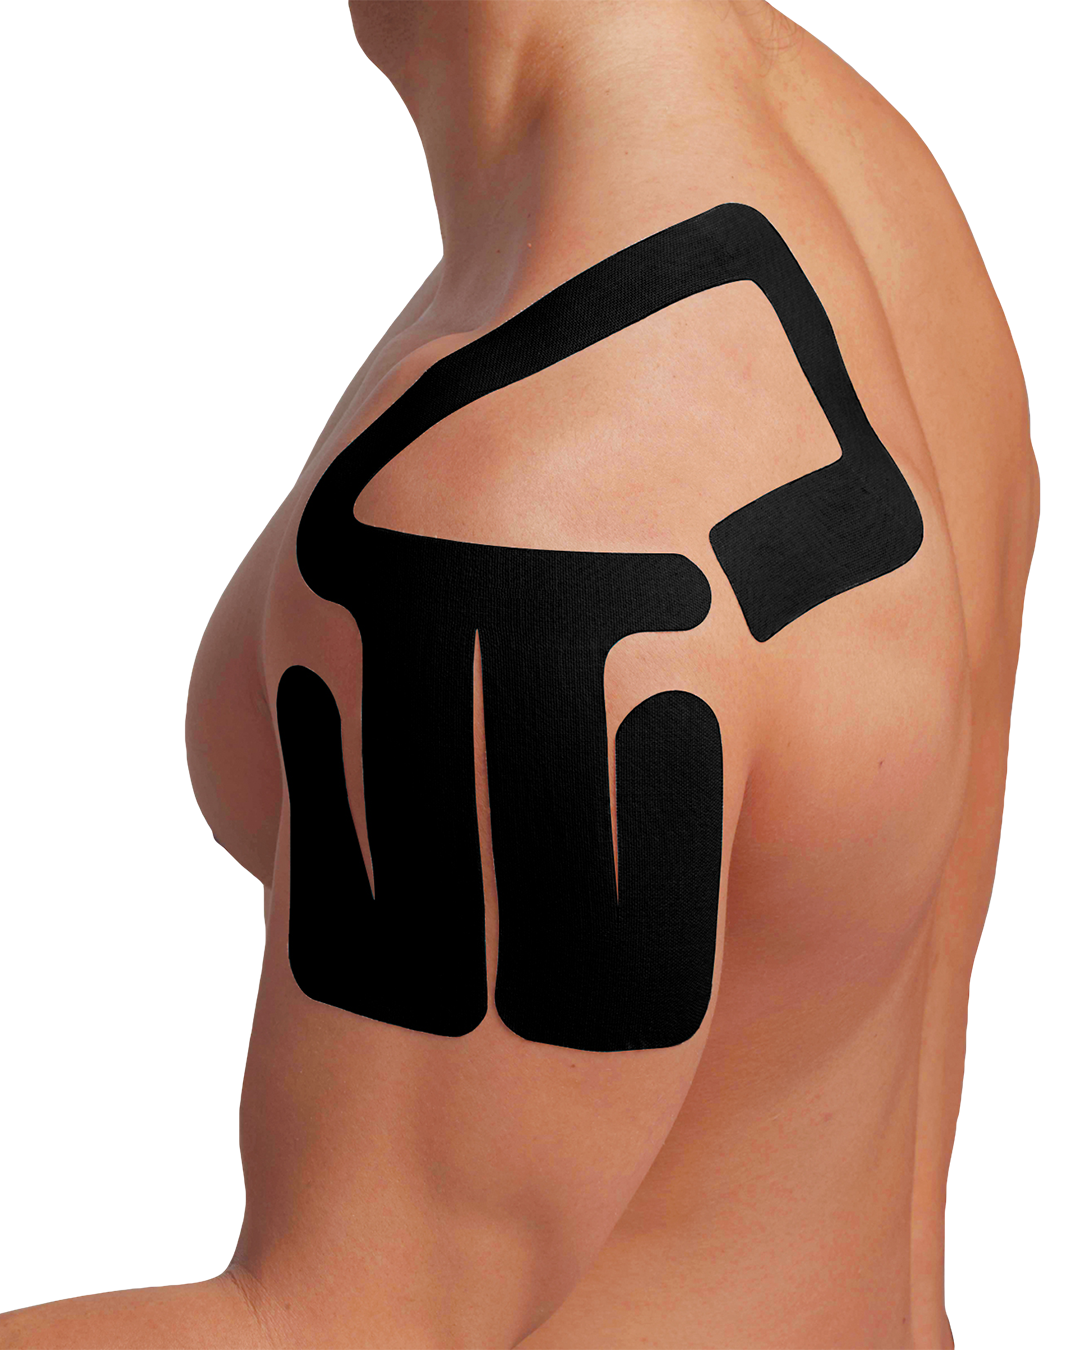


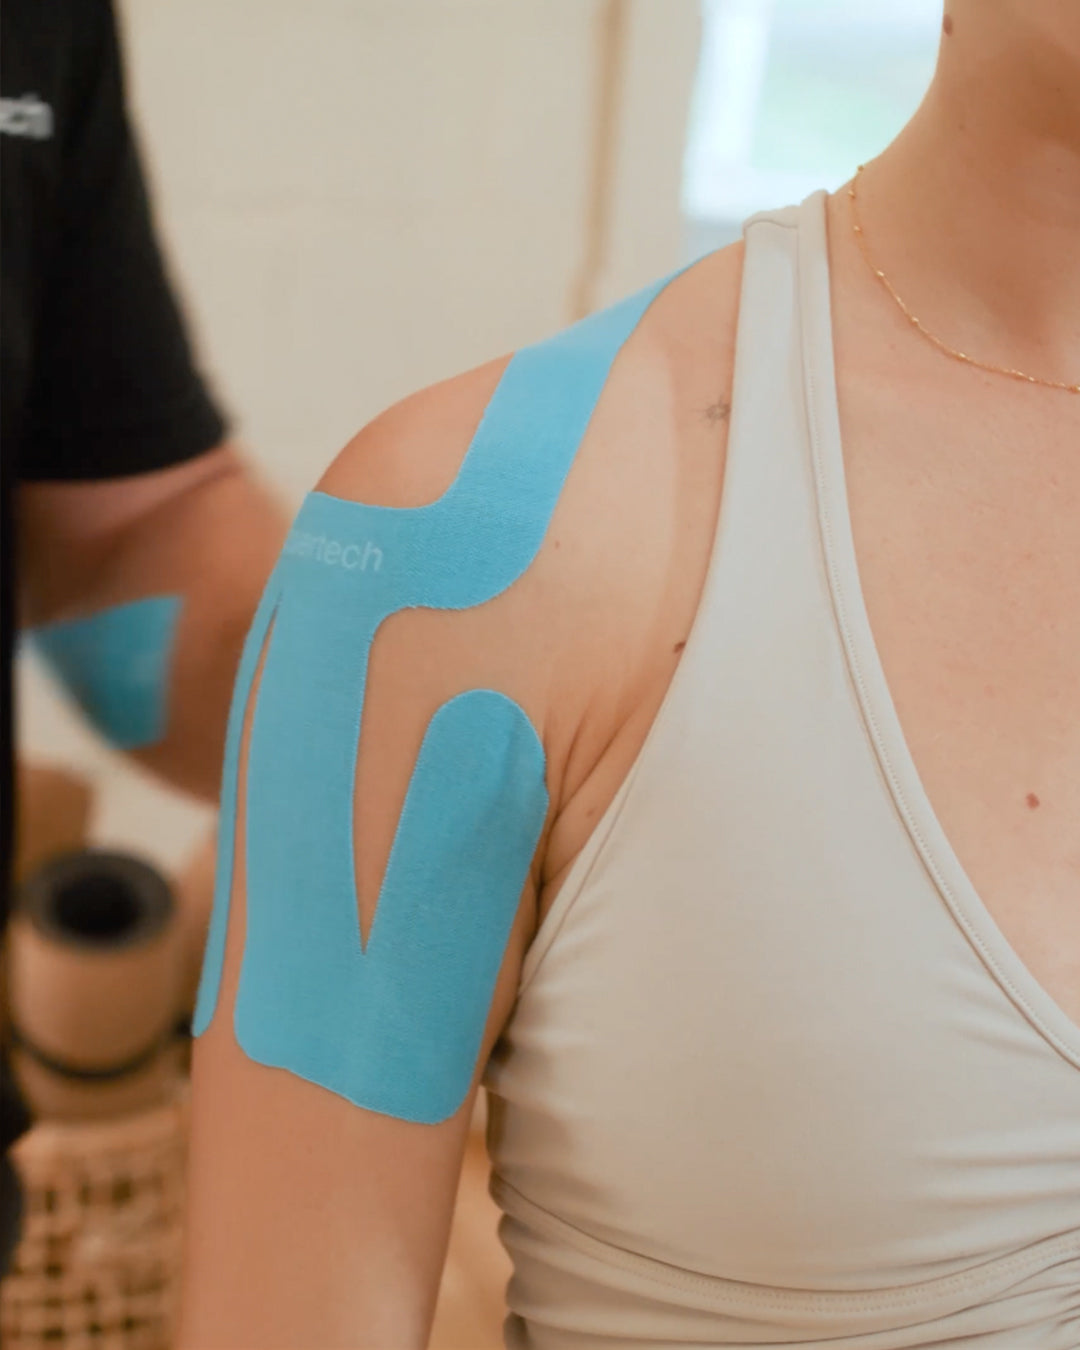
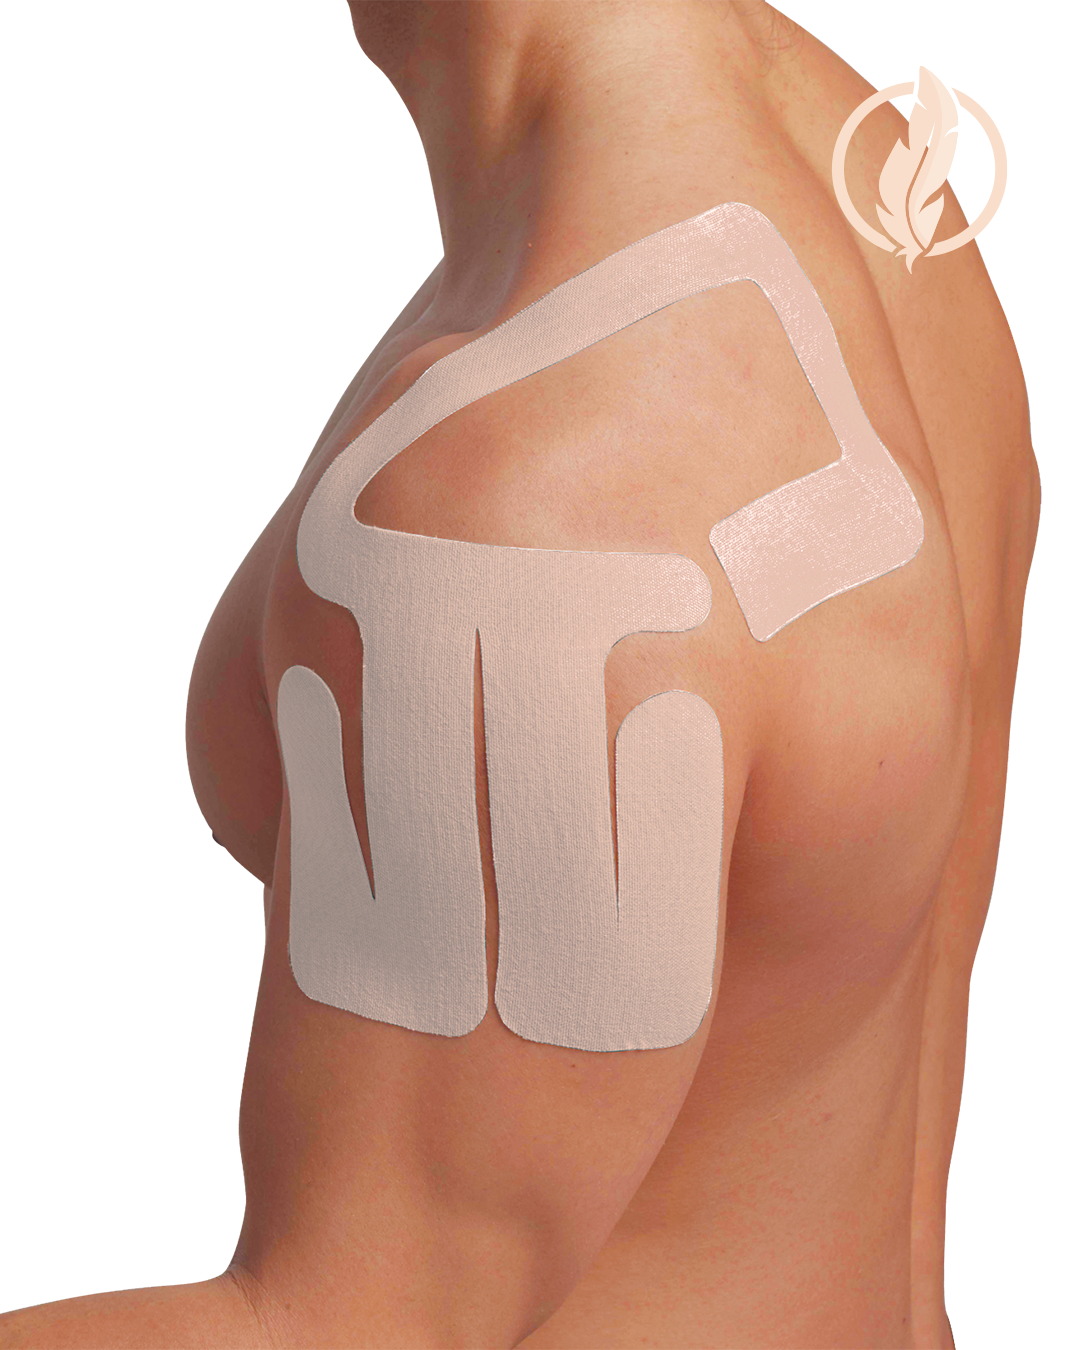
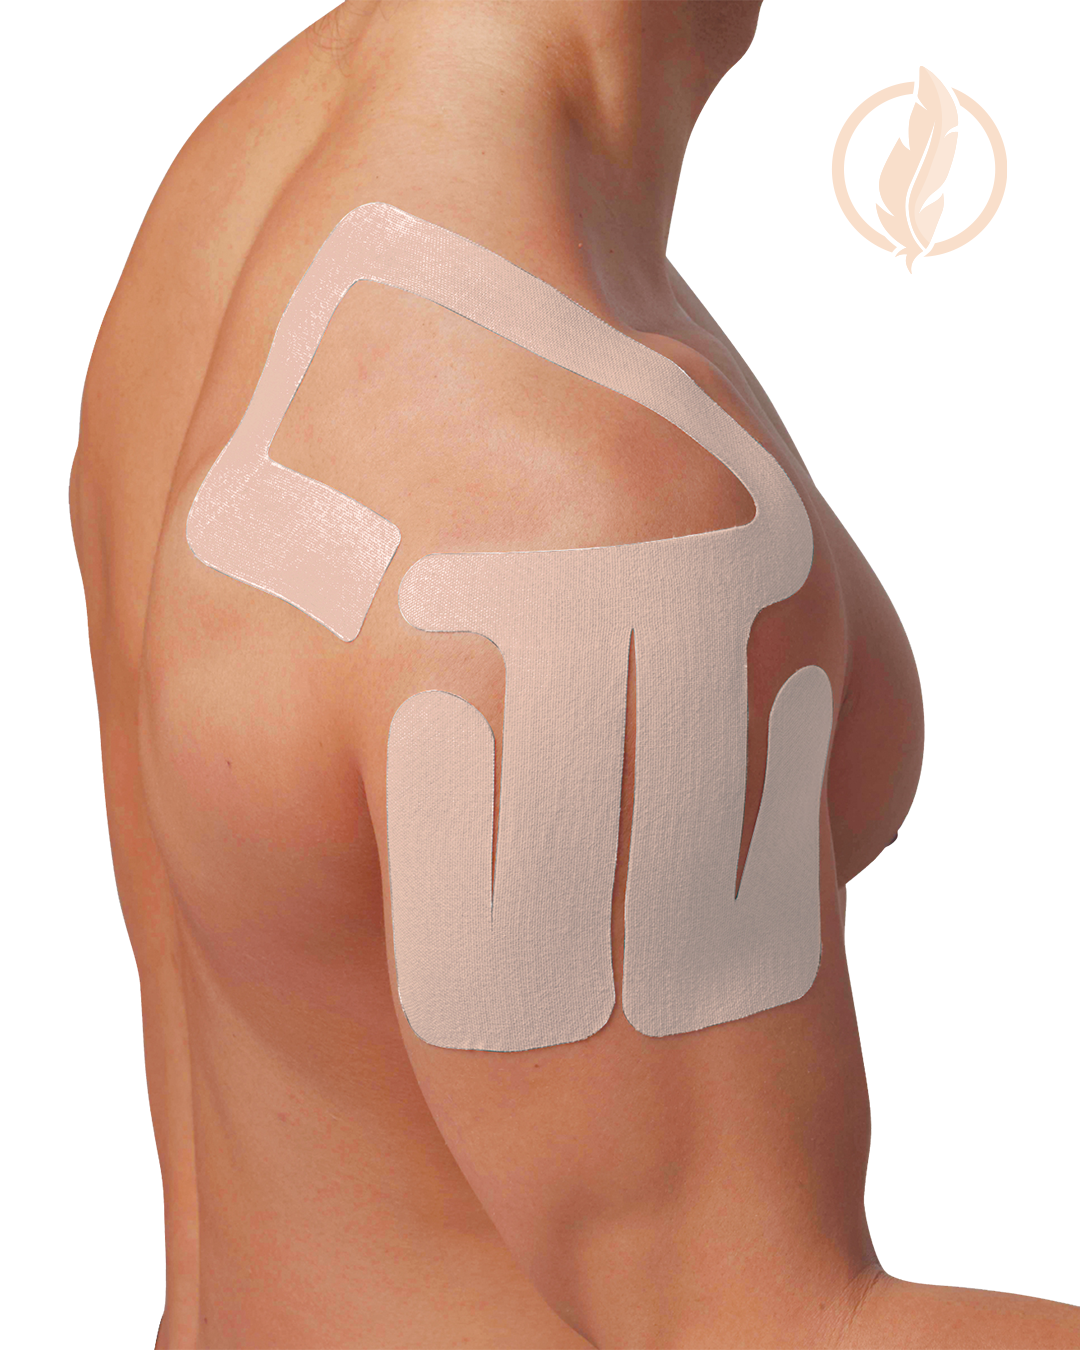
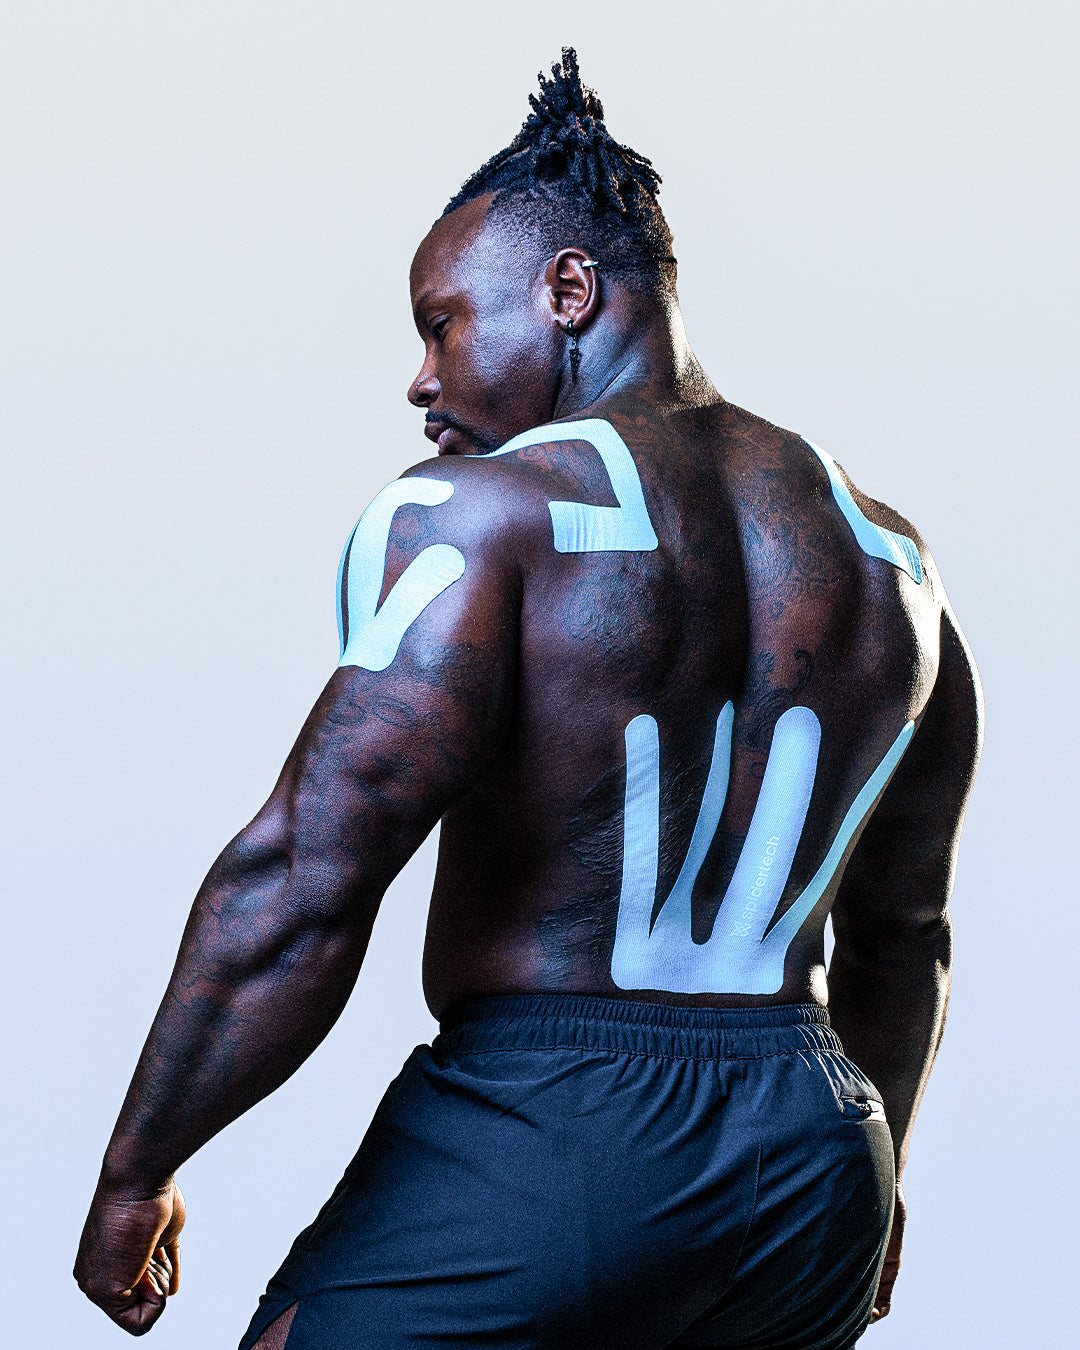
Épaule Pro-Cut
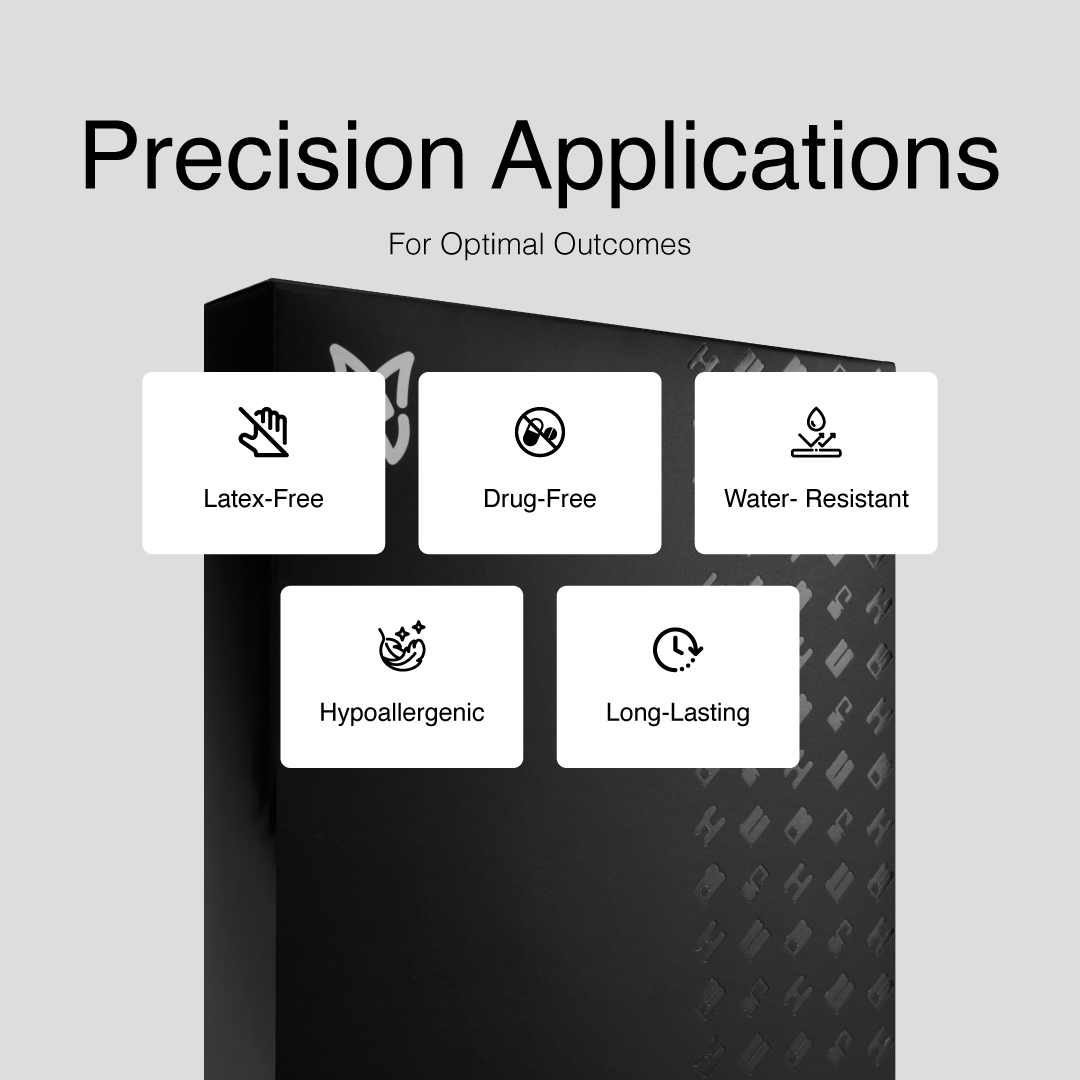
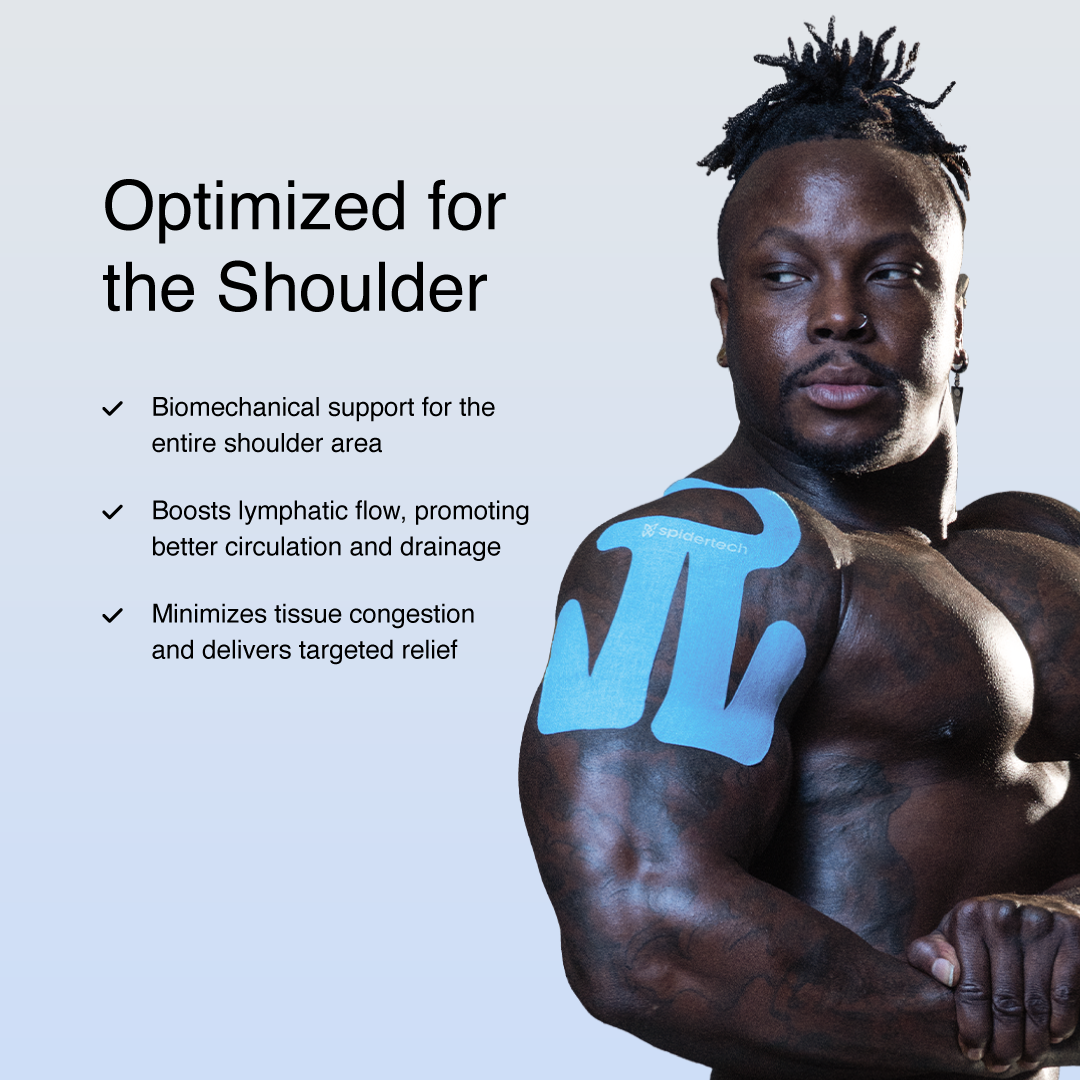
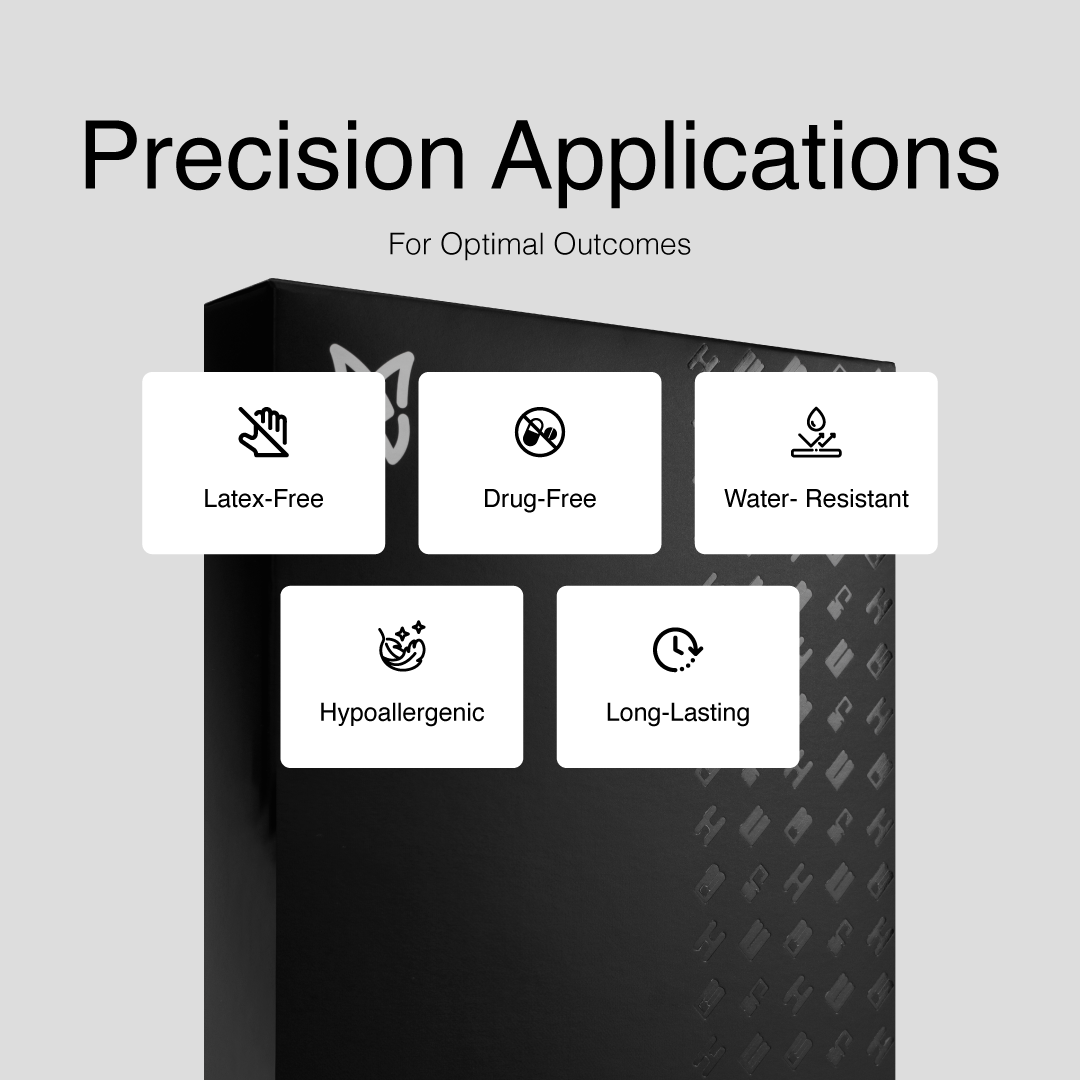
Notre épaule Pro-Cut traite les tensions de la coiffe des rotateurs, les entorses des articulations AC, les tensions musculaires, les déséquilibres musculaires, les problèmes d'amplitude de mouvement de l'épaule, l'arthrite, la bursite, la rééducation postopératoire, et soutient également le mouvement, aidant à la fois à la prévention des blessures et à la récupération. Il est sans médicament, sans latex, hypoallergénique, respirant et fabriqué avec un adhésif approuvé par les médecins.


